 Vista
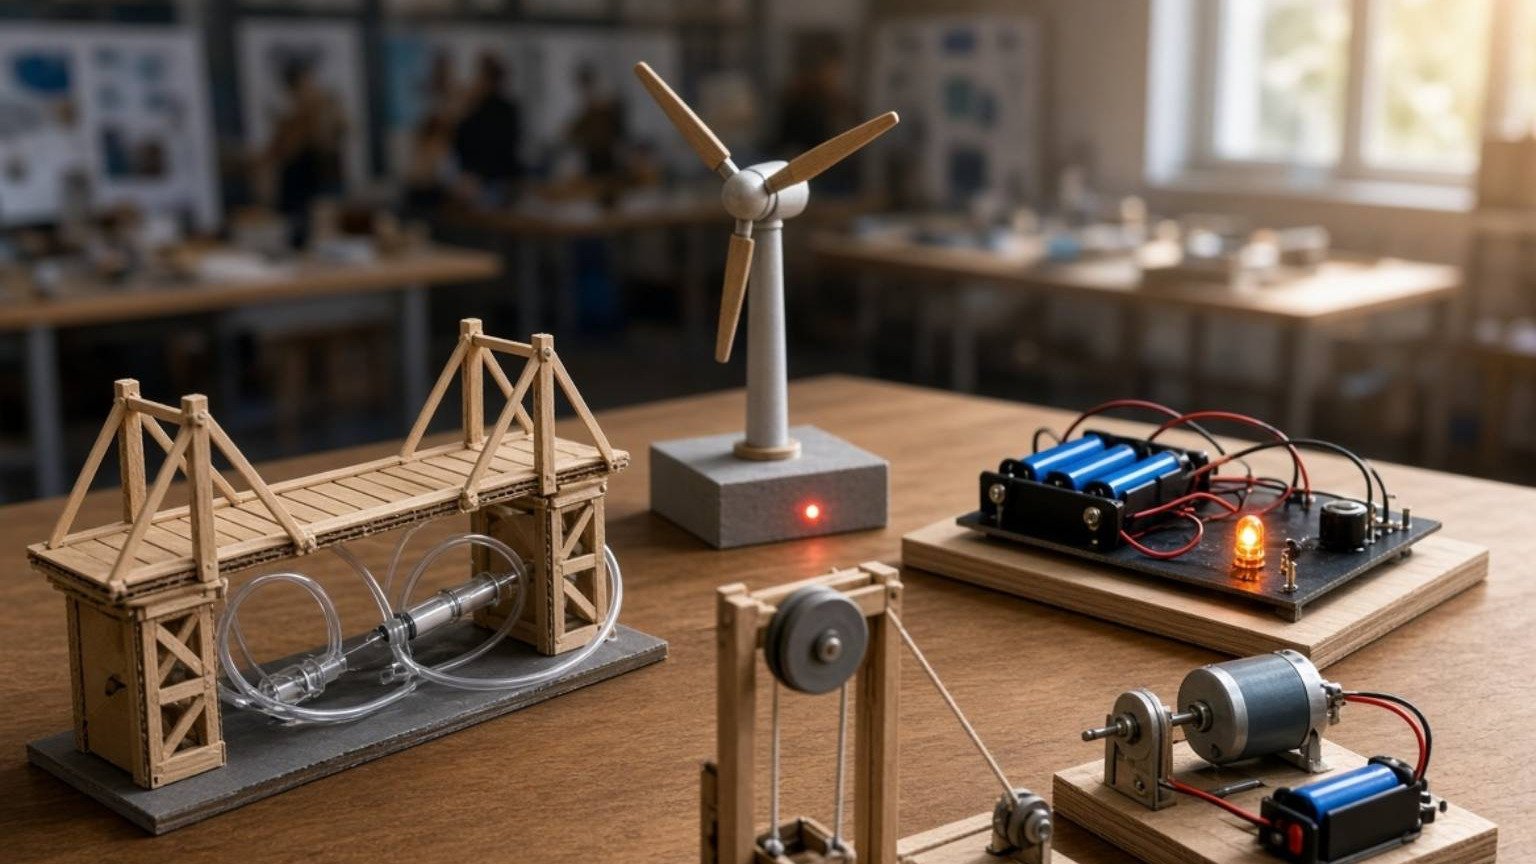
Want a wind turbine LED working model for a school project? This visual guide includes six pictures: a technical circuit diagram, a working turbine, an assembly sequence, a colourful energy-flow poster, a parts chart and a science exhibition explanation. Students in approximately Classes 6–10 can explore how moving air turns lightweight blades and how a small DC toy motor may act as a generator when driven mechanically. Under suitable conditions, its output can power a low-voltage LED. However, not every motor, wind speed or LED combination will work. Each poster has a full-size link. Use a safe classroom setup only; never connect a homemade turbine to household mains electricity.
How can wind energy light an LED?
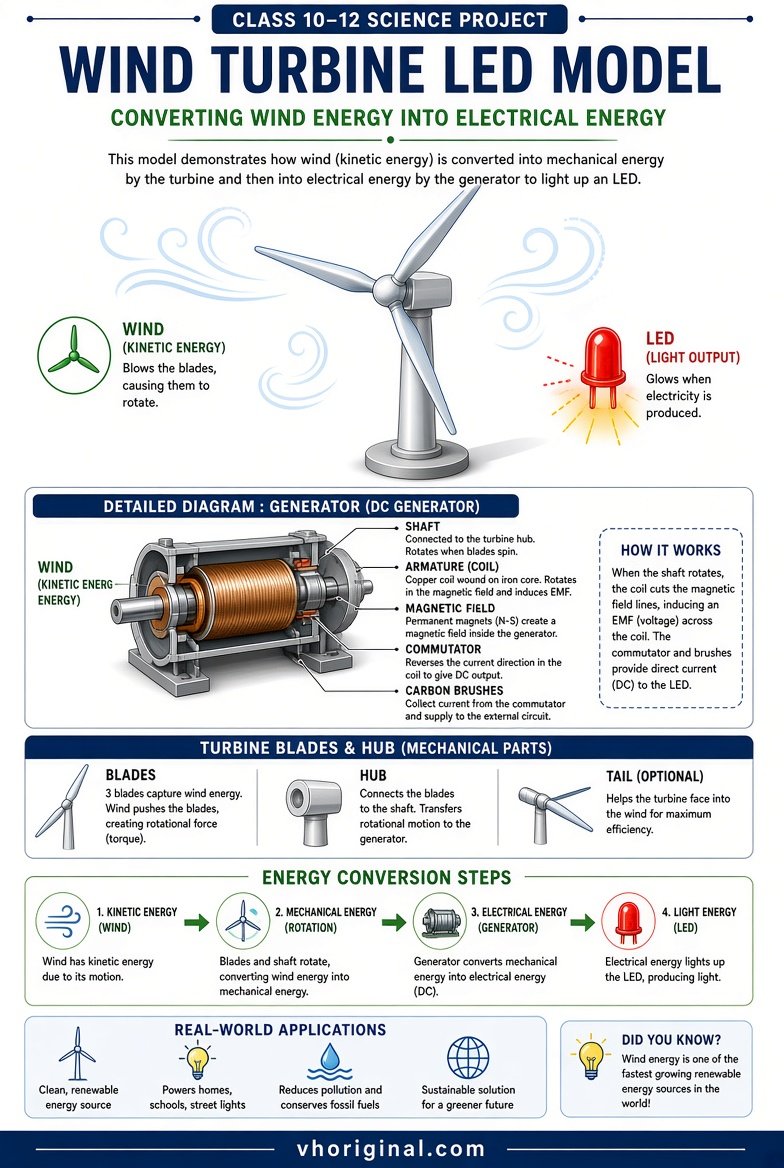
Moving air has kinetic energy. It can transfer some of that energy to suitable turbine blades, spinning a shaft that drives a generator. Some small DC motors produce voltage when their shaft turns. The resulting electrical output depends on rotation speed and the motor’s construction. An LED has polarity and requires a suitable forward voltage and limited current, so it will not necessarily light whenever the blades move. Describe the sequence as Wind Motion → Rotor Rotation → Generator Output → LED Light. Energy changes form in the process; a generator does not create energy from nothing. The classroom result may vary across demonstrations.
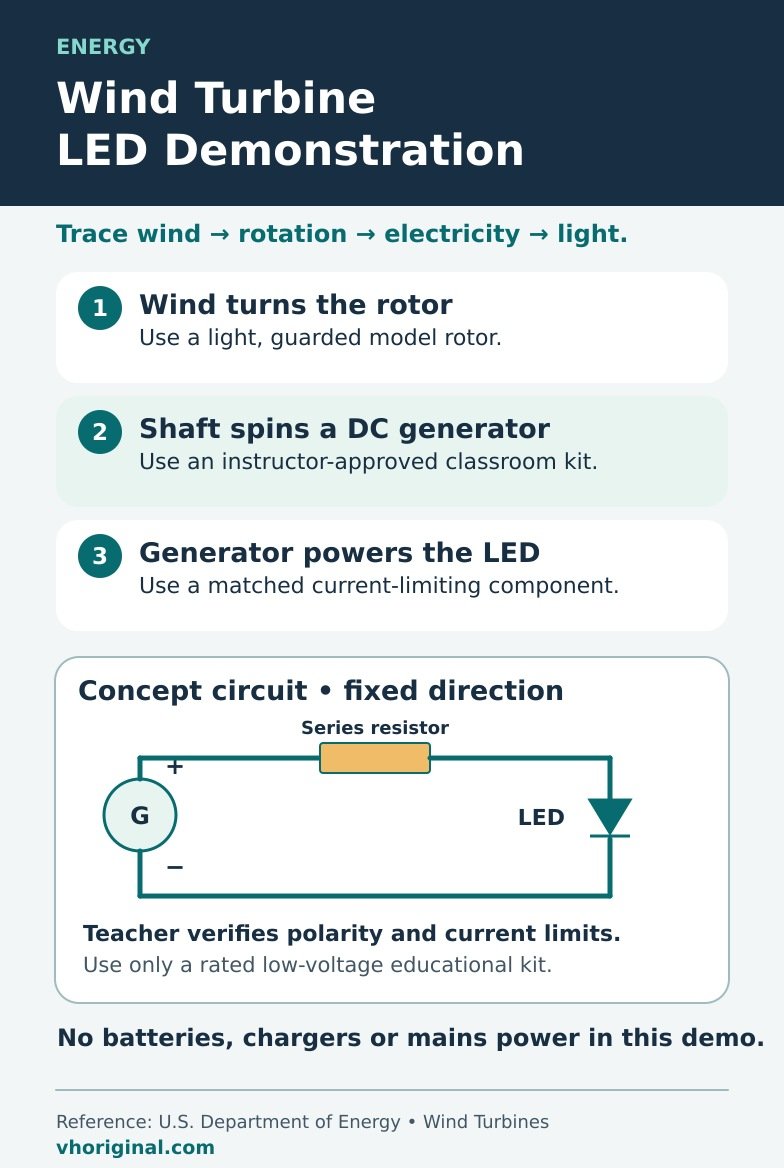
Picture 1: Wind Turbine LED Technical Circuit
Identify the rotor, motor shaft, generator terminals and LED connection. LEDs have an anode and cathode, and reversed polarity may prevent light. Even with correct polarity, a generator that produces too little voltage will not light a particular LED. Suitable current limiting or protective components may be needed depending on the design and possible generator output. An instructor should review the circuit before students connect it. A beautifully generated technical poster may have wiring mistakes, so verify it against the actual motor and component specifications. Never experiment with household AC outlets or exposed mains adapters.
Picture 2: Wind Turbine LED Working Model
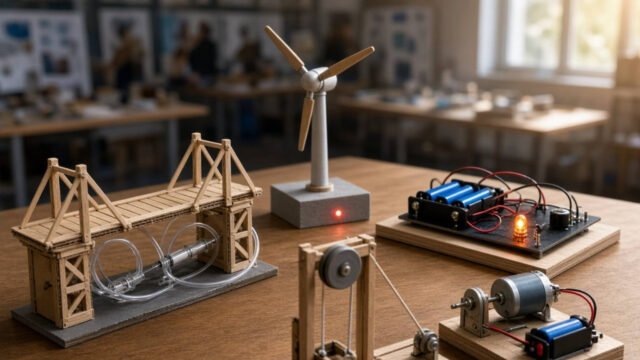
An effective physical model has a stable base, vertical support, balanced rotor, small generator and a visible LED. The blades must be securely fixed to the motor shaft and should not touch the tower. Unbalanced spinning parts can wobble or detach. Use lightweight rounded materials and keep fingers, long hair and loose clothing clear while testing. A tiny classroom turbine is not a miniature utility power station with equivalent output. Its purpose is to demonstrate a possible conversion from motion to electricity. Arrange the LED so visitors can view it without handling any wiring.
Picture 3: Step-by-Step Assembly Poster
Start by attaching a stable tower to a cardboard base. Fix the small motor at its top, allowing the shaft to rotate freely. Attach an appropriate lightweight rotor, checking that each blade is secure. With an adult supervisor, connect the LED using the correct polarity and any protective components required by the chosen design. Turn the shaft gently to test the connection. If there is no light, check loose connections, generator output and LED requirements. Do not respond by using dangerous fan speeds or large blades. Insulate connections and let an adult prepare holes or cut components.
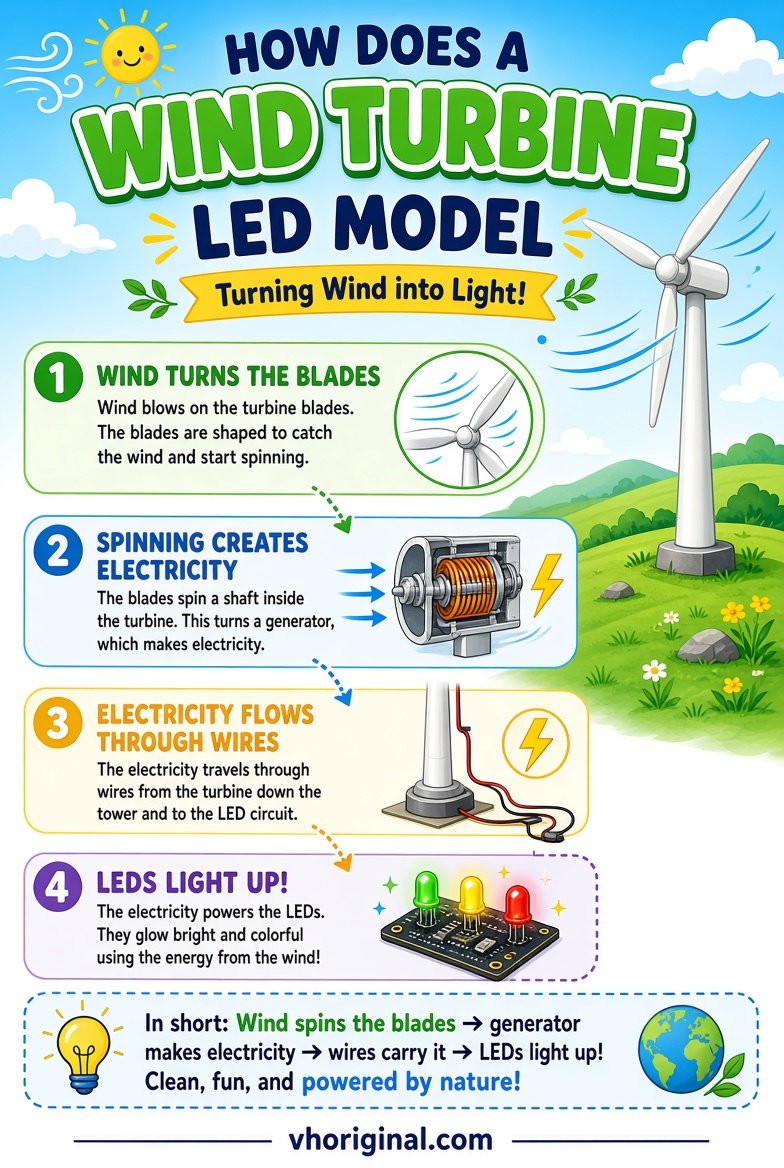
Picture 4: Colourful Energy Conversion Explainer
The poster can show incoming wind, blade motion, generator rotation and a small lamp icon connected by arrows. Explain the difference between a rotor spinning and an electrical load receiving useful power. Actual turbines need appropriate operation and control, and a small school project has losses in its mechanism and electronics. Older pupils can use an appropriate DC multimeter with a teacher to compare observed output. Do not invent watts, voltage values or percentage efficiency. An honest label saying ‘LED illuminated during this test’ is more scientific than promising the same result in every condition. Wind direction and blade geometry also matter.
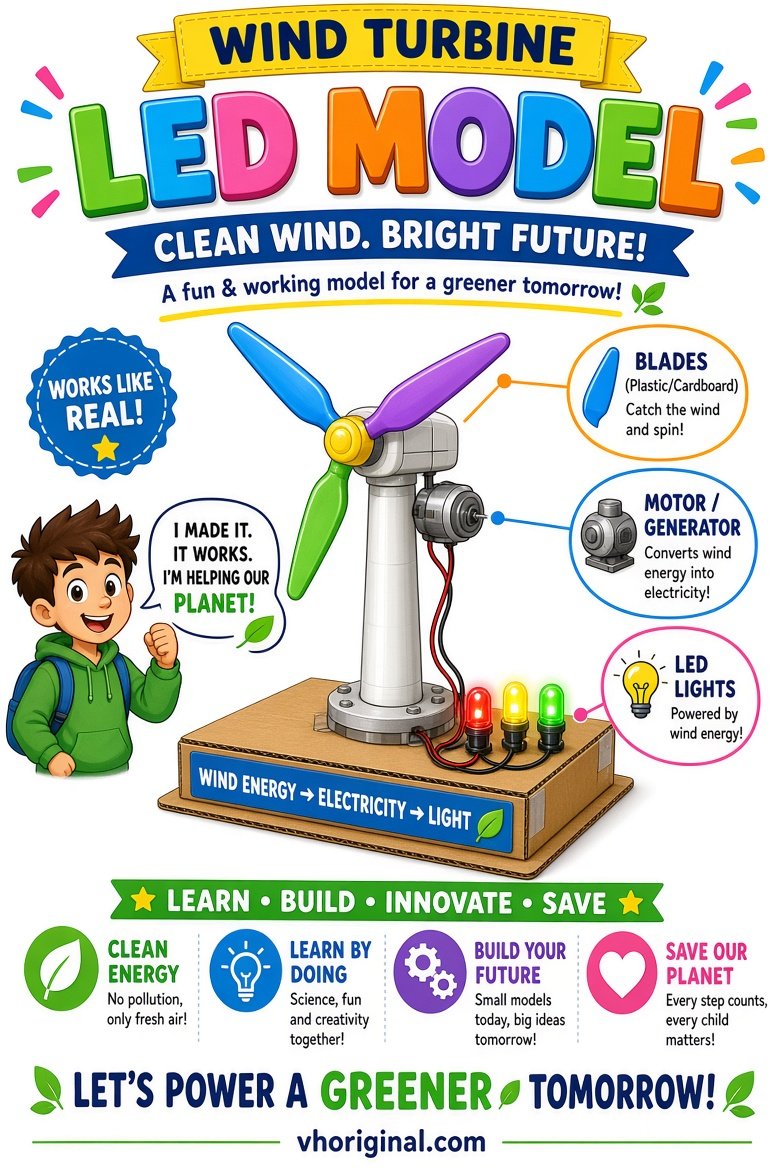
Picture 5: Parts and Materials Chart
Typical supplies include a lightweight base board, safe rotor blades, small DC motor, suitable LED, insulated wires, secure supports and optional current-protection components chosen for the circuit. A multimeter may be available for supervised measurement. Keep batteries and charging circuits out of this model. There is no need to connect a phone charger, mains adapter or high-speed drill to make the rotor turn. Label each component and its role on the poster so a student can answer practical questions rather than merely point at bright colours.
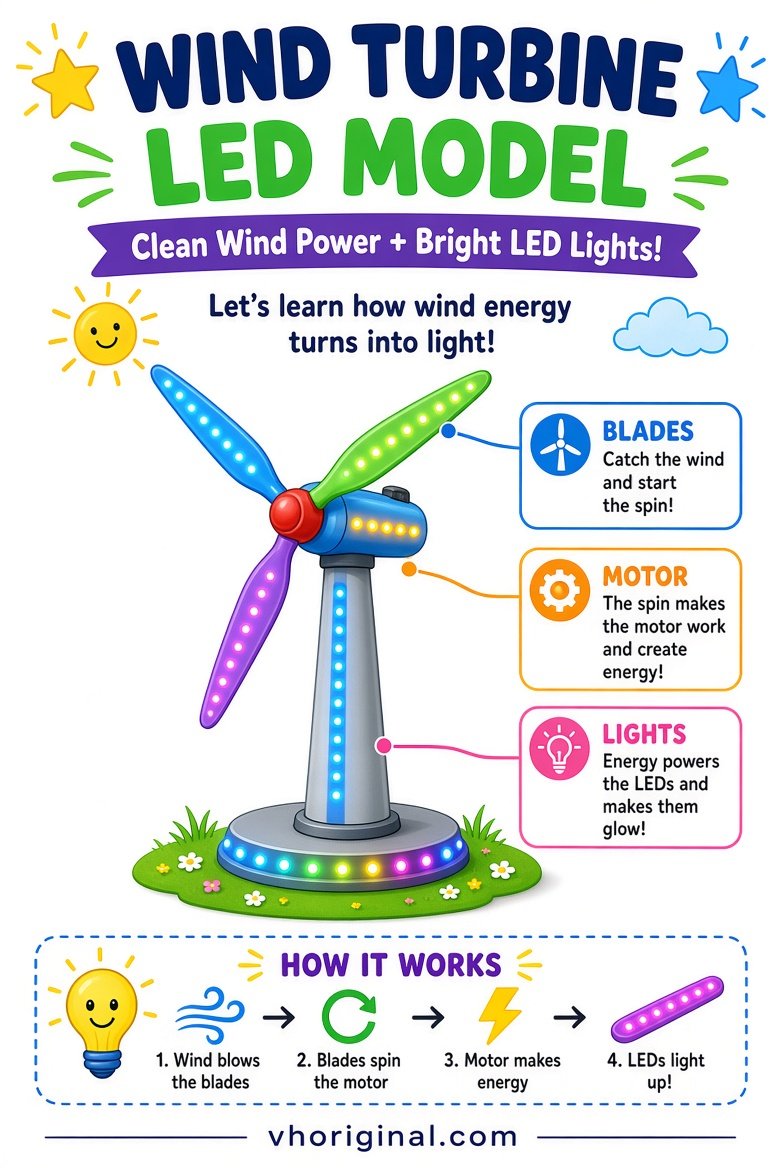
Picture 6: Science Exhibition Display and Observations
Arrange the project board into Aim, Principle, Parts, Procedure, Observations and Limitations. Students can record whether the rotor turns smoothly, whether the LED illuminates and whether changing blade direction alters the behaviour. Avoid invented wind speed figures when you do not have a calibrated meter. If the LED does not glow, explain why electrical output, polarity or connections may be responsible. Record unsuccessful tests too. Secure all wires and keep visitors away from moving blades. Include an accurate energy-flow diagram beside the physical model.
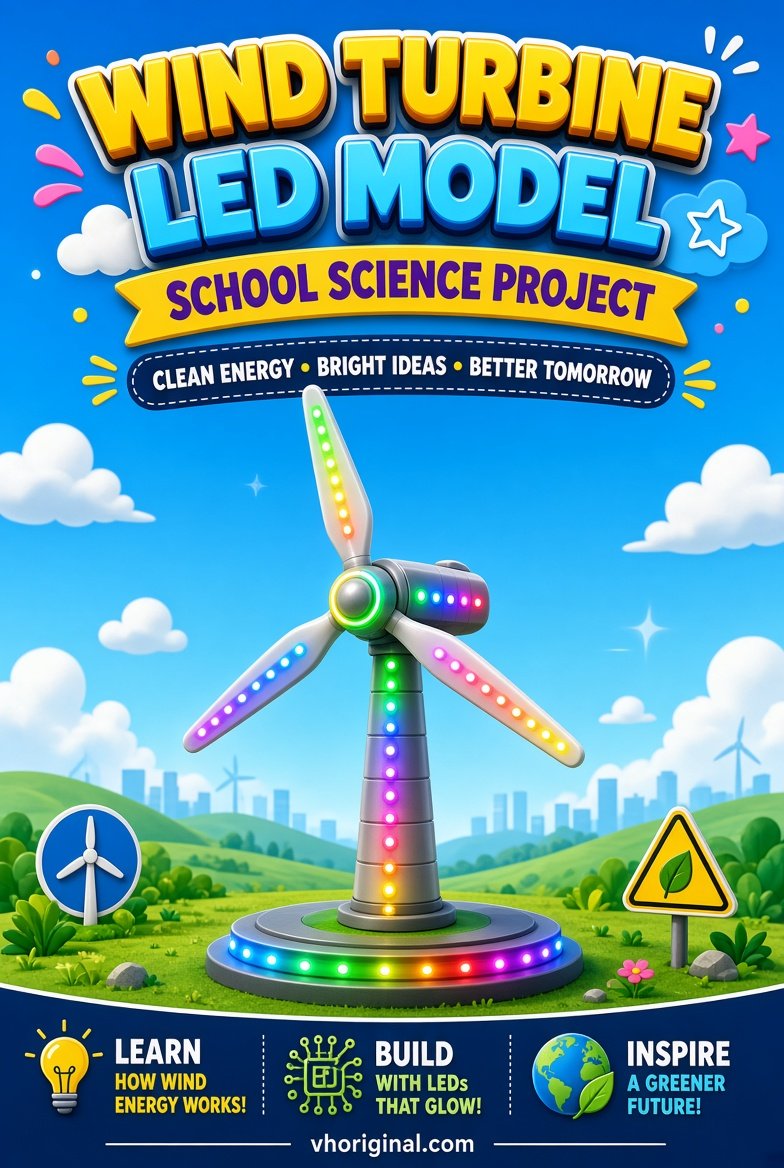
Viva Answers, Download and Final Safety
In a viva, explain how wind turns the generator and why LED voltage and polarity matter. Wind vanes show direction, not electricity. Save full-size images; keep fingers, clothes and water away from spinning blades and wires.
Frequently asked questions
Will any DC toy motor light an LED?
No. Output voltage, current, wiring and the LED’s requirements must be compatible.
Does the classroom model charge a battery?
No. The classroom generator powers the LED through a suitable series resistor. Use a low-voltage educational kit with the teacher’s supervision.
Can I connect the model to a wall socket?
No. Avoid mains electricity in this classroom project.
How is a wind turbine different from a wind vane?
A turbine converts wind energy into rotation; a vane indicates wind direction.
Conclusion and sources
A good wind turbine LED project explains energy conversion clearly, reports real observations and uses only appropriately supervised low-voltage equipment.
Related working models: Science Working Models · Water Fountain Project
Sources: TeachEngineering — Wind Power; Practical Wind Power Education.
Related project: rain gauge and wind vane models
Sources: U.S. Department of Energy • Wind turbines







Share Your Opinion
Comments are closed on this post.