 Vista

How can you make a water fountain for a school project? A simple working water fountain model uses a waterproof basin, a small sealed submersible pump, a compatible tube and an outlet above the basin. The pump lifts water through the tube; gravity pulls it back down, so the same water can be circulated again. This article includes six large school-project images, materials, construction steps, a child-friendly explanation of the science and essential electrical safety advice.
The model should be easy to explain and safe to display. Children should not wire an ordinary motor into water or work with household mains electricity. Use only a purpose-built pump and its specified low-voltage power arrangement, with an adult handling all electrical connections. If your school does not permit powered projects, you can demonstrate a short-lived gravity-fed fountain instead, without claiming that it runs forever.
How does a mini water fountain work?
A small submersible pump has an inlet that draws in water and an outlet connected to a tube. The motor supplies energy that moves the water upwards. When the water reaches a higher outlet or nozzle, it flows out and falls down into the basin because of gravity. As long as the pump is operating correctly and enough water remains, most of the collected water can go around this route repeatedly.
This process is called water recirculation. It is not a source of free or perpetual energy. The pump uses electricity from an approved battery or supply, and the moving water loses energy through friction, splashing and other effects. Turning off the motor stops the upward movement. A very tall fountain may also exceed what a particular pump can deliver: the pump’s rated lift height and flow matter more than the colour or size of the outer model.
A fountain recirculation loop is different from Earth’s natural water cycle, which involves evaporation, condensation, precipitation and movement across and below the ground. The U.S. Geological Survey explains how solar energy and gravity drive Earth’s wider water cycle. Children can use this contrast to learn why two systems that both move water may work in very different ways.
Materials needed for a working fountain school project
Prepare a broad plastic basin or deep waterproof tray, one ready-made sealed submersible mini pump designed for use in water, a tube that fits the pump’s outlet, lightweight cardboard or foam board for the decorative stand, tape or craft adhesive, small plastic decorations or stones, and clean water. For the electrical part, use only the power source and connectors stated in the pump manufacturer’s instructions.
Cardboard can be used around a decorative column, but it becomes soft when repeatedly soaked. Keep it above the water or cover it using an appropriate water-resistant method. A wide basin with a low centre of gravity is generally easier to transport and less likely to tip than a narrow container with a tall tower. Place the entire display on a stable table before filling it.
If the pump requires special installation, positioning, immersion depth or priming, follow those manufacturer-specific directions. Do not substitute a loose bare-wire toy motor simply because it is small. The school display does not need exposed electronics, a decorative LED strip or a complicated control panel to demonstrate how water moves.
Six water fountain school project pictures with instructions
Tap any image to open its large version. These child-friendly pictures explain the intended layout and components, but are not certified electrical schematics. Read the safe construction guidance alongside them, especially before connecting a power source.
1. Finished Mini Water Fountain School Model
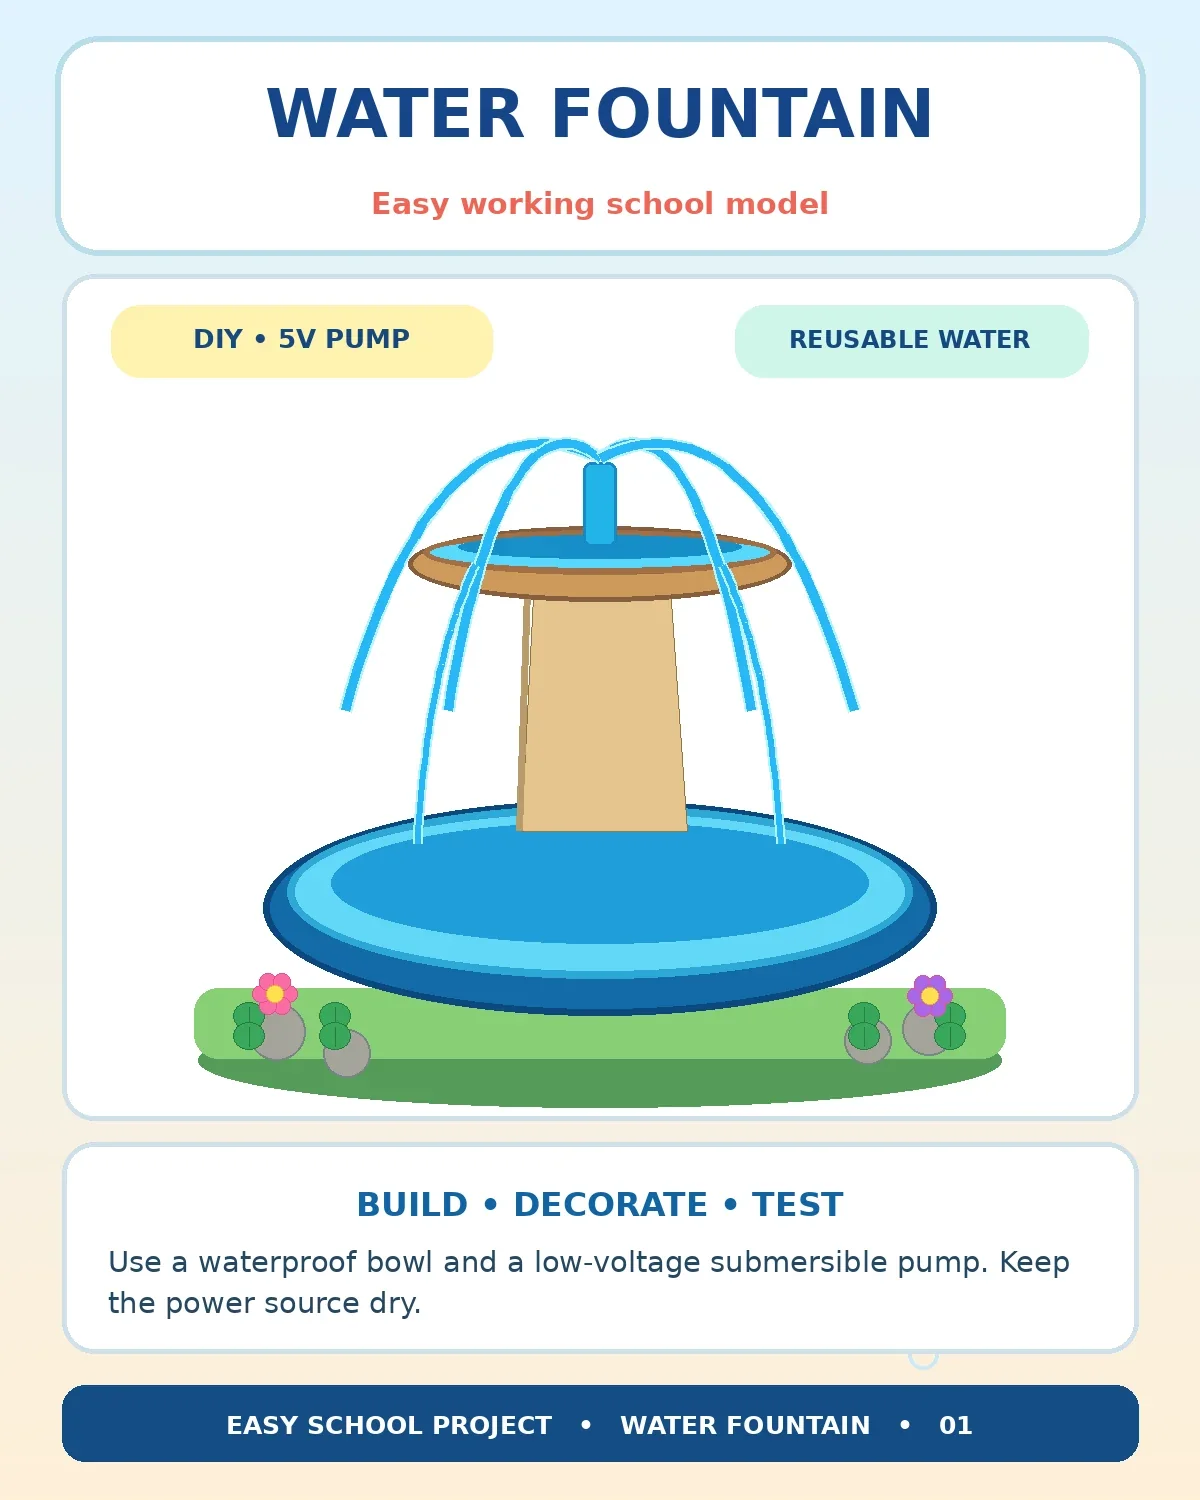
The picture shows a decorative central structure, a collection basin and the path followed by water. It helps pupils decide how tall their model should be and where falling water will land.
How to use this idea: Set a waterproof tray on a level table. Build a lightweight central column and keep its outlet pointed toward the tray. Avoid tall, top-heavy decorations that could tip when water is added.
2. Water Fountain Materials Checklist
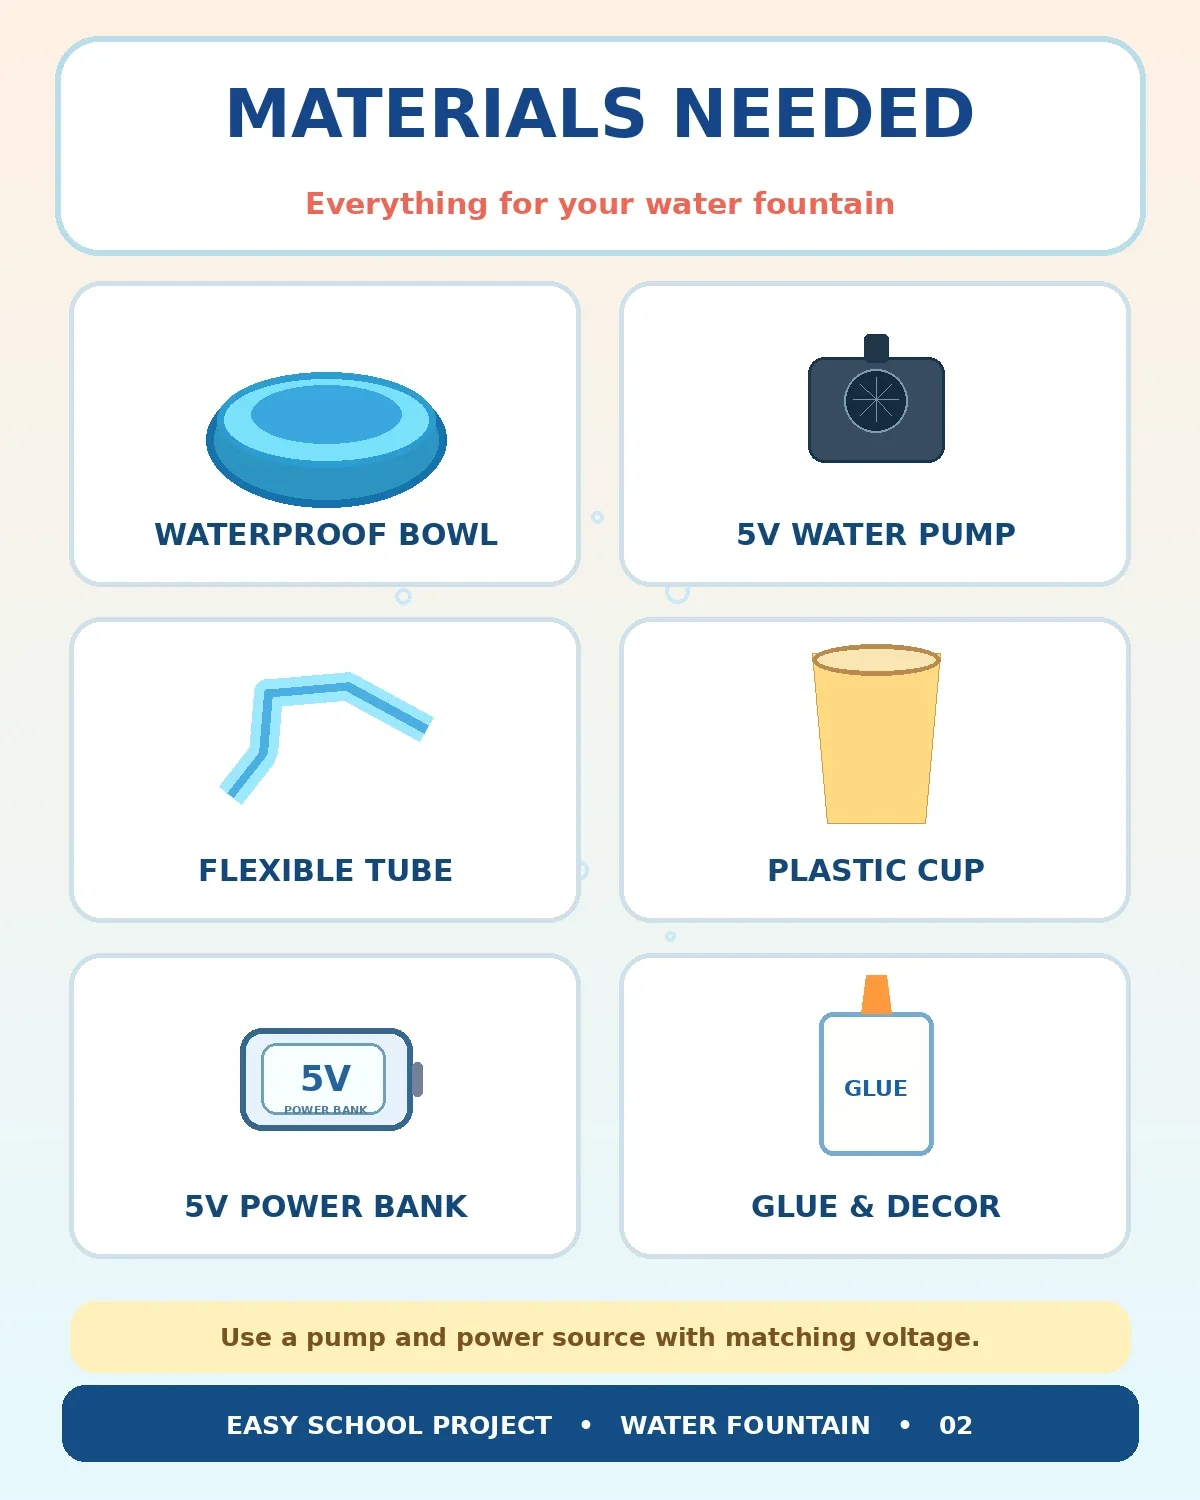
A shallow waterproof basin, appropriate sealed water pump, matching flexible tube, lightweight craft decorations, and the pump’s specified power source are the main components.
How to use this idea: Lay out the tray, pump, tube, clean water, tape and decorations separately. Read the pump label before attaching anything. A cardboard stand can look attractive, but position absorbent materials above the splash zone.
3. Three Steps to Make the Fountain Base
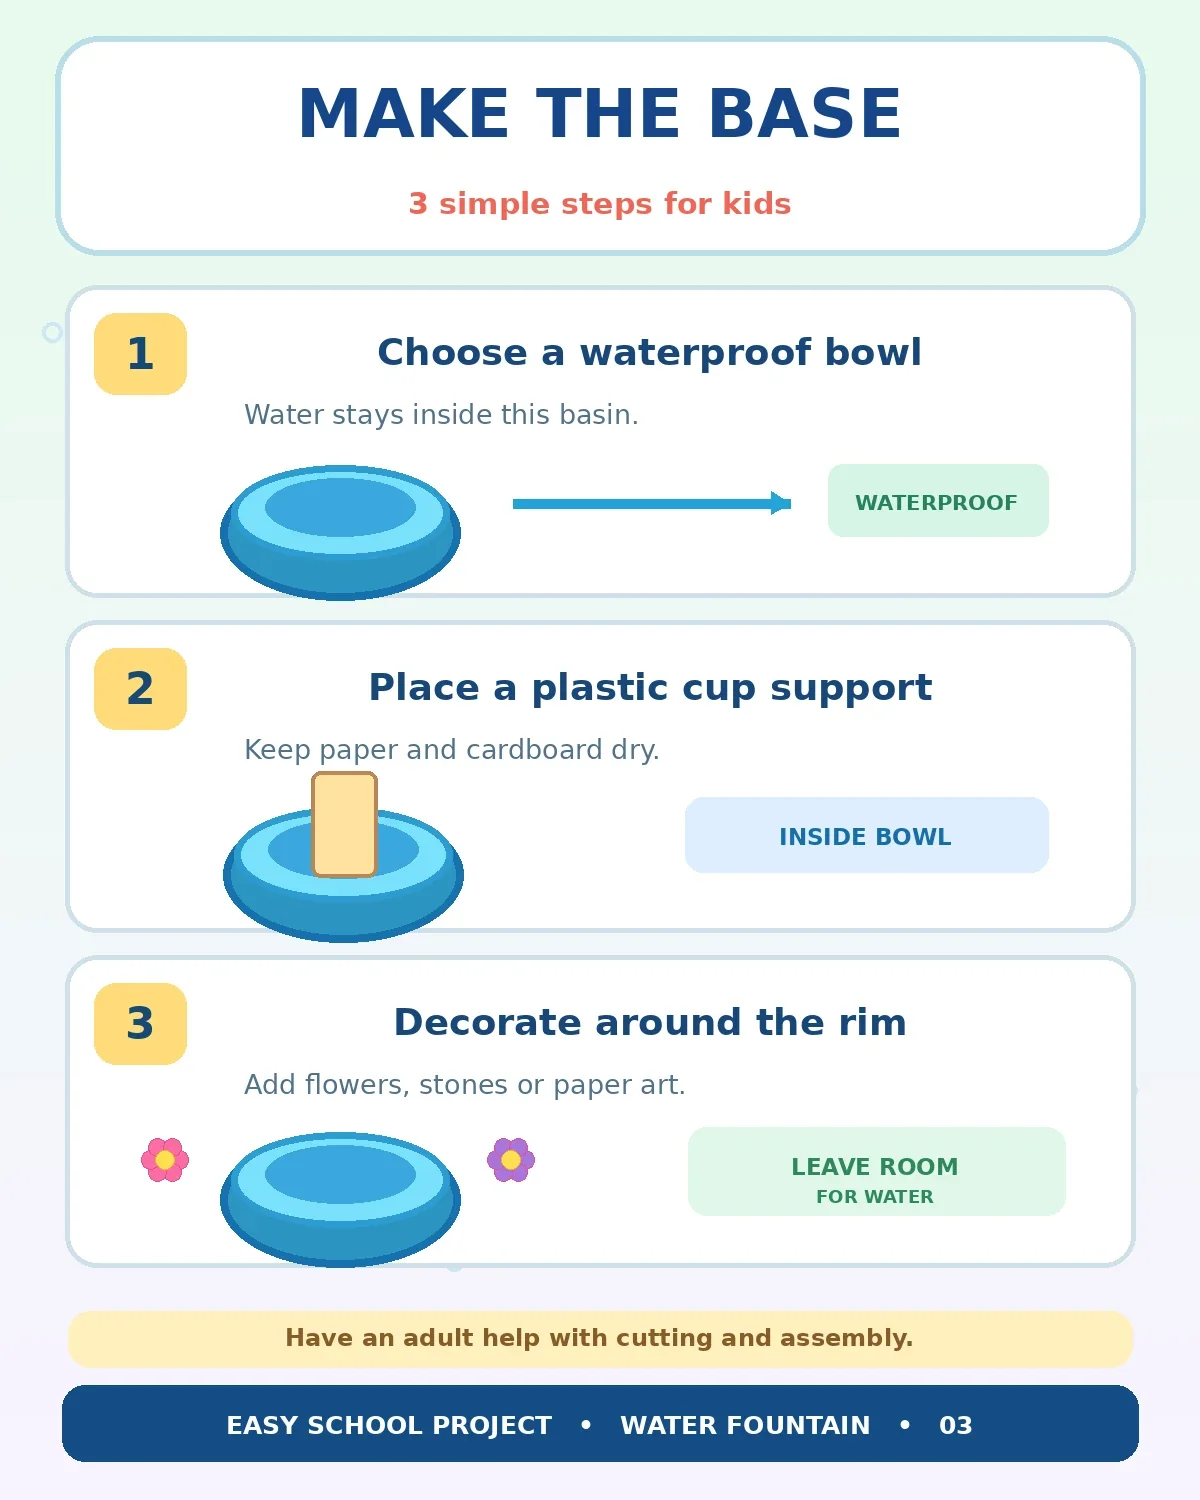
A stable base is more important than fancy decorations. It catches the water and keeps the model balanced while the pump is running.
How to use this idea: Choose a wide basin, position a stand in its centre and leave room inside the stand for the tube to pass upwards. Check that the finished decoration fits inside the basin’s footprint.
4. Mini Pump and Tube Installation

The pump moves water from the basin into a tube. Water emerging from the tube returns to the basin under gravity.
How to use this idea: With power disconnected, put a manufacturer-rated submersible pump into the basin in accordance with its instructions. Fit a compatible tube onto the pump outlet. Route the tube to the top of the column and aim the open end back inside the basin.
5. Safe Power Connection for a Fountain Project

The electrical part needs special care because the project also contains water. Only a sealed pump designed for immersion should be in contact with water.
How to use this idea: Have an adult match the power supply to the pump manufacturer’s voltage and connector instructions. Keep the battery case, switch and all connections dry and above the waterline. Never put exposed wires or a general toy motor into the basin.
6. How Water Circulates in a Fountain

The diagram shows the pump raising water, the outlet releasing it and gravity bringing it back. It illustrates mechanical recirculation rather than a natural weather-driven water cycle.
How to use this idea: Follow one drop of water: basin to pump, pump to tube, tube to nozzle, nozzle back to basin. Explain what changes when the pump is turned off and why splashing or evaporation can slowly lower the water level.
How to make a water fountain model step by step
- Plan the water path. Decide where the collecting basin, pump, rising tube and outlet will be. The outlet must release water back into the same basin.
- Build the base. Set a waterproof tray or plastic tub on a flat work surface. Check that it cannot tip when filled.
- Make a small tower. Use lightweight craft materials for the outer display, but keep the structure stable and out of the water where possible.
- Install the pump. With all power disconnected, position the pre-made submersible pump according to its instructions. Do not modify its casing.
- Connect the tube. Use a properly fitting flexible tube and pass it through the stand. Avoid tight bends that restrict flow.
- Direct the nozzle inward. Make sure the end of the tube points toward the centre of the tray, not toward a person, plug or nearby equipment.
- Fill the basin safely. Follow the pump’s specified water level. An adult should perform the electrical connection and initial power-on while everyone keeps their hands out of the water.
- Observe and adjust safely. Disconnect power before changing tube position, water depth or decorations. Watch for leaks and splashes, and stop the test if something is wrong.
- Prepare for school transport. Empty the basin, dry the craft parts and carry the pump and supply separately if the teacher’s rules require it.
The goal is a short, controllable demonstration. You do not have to make a metre-high jet. In fact, a gentle stream that clearly returns to the basin is easier for children to explain and often easier to keep inside the collection area. Never connect an uncertain power source simply to increase the water flow.
Water and electricity safety: seven rules for children
1. Use a sealed water-rated pump. A general exposed motor is not an acceptable substitute. 2. Avoid DIY mains wiring. Do not strip or join household power cables for this project. 3. Match the electrical rating. An adult must use the voltage, current capacity and connector arrangement specified by the pump manufacturer. 4. Keep connections dry. Battery packs, switches, adapters and wire joints must remain outside and above the water basin. 5. Switch off before touching water. Unplug or disconnect power before moving the pump or tube. 6. Watch for splashing. Protect nearby sockets, phones and laptops. 7. Follow school rules. The teacher may prohibit powered or wet demonstrations.
Even a low-voltage label does not automatically make any improvised water-and-wire arrangement safe. Damaged insulation, unsuitable chargers and submerged battery packs can create hazards. If a wire becomes hot, the power supply gets wet, or anything seems abnormal, stop the project and ask a qualified adult for help.
The Electrical Safety Foundation International’s educational resources can support a broader classroom discussion about safe electricity use. Do not attempt electrical troubleshooting while the pump is connected.
How to explain the fountain model in a school presentation
Children can say: “This is my water fountain working model. Water collects in the lower basin. A small pump uses electrical energy to push the water up through a tube. The water comes out at the top and falls back into the basin under gravity. The pump can then move it up again. When we switch off the pump, the water stops going up.” This short explanation covers the pump, energy and gravity without requiring complicated mathematics.
A useful classroom test is to compare three situations: pump off, pump running normally, and the water level getting low. An adult can run the test and ask pupils to record what changes. The observation helps show that recirculation depends on both energy and suitable operating conditions. It also illustrates why a displayed fountain can stop if water splashes out or the pump is not properly submerged.
If the teacher asks whether the model demonstrates rainfall or evaporation, explain that it does not reproduce those atmospheric processes. The USGS water-cycle guide describes a different natural system. Connecting the two ideas carefully is a stronger science lesson than confusing them.
Why is my school fountain not pumping water?
No flow: With the pump disconnected, check the manufacturer’s required water level, the power connection and the tube fitting. Some pumps have minimum submersion conditions. Weak flow: The tube might be kinked, the outlet may be too high or the pump may not be rated for that height. Water splashing out: Lower the outlet and redirect it toward the collecting basin. Model tipping: Widen the base or remove heavy decorations.
Cardboard getting wet: Move absorbent parts away from the splash path, or switch to water-resistant materials. Water level falling: A little water can leave through splashing and evaporation; monitor the basin and keep the pump within its intended operating conditions. Electrical concern: Disconnect immediately and do not open or repair the pump or power supply without qualified assistance.
Frequently asked questions
Can I make a school water fountain without electricity?
Yes, a simple gravity-fed model can release water from an elevated cup through a tube. It will stop after the upper container empties and is not a continuously powered fountain.
Can I put a regular toy motor in water?
No. Only a properly sealed submersible pump designed for immersion should contact the water.
Is a low-voltage fountain automatically safe?
No. The pump, power supply and connections must still be appropriate, undamaged and kept where the manufacturer specifies. Adult supervision remains important.
Why does the water rise through the tube?
The pump’s motor transfers energy to the water, driving it up the tube against gravity.
Can I show this model at a school exhibition?
Ask the teacher first. Schools may restrict water, powered devices or electrical connections inside classrooms.
Is a working fountain the same as the water cycle?
No. A pump circulates water mechanically. Earth’s water cycle also involves evaporation, condensation, precipitation and other natural movements.
Conclusion and educational references
A successful water fountain model for a school project does not need to be large or complicated. The important parts are a stable basin, a correctly rated sealed pump, a fitting tube, a clear water-return path and a child who can explain how energy and gravity are involved. Keep all electrical work in an adult’s hands, and choose a non-powered demonstration if your school does not allow a working pump.
References: ESFI — Kids’ Electrical Safety and USGS — Water Cycle. Image disclaimer: these are illustrative craft posters, not certified wiring instructions. Use the pump maker’s actual safety directions for assembly and operation.
More ideas for school projects
- 6 Easy Solar System Drawings for School Projects
- Volcano Model for a School Project: 6 Pictures and Steps


























Share Your Opinion
Comments are closed on this post.