 Vista
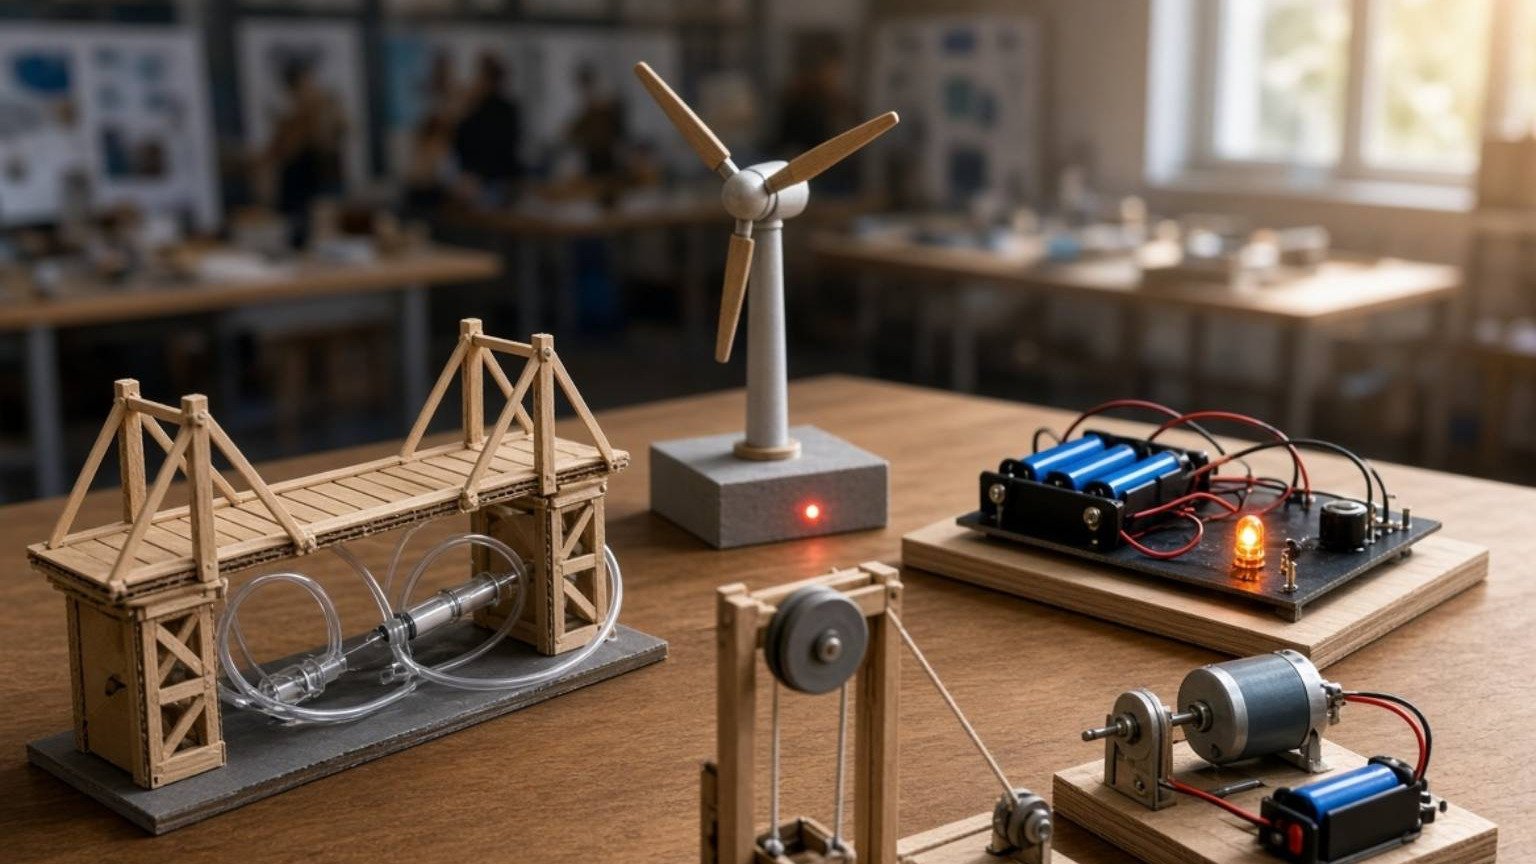
Want to make a hydraulic bridge working model for a school project? This guide features six educational pictures: a bridge illustration, step-by-step build guide, science exhibition poster, colourful layout, simple cardboard model and technical diagram. Students in approximately Classes 7–10 can use clean water, needle-free syringes and soft tubing to move a lightweight bridge deck. The central concept is how pressure is transmitted through a confined fluid, as described by Pascal’s principle. Each full-size poster provides a different view of the same general model. **Safety:** use only clean, needle-free syringes with adult supervision; this is not a tested design for a real bridge.
How does a hydraulic bridge model work?
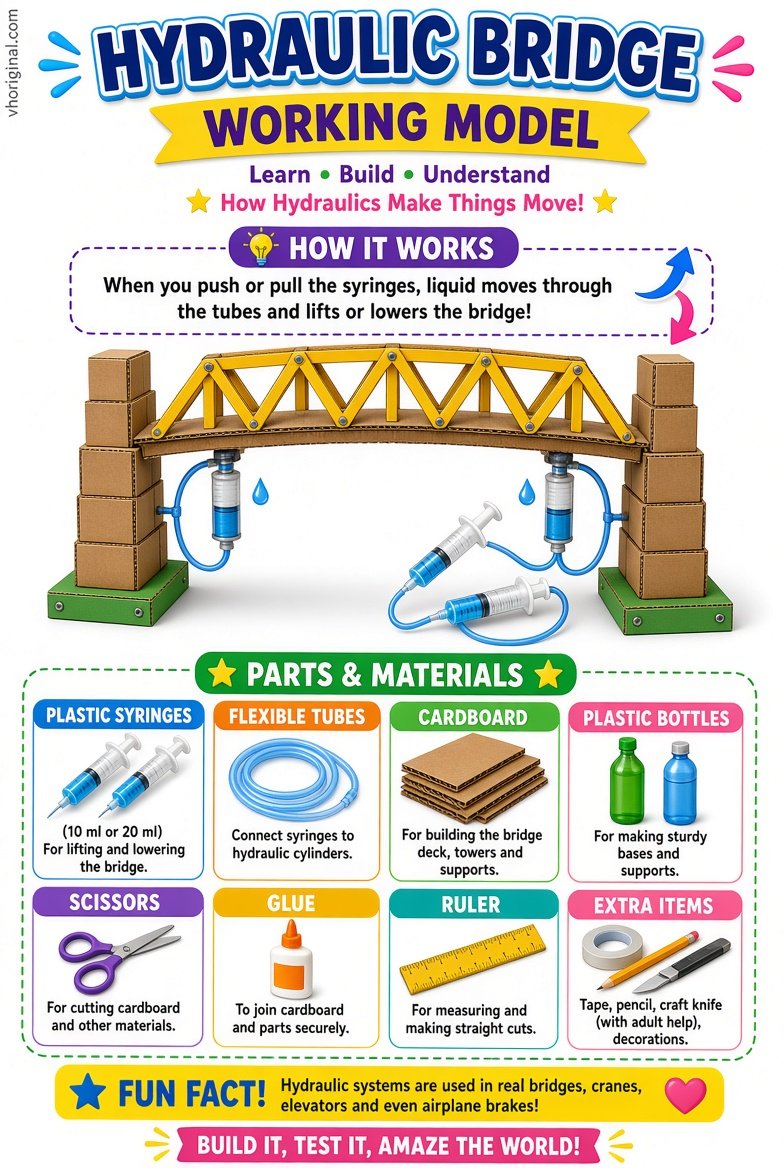
A common classroom arrangement connects two syringes with flexible tubing filled with clean water. When the input syringe piston is pushed, a pressure change is transmitted through the fluid. The output syringe piston may extend and move the hinged deck of a lightweight cardboard bridge. This introduces Pascal’s principle. Pressure is force divided by area, so piston areas help explain differences in force and displacement. The system does not create free energy, and real behaviour is affected by friction, trapped air, fluid leaks and mechanical geometry. A moving deck should be light, properly supported and never loaded with heavy objects.
Picture 1: Main Hydraulic Bridge Illustration
Identify the fixed base, hinged deck and output syringe in the illustration. The moving deck rotates about a supported joint; it does not float freely. Keep the lifting mechanism visible beneath decorative roads or rails. Never load the small model with heavy toys to prove strength.
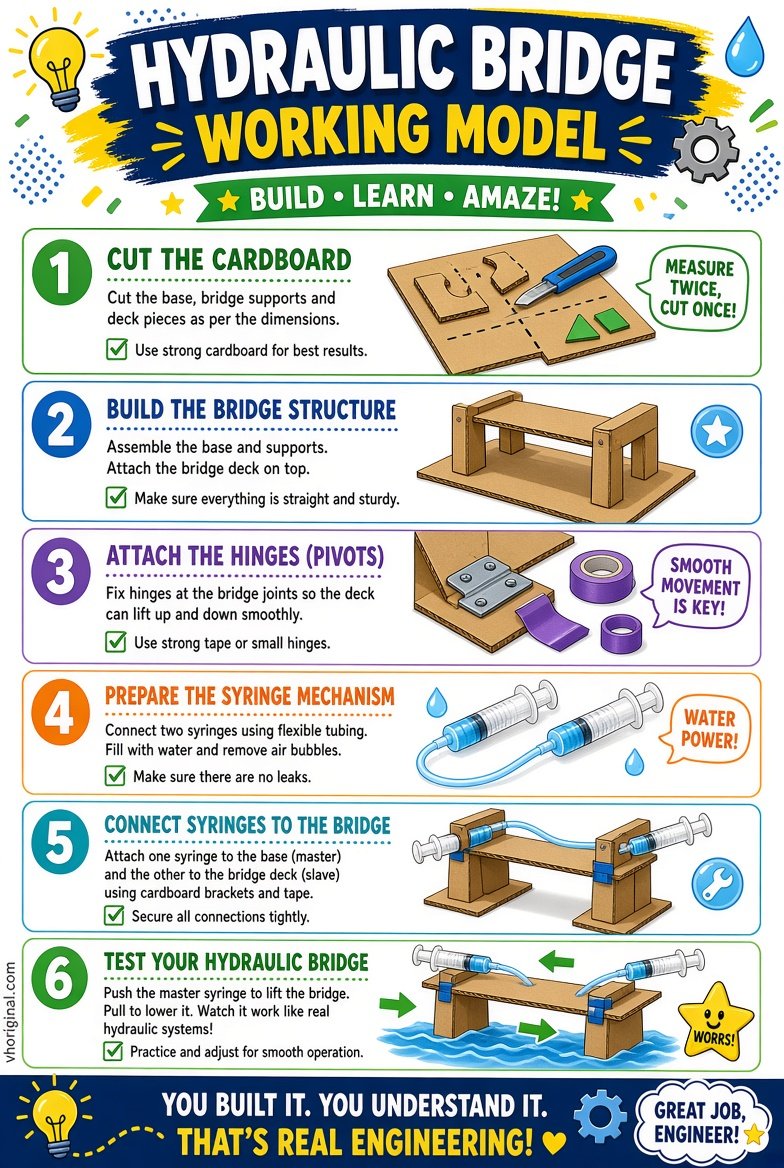
Picture 2: Hydraulic Bridge Step-by-Step Guide
Begin with a flat base and a lightweight deck. Make a tape or paper hinge along one side, then position the output syringe so its piston can move the deck without jamming. Connect the syringes with an appropriately fitted soft tube. An adult can help fill the system with clean water and reduce large air bubbles. Push the control syringe slowly, keeping hands clear of the hinge. If tubing disconnects or the piston sticks, stop and inspect the alignment instead of increasing force. A small, controlled movement is enough to demonstrate the principle safely and clearly.
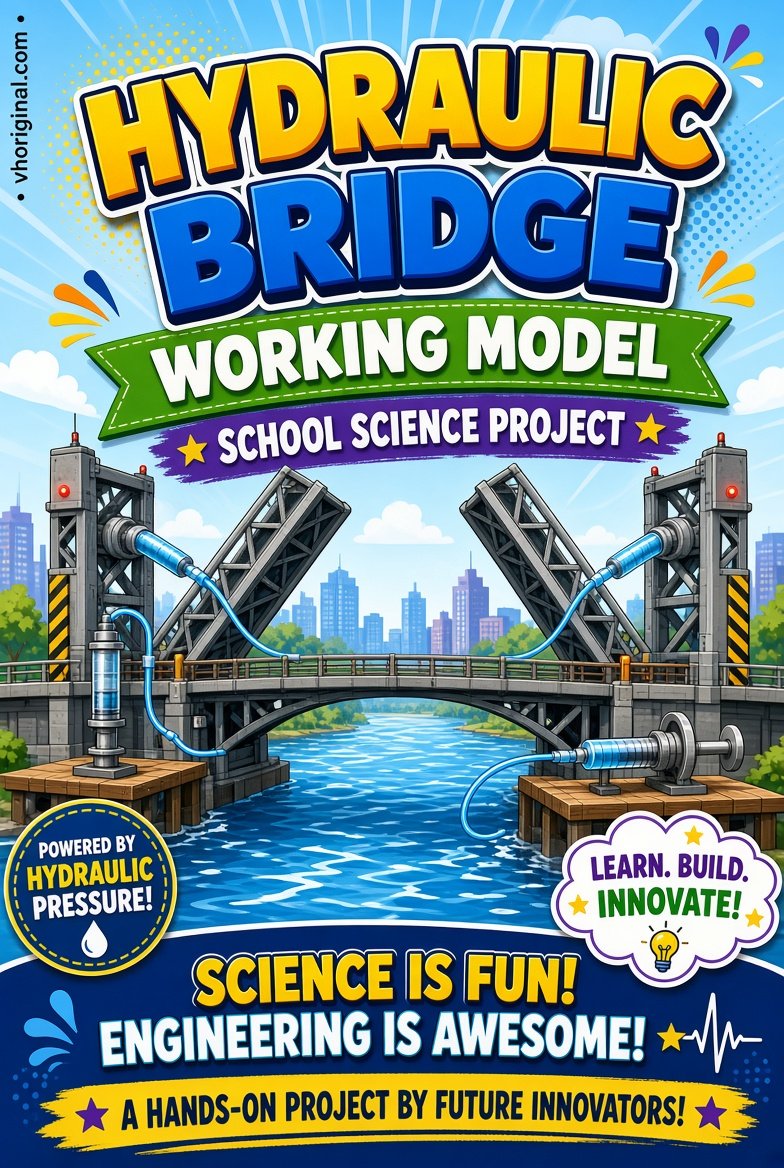
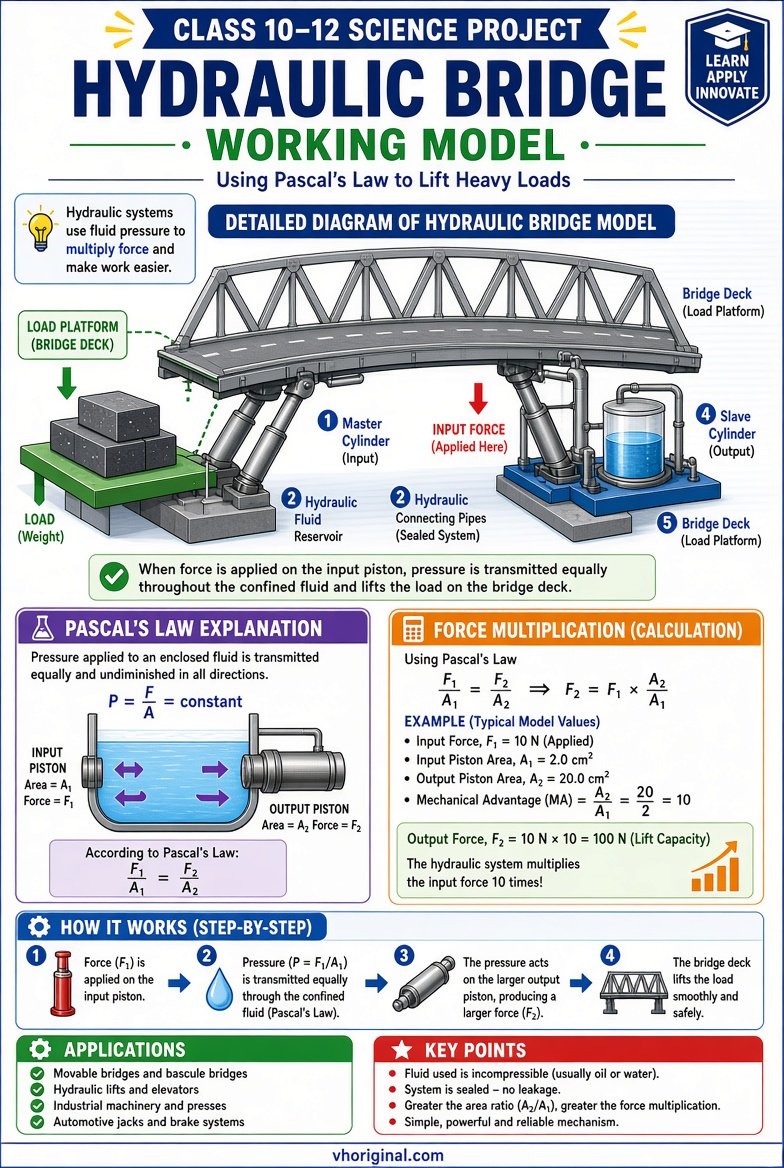
Picture 3: Science Exhibition Poster and Pascal’s Law
Pascal’s law explains that a pressure change applied to a confined fluid is transmitted throughout that fluid. The relationship Pressure = Force / Area provides a useful classroom introduction. Depending on piston sizes, hydraulic systems may trade displacement for force, with limitations arising from friction and other losses. A cardboard model should not be advertised as capable of lifting heavy vehicles just because a diagram shows force multiplication. Label the input syringe, connecting tube, output syringe, hinge and deck. The goal is a transparent, defensible explanation of the mechanism, not an impossible engineering claim.
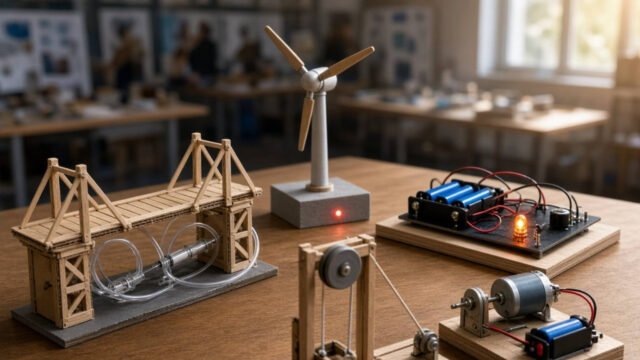
Picture 4: Colourful Hydraulic Bridge Model
Use contrasting colours for the tubing, hinge and moving deck while leaving the actual mechanism visible. Water transmits pressure; its colour is irrelevant. Any illustrated electric motor represents a different setup from a hand-operated syringe bridge, so do not describe the motor as essential.

Picture 5: Simple Cardboard Bridge Construction
A cardboard version is easier to carry and control than a wooden or metal structure. Use a sturdy base, a hinged flap as the road deck and supported syringe parts. Secure the output syringe without bending its piston. A loose hinge can wobble, while a stiff hinge can make the model difficult to move. Support the mechanism with folded cardboard and put a tray below in case water spills. Adults should handle sharp cutting tools and create safe edges before children assemble the pieces. Never use a heavy toy vehicle to test the lifting capability.
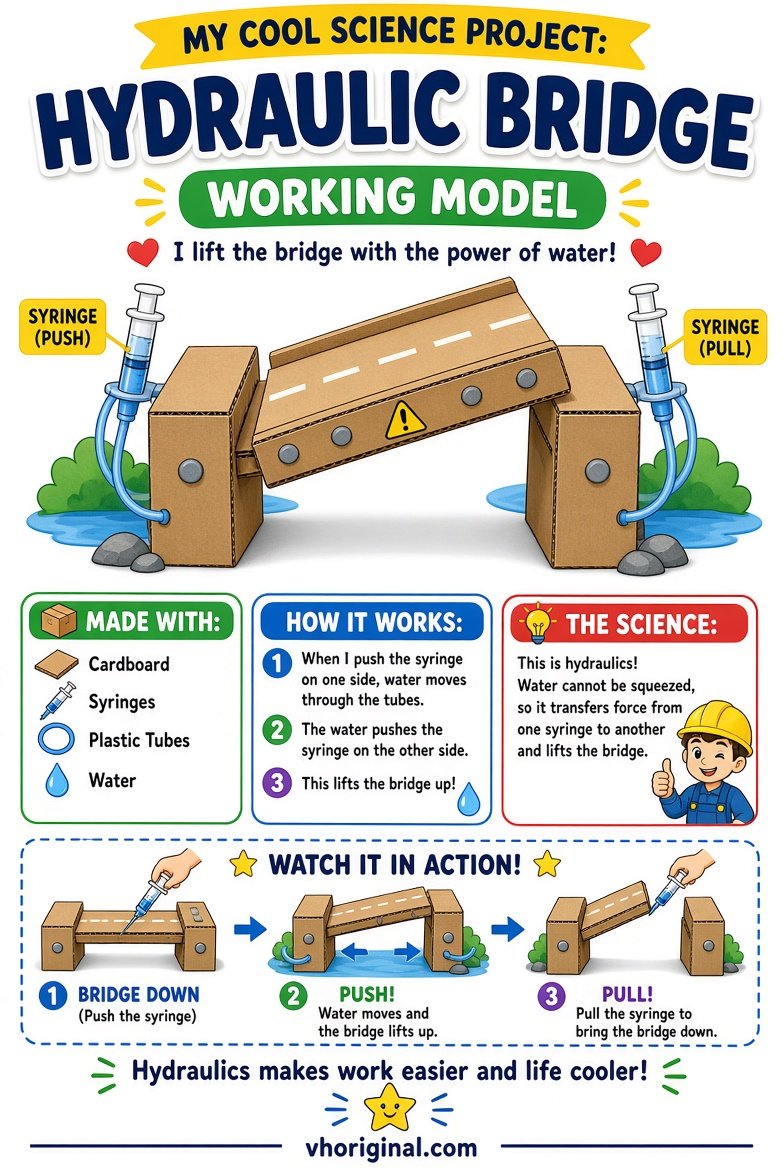
Chart note: The two “push” labels conflict. Deck movement depends on how the output syringe and hinge are mounted. Use needle-free syringes and press gently.
Picture 6: Technical Syringe and Hinge Layout
Label input and output pistons, tubing and deck pivot carefully. Different piston areas can produce different movements. Air bubbles, leaks and friction change the response. The image is a teaching layout, not an engineering specification for actual bridge construction.
Materials and complete assembly steps
Use a cardboard base, paper bridge deck, two clean needle-free syringes, suitable tubing, clean water, tape, safe glue and a small hinge or folded paper joint. First make the deck and its pivot. Fix the output syringe so it can move the deck through a small angle. Connect the control syringe and fill carefully with water under adult guidance. Push gently to observe movement, then release or retract as the arrangement permits. If motion fails, check alignment, bubbles or leakage. Do not aim a fluid-filled syringe toward anyone or use needles, contaminated medical equipment or high pressures.
Viva answers, safety and downloads
Students may be asked why the bridge needs water, what Pascal’s law means and why the classroom model cannot carry heavy loads. Explain that the confined fluid transmits pressure, while a real load-bearing bridge requires qualified engineering. Never use used medical syringes or hidden needles. Keep water away from electrical equipment, and stop if any connection fails. Open the full-size link below each of the six posters to inspect or save it. Check generated labels before printing; a colourful diagram can still contain wrong arrows or a syringe that would jam in the actual build.
Frequently asked questions
Why does the hydraulic model use water?
The confined liquid transmits a pressure change from one syringe to another.
Can students use syringes with needles?
No. Use only clean, needle-free syringes.
Does the model require a motor?
No. Hand-operated syringes can move a lightweight hinged deck.
What if the bridge does not lift?
Check trapped air, tube connections, leakage and the alignment of the hinge and pistons.
Conclusion and sources
A clear hydraulic bridge school model demonstrates fluid pressure and controlled mechanical motion while making its safety and engineering limitations explicit.
Related school projects: Water Fountain Model · Science Working Models
Sources: TeachEngineering — Fluid Forces and Hydraulic Bridges; BCIT — Pascal’s Syringes.
Related project: levers and pulley models















Share Your Opinion
Comments are closed on this post.