 Vista
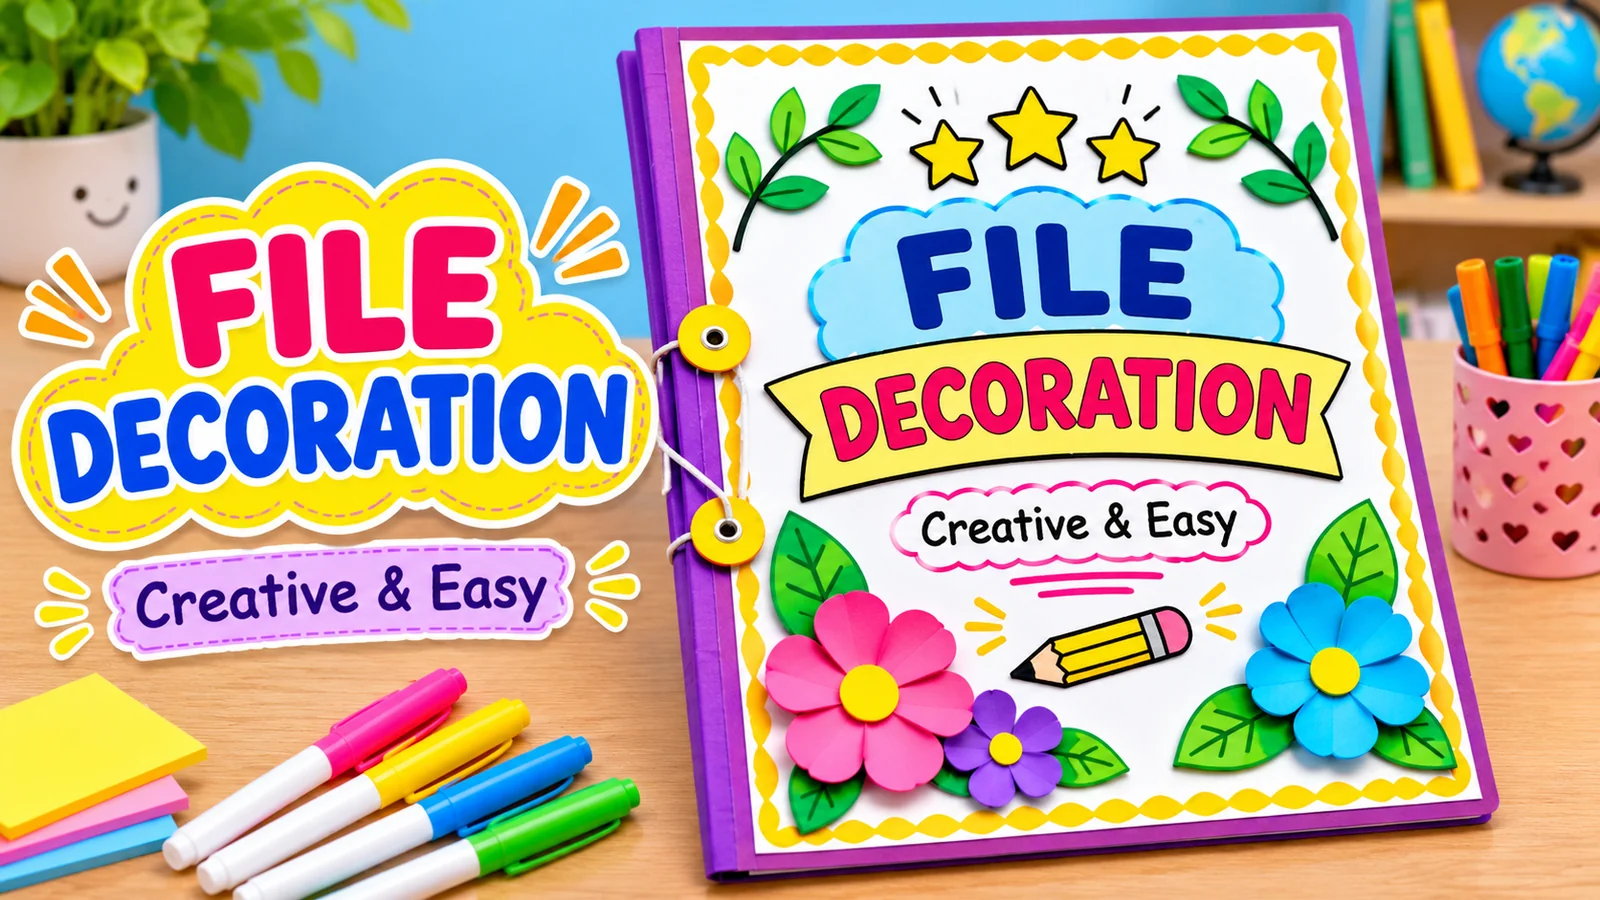
How do you decorate a school project file easily? Start with a plain folder, fit a neat paper cover, plan the title and student-information boxes, and add a small border or subject-related drawing. You can make a colourful result using only pencils, a ruler and a few colours. This guide shows six easy file decoration pictures for school projects, including floral, geometric, garden, materials, four themes and an illustrated step-by-step process.
Decorating a project file is a little different from drawing its first page. The outer file needs to open and close properly, protect the assignment, and display the subject clearly. That means the cover, paper fit, fold, spine and inner-page organisation deserve as much attention as the artwork itself. These images are examples for children to redraw and adapt, not required school templates.
What makes a school project file look neat?
A good file cover makes the main subject and student’s details easy to identify. It should also survive being carried in a school bag and opened several times by a teacher. Huge paper flowers, thick glitter, beads or loose decorations may look dramatic in a photograph but can catch on other notebooks or fall off. A flat design, clear label and restrained border usually travel better.
Decide what the project is about before picking colours. For a science file, use one small flask or planet motif. An environmental studies project might use leaves or a water droplet. A mathematics cover could use straight geometric shapes. In art and language projects, a floral or colourful design can be suitable. There is no universal rule; follow the format that your school or teacher actually requests.
A finished project may also have a contents page, numbered sheets, labelled diagrams and a short conclusion. Attractive file decoration should support those elements rather than take attention away from them. A simple cover with accurate details is better than a beautiful cover carrying the wrong subject name.
Materials for easy project file decoration
You can start with an ordinary school project folder, A4 paper or a sheet matching the cover size, HB pencil, eraser, ruler, coloured pencils or crayons, and a dark writing pen. Add a small amount of craft glue or double-sided tape only when the cover needs paper attached. A transparent folder with a front pocket can often hold a decorated sheet without any glue at all.
Measure before cutting. The decorated sheet needs to fit the cover without protruding past the edge or covering the hinge. Leave a little room beside the spine, where the file bends. If using a separate craft-paper cover, check whether folding it around the edges will interfere with the inner papers or the folder’s mechanism.
Young children should not use craft knives or hot-glue guns. An adult can help if a paper shape must be cut. Test markers or wet paint on spare paper because some colours bleed through thin sheets. Let glue and paint dry completely before closing the folder or placing completed homework inside it.
Six file decoration images for school project covers
Tap any image to see the full-size example. The pictures show simple ways to decorate the file cover while keeping plenty of room for a readable title.
1. Floral Project File Cover

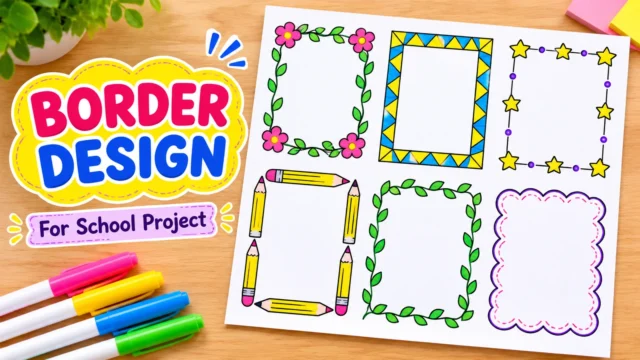
A floral cover has small flowers and green vines near the edges, leaving a clean space in the middle for the student’s project title and details.
How to make it: Place the folder on a flat table and measure the visible cover area. Sketch a flower in each corner and join the shapes with thin curving leaves or vines. Keep the title area free. Colour the petals pink or yellow and the foliage green. If your file is glossy plastic, decorate a separate paper sheet and insert it into a cover pocket instead of writing directly on plastic.
Tip: Flowers can be made from a circle and five small petals; there is no need for detailed painting.
2. Colourful Geometric File Decoration

Blocks of bright colour, straight lines and simple triangles create a modern file cover suitable for maths, computers and general assignments.
How to make it: Draw two thin margin lines with a ruler. Choose three complementary colours and repeat rectangles, triangles or broad stripes along the edges. Draw one rectangular box for the title, and another for the name and class. Write important words in a dark pen so they remain readable even if the surrounding border is colourful.
Tip: Too many different colours can make the cover look busy; three or four repeated tones are enough.
3. Nature and Garden Project File Cover

Small leaves, grass and flowers are natural motifs for environmental studies, plants and Save Trees assignments.
How to make it: Sketch a few leafy stems near the left and right edges. Add a simple grass strip at the bottom and two small flowers or a butterfly near the corners. Leave a large central rectangle for the subject name. You may create the entire design with coloured pencils rather than cutting and gluing real leaves or complicated paper shapes.
Tip: Keep decorations away from the fold of the folder so they do not peel off when it opens.
4. File Decoration Materials Checklist
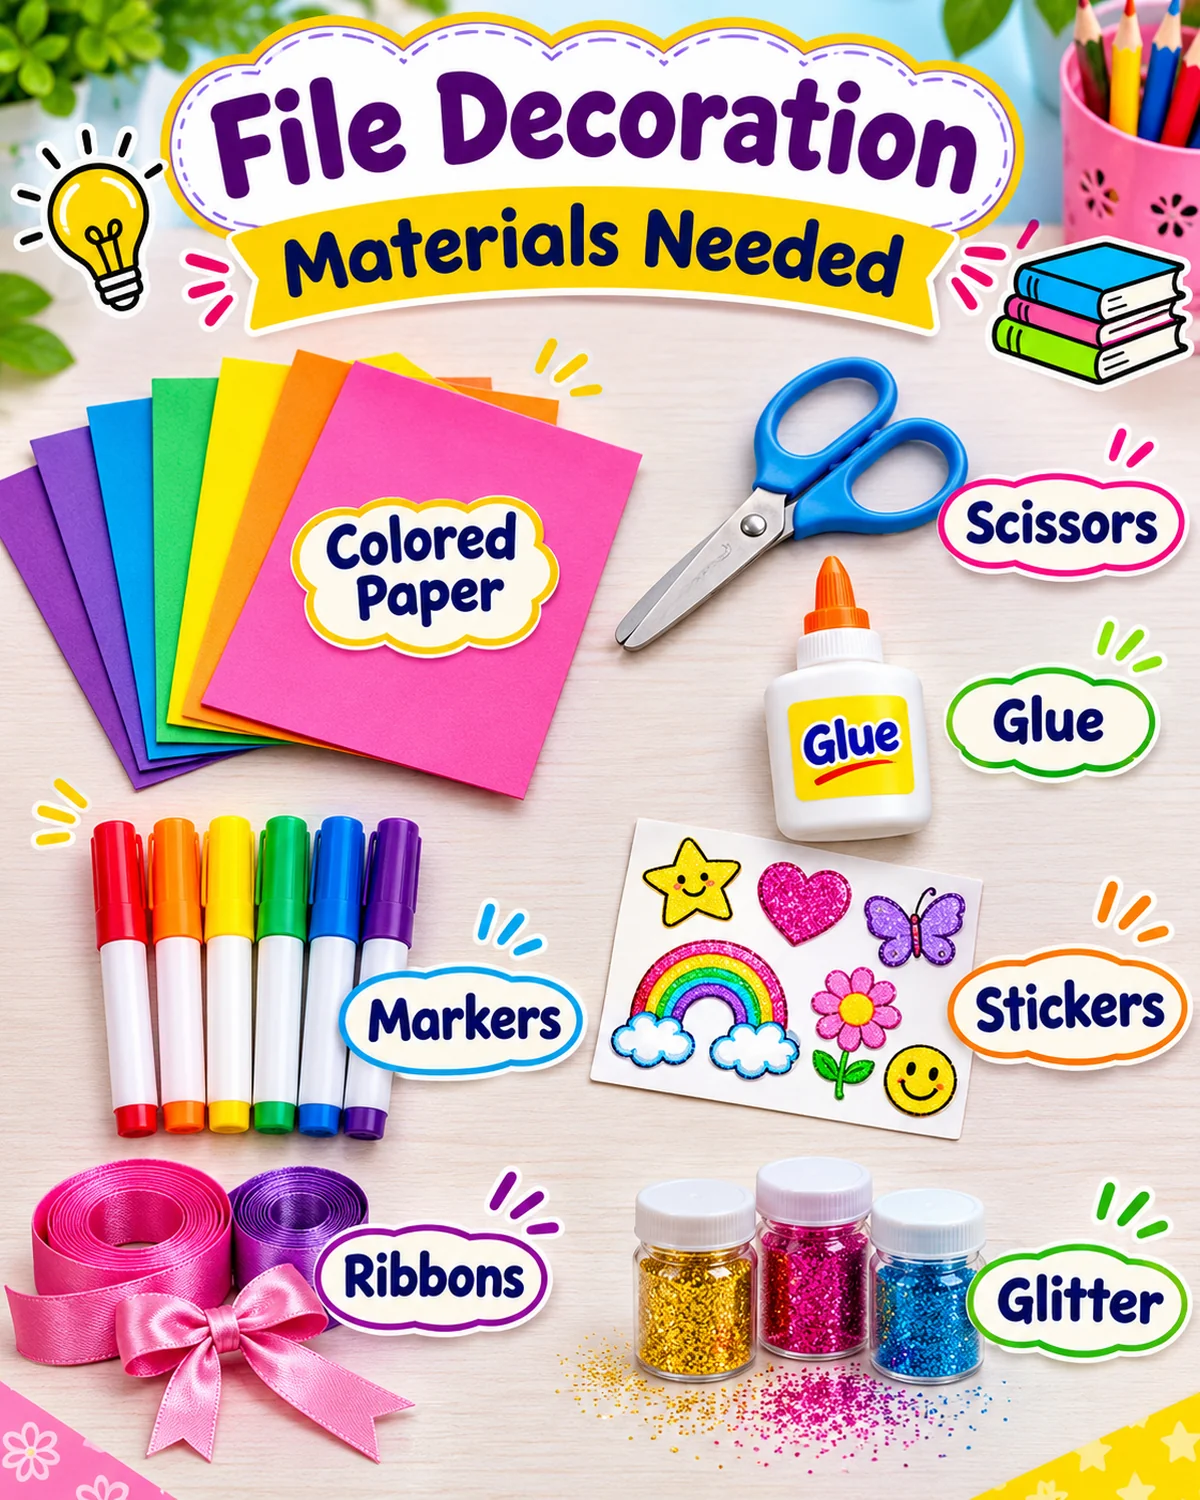
This reference illustrates basic supplies such as paper, pencils, ruler, glue, simple stickers and craft shapes.
How to make it: Choose paper that fits the file. Measure first and lightly sketch the layout before adding permanent colour. If paper cutting is necessary, have an adult help younger children. Use a small amount of glue, press the sheet flat and let it dry before placing work inside the folder.
Tip: A few ordinary stationery items are more useful than a heavy collection of glitter and decorations.
5. Four Project File Decoration Themes
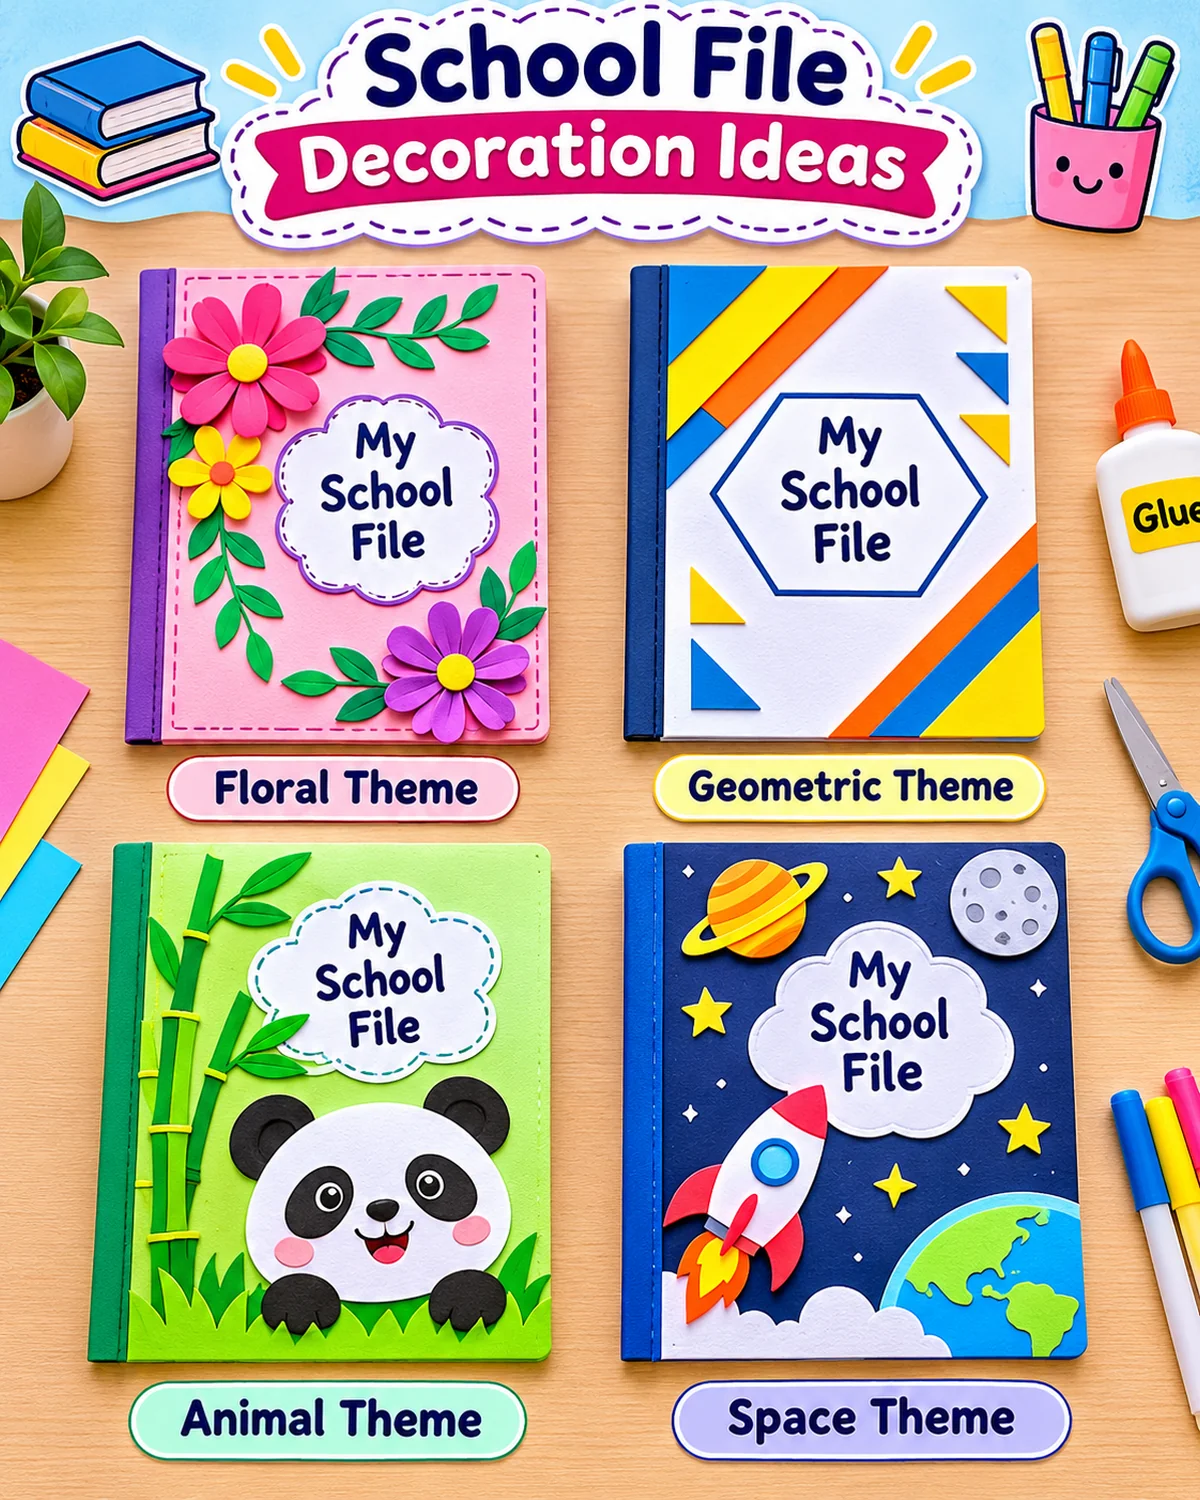
The image compares floral, colourful, nature and minimal approaches so pupils can select one style for the project.
How to make it: Match the cover to the school subject: floral for creative work, nature for environmental studies, geometric for maths, and minimal for longer reports. Choose one theme and repeat its shapes on the front and spine rather than mixing all four styles into one crowded design.
Tip: Consistency in colours, spacing and lettering makes a project file look organised.
6. File Decoration Step-by-Step Guide
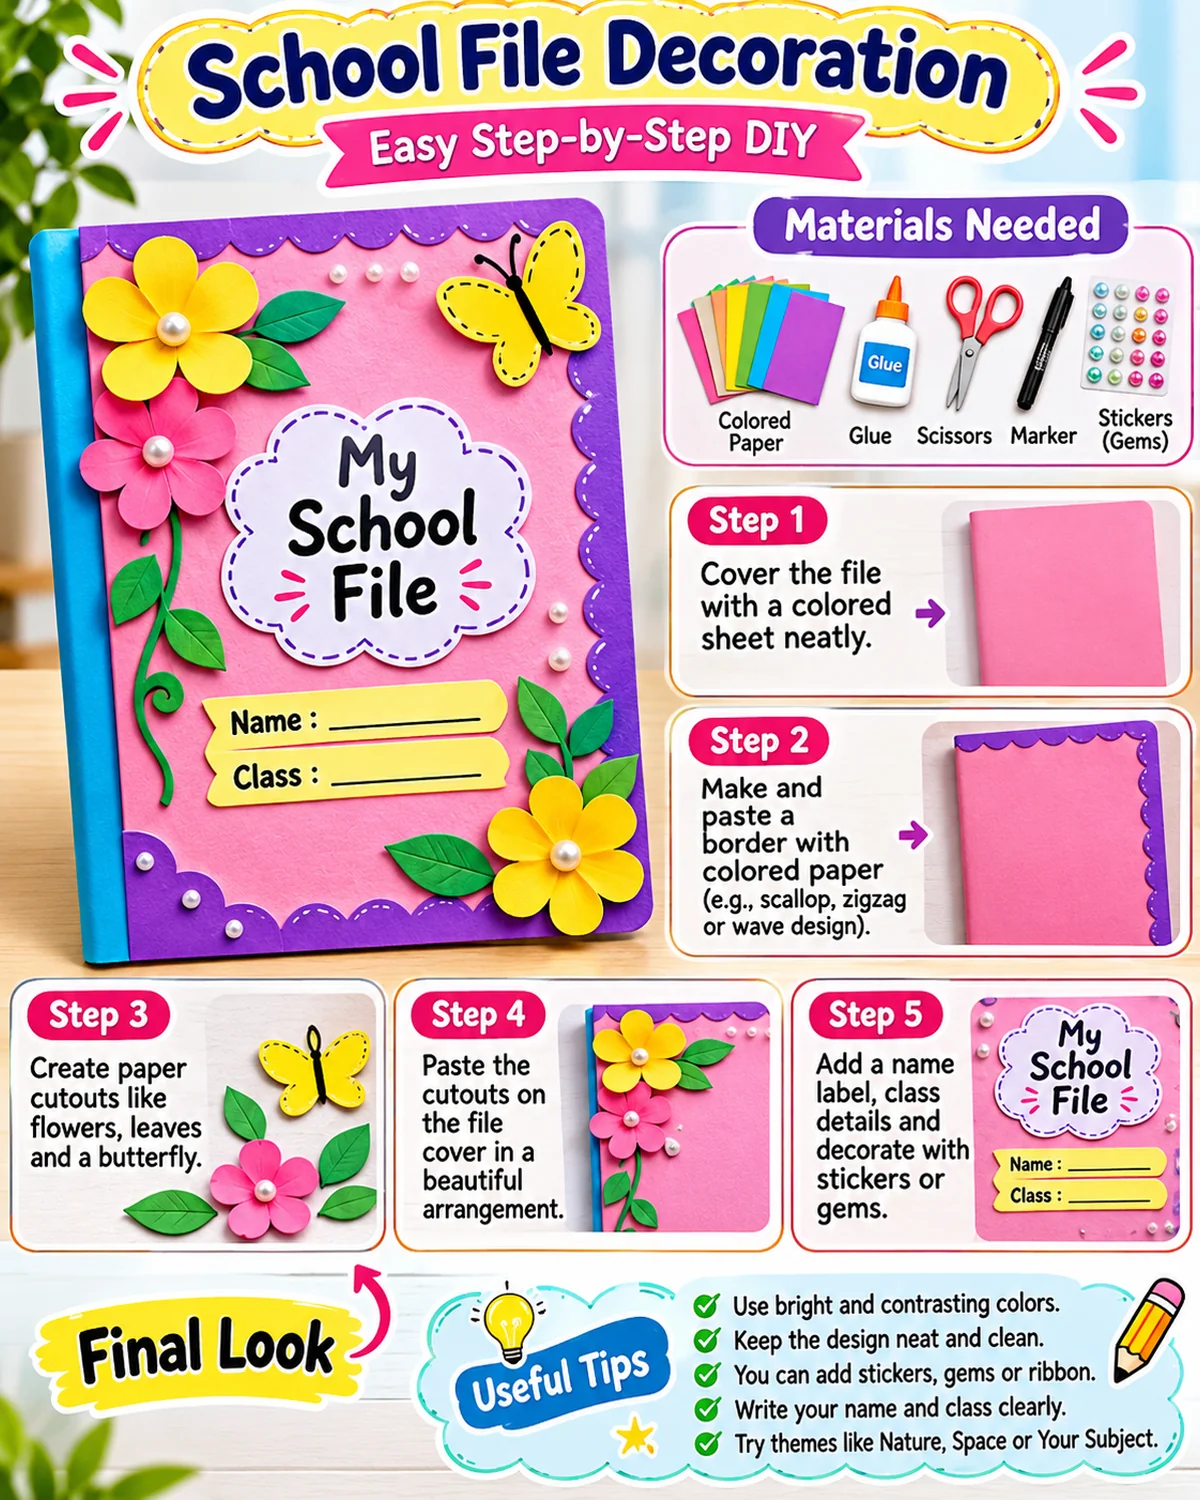
A visual overview of fitting a cover, choosing the heading area, adding borders and finishing the school project file.
How to make it: Measure the cover; plan the title and student-details boxes; draw a light border; add a small thematic icon; colour the design and write the final details. Check that the file opens without catching on decorations or tearing paper. Let paint or glue dry before storing papers inside.
Tip: A removable decorated sheet inside a transparent front pocket is easy to replace and reuse.
How to decorate a project file in eight easy steps
- Inspect the folder. Make sure it is clean, not torn and can open fully.
- Measure the front. Check the outer cover, spine and any transparent insert pocket.
- Choose one theme. Floral, geometric, nature or minimal are good starting points.
- Plan the layout. Draw light pencil guides for the project title and student information.
- Create the border. Repeat simple motifs along the edges and leave the central area open.
- Add colour. Use two to four coordinated shades and keep the lettering legible.
- Write the details. Include only the fields your teacher asks for, such as school, subject, name, class and section.
- Check the finished file. Let the cover dry, open and close it, and make sure no decoration damages the inner pages.
If a cover design goes wrong, do not hide it under a thick layer of glue or stickers. A clean new insert sheet is often the simplest fix. Students with limited time can use a thin line border and a small icon in the top corner rather than attempting an elaborate decorative scene.
File Decoration vs Front Page Design: what is different?
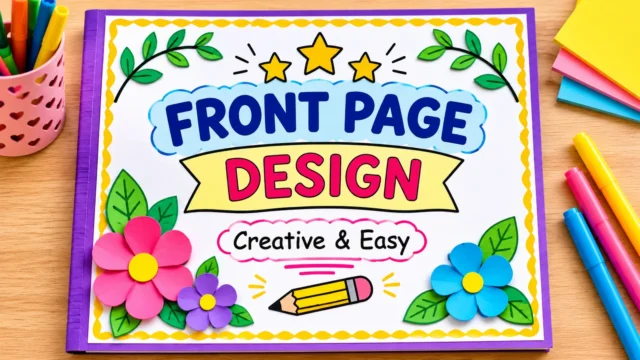
A front page design is usually the layout on the first page of an assignment, with its title, student details and perhaps a drawing. File decoration includes the outer cover, how the paper fits the folder, whether the spine can bend, and whether the finished work is organised and easy to handle. The two ideas can share a colour theme but do not need identical artwork.
For example, a school project file could have a green nature-themed outer cover, a clean title page inside and a very light leaf border on the remaining sheets. Such a combination looks coordinated and leaves enough space for diagrams, explanations and page numbers. Avoid applying heavy decoration on every single sheet; a busy page can be harder to read.
If your file has a printed cover that your school requires, leave it intact and add only permitted decoration. If the teacher supplies a ready-made title sheet, do not replace it with a decorative template without permission.
Best decoration ideas by school subject and class
Classes 1–3: Large flowers, rainbows and simple coloured shapes are manageable for young pupils. Classes 4–6: A garden theme or a neat colour-block design lets children practise measurement and repetition. Classes 7–10: A simple geometric or minimal cover may be more appropriate for longer reports, especially those with many diagrams or written pages.
Nature and environmental studies files can show leaves, grass or a small tree. Maths and computer files may use rectangles, triangles or straight lines. Art files can carry floral drawings, while science projects may have a small relevant symbol in place of generic decoration. A theme should make the subject recognisable; it does not need to cover every centimetre of the folder.
The clearest lettering often comes from writing after the border has been completed. Practice the heading on a separate sheet and check the spelling before using a permanent pen. For multilingual assignments, keep the artwork reusable and write the actual title in the required language.
Five file decoration mistakes to avoid
Too much glue: Wet paper can wrinkle and stick to the inside of the folder. Decorations across the fold: Thick cutouts on the spine may tear or peel as the file bends. Unreadable headings: Dark colours behind dark lettering make the project difficult to identify. Overly thick embellishments: Loose beads, heavy glitter and raised objects can be damaged in a school bag. Wrong personal details: Check the subject, name, class and section carefully before finishing.
Remember to protect personal information if you share the decorated file image online. A photograph does not need to show a child’s complete school identity and roll number publicly. You can cover those details or use a blank sample file when showing your craft work.
Frequently asked questions
What is the easiest way to decorate a school project file?
Use a plain paper cover, draw a narrow border, add one subject-related icon and write a large title with a small name-and-class box.
How can I decorate a file without glitter?
Coloured pencils, a ruler and a few hand-drawn flowers or geometric shapes are enough.
Can the outer file and inner front page use different designs?
Yes. Keeping a similar colour palette can make them look coordinated.
Which file decoration is best for Class 5?
Floral, nature or a simple geometric cover is usually achievable, depending on the subject and teacher’s instructions.
Can I use these pictures as reference for my own file?
Yes. Copy the basic layout and change the subject title, student fields and colours for your assignment.
What information belongs on the cover?
Usually a project title, subject, student name, class and section; follow the exact format supplied by your school.
Conclusion: creative, useful and easy to carry
The best school project file decoration is neat, easy to make and practical to use. Choose one of the six design ideas, plan the title first, keep the spine free and avoid heavy decorations. A consistent border and readable writing can make even an ordinary folder look attractive without expensive supplies. The real project content should remain the focus.
Educational note: these images are illustrative craft examples, not official school templates. Follow your teacher’s instructions for required format and information.


















Share Your Opinion
Comments are closed on this post.