 Vista
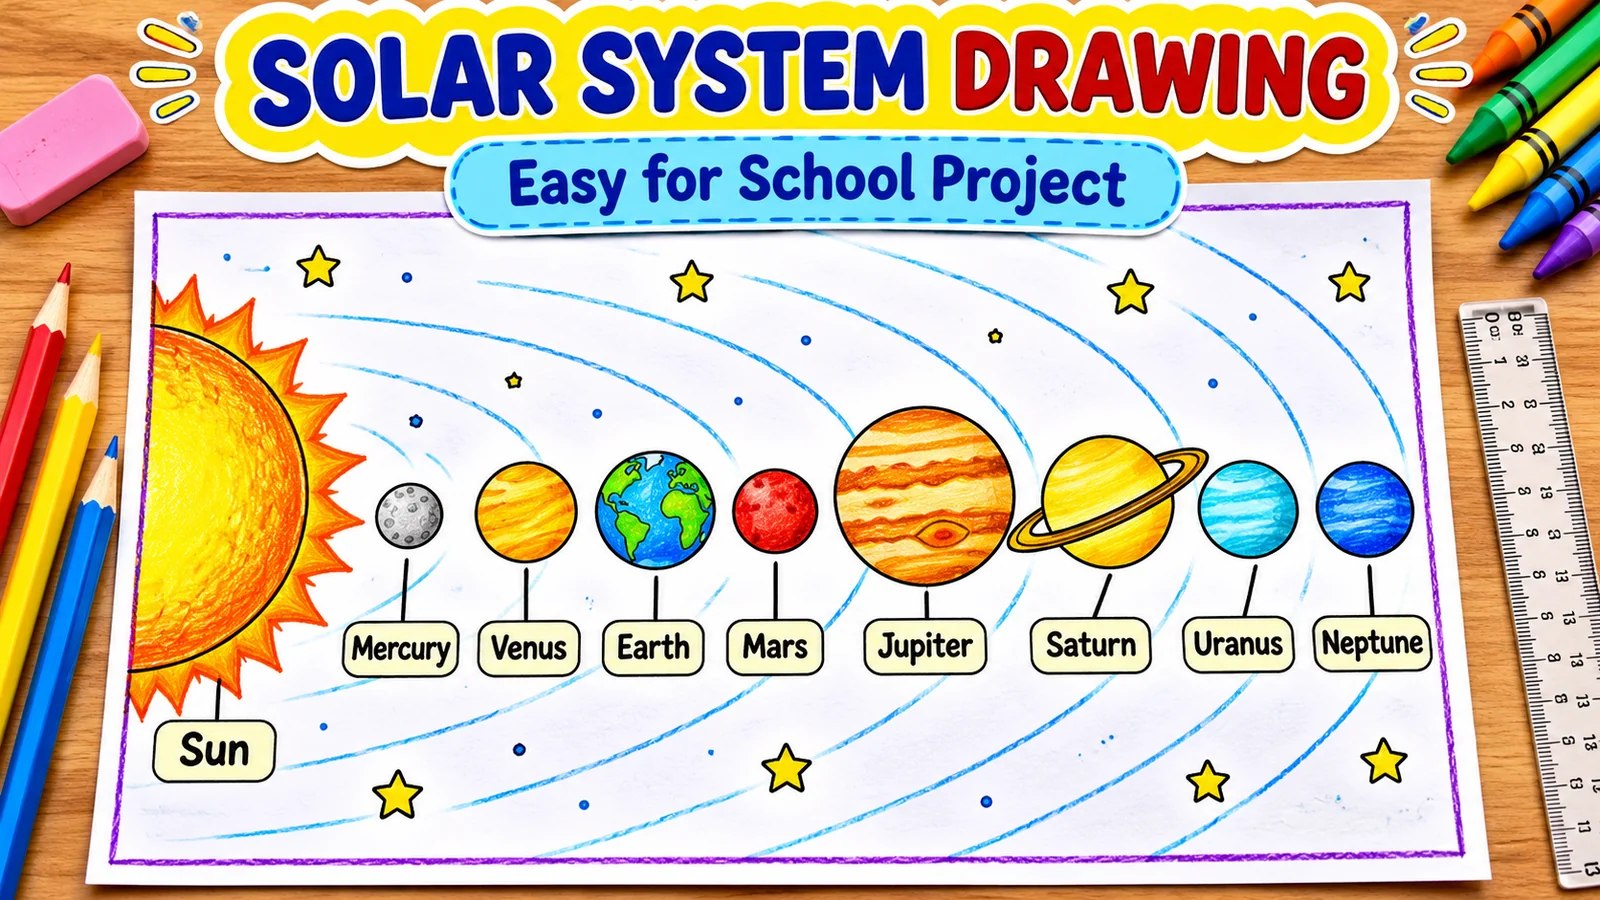
How do you make a solar system drawing for a school project? Start with the Sun, then add the eight planets in their correct order: Mercury, Venus, Earth, Mars, Jupiter, Saturn, Uranus and Neptune. Give each planet a recognisable colour, add a clear label, and keep the overall chart simple enough to explain in class. This page offers six full-size solar system drawing ideas that children can use on A4 paper, chart paper or in a science notebook.
The styles range from an easy planets-in-a-row drawing to orbit circles, a black-chart design and a crayon version. The artwork is intentionally child-friendly: it illustrates basic ideas but is not a NASA photograph or a scale map of the real solar system. We also explain common scientific mistakes so your homework looks attractive and says the right things.
Solar system facts: eight planets in the correct order
Our solar system contains one star—the Sun—and eight recognised planets orbiting it. In order of increasing distance from the Sun, they are Mercury, Venus, Earth, Mars, Jupiter, Saturn, Uranus and Neptune. Mercury is the closest to the Sun and the smallest planet. Earth is the third planet and our home. Mars is often called the Red Planet because of its reddish appearance. Jupiter is the largest planet, and Saturn is especially well known for its prominent ring system.
The first four planets are rocky, whereas the outer four are giant planets. Uranus and Neptune are commonly described as ice giants. These terms describe broad characteristics rather than the colours you must use in a drawing. Many classroom posters show the planets as small circles floating in a line simply to make the order easier to memorise.
Is Pluto the ninth planet? Not under the current official classification. Pluto was reclassified as a dwarf planet in 2006. You can mention it in a separate fact box if your teacher asks about dwarf planets, but do not label it the ninth major planet. The order and classification above match NASA’s guide to the planets.
Materials needed for an easy solar system drawing
A4 or A3 paper, an HB pencil, eraser, ruler, crayons or coloured pencils, and a fine black pen are usually enough. Round lids or small bowls can serve as guides for circular outlines. If you choose a black-background chart, you may also need dark chart paper, a white pencil or gel pen, and perhaps small coloured-paper circles.
Before drawing permanently, decide how much space each planet and its name will need. Children often make the Sun so large that there is no room left for Uranus or Neptune, so it helps to mark all nine main positions lightly before colouring. For a neat result, do the pencil sketch first, planet colours second and text labels last. This order reduces erasing over dark colours.
Ask an adult to help if the project includes cutting cardboard, using a compass or applying strong glue. A paper drawing itself needs no hot glue, electrical parts or other complicated supplies.
Six easy solar system drawing pictures for school projects
Tap a picture to see it at full size. Every layout is useful for a different reason, and each includes an easy drawing method. These illustrations are examples for children to redraw, not templates showing the astronomical positions and distances to scale.
1. Planets in Order: Easy Solar System Drawing
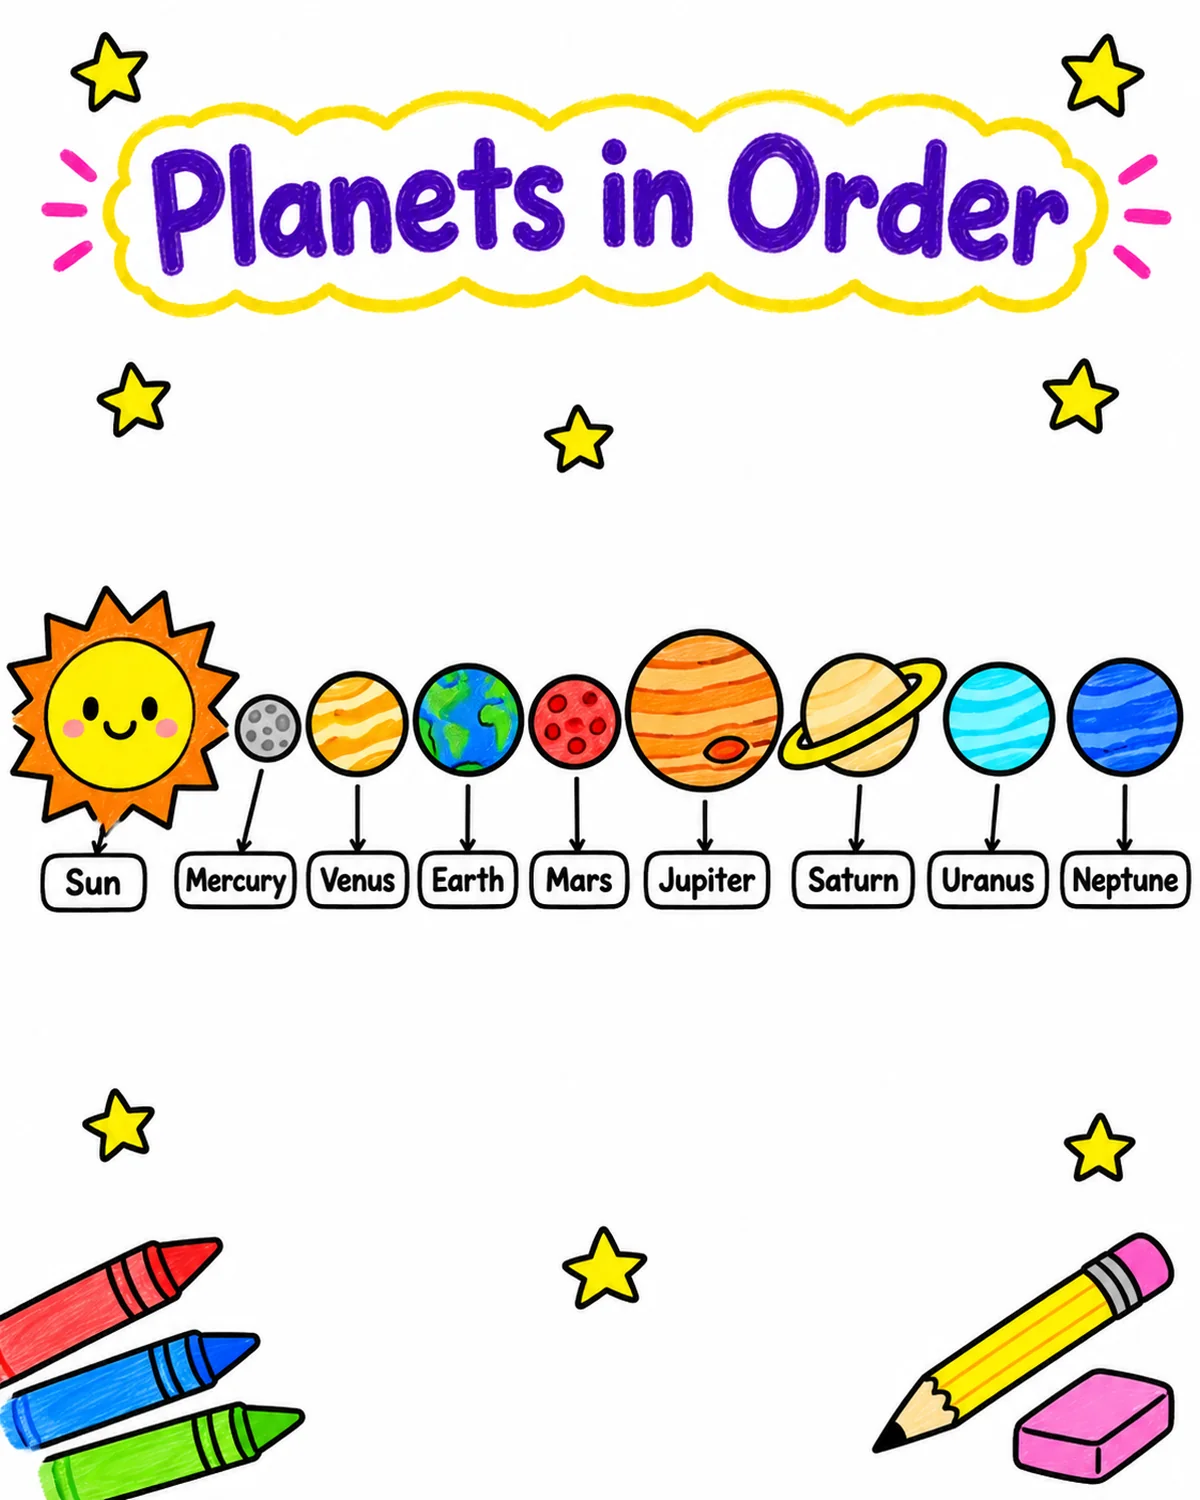
This layout puts the Sun on the left followed by eight clearly labelled planets. It is a good starting choice for younger children because the names stay in an easy-to-read sequence.
How to draw it: Sketch a cheerful Sun on the left, then plan eight circles across the page before colouring. Keep Mercury, Venus, Earth and Mars relatively small. Make Jupiter larger, add a slanted ring around Saturn, and finish with Uranus and Neptune. Write the labels below the circles and check the sequence against the fact box above.
Remember: This row is a teaching diagram, not a realistic scale drawing of planetary size or distance.
2. Orbit Circles Around the Sun
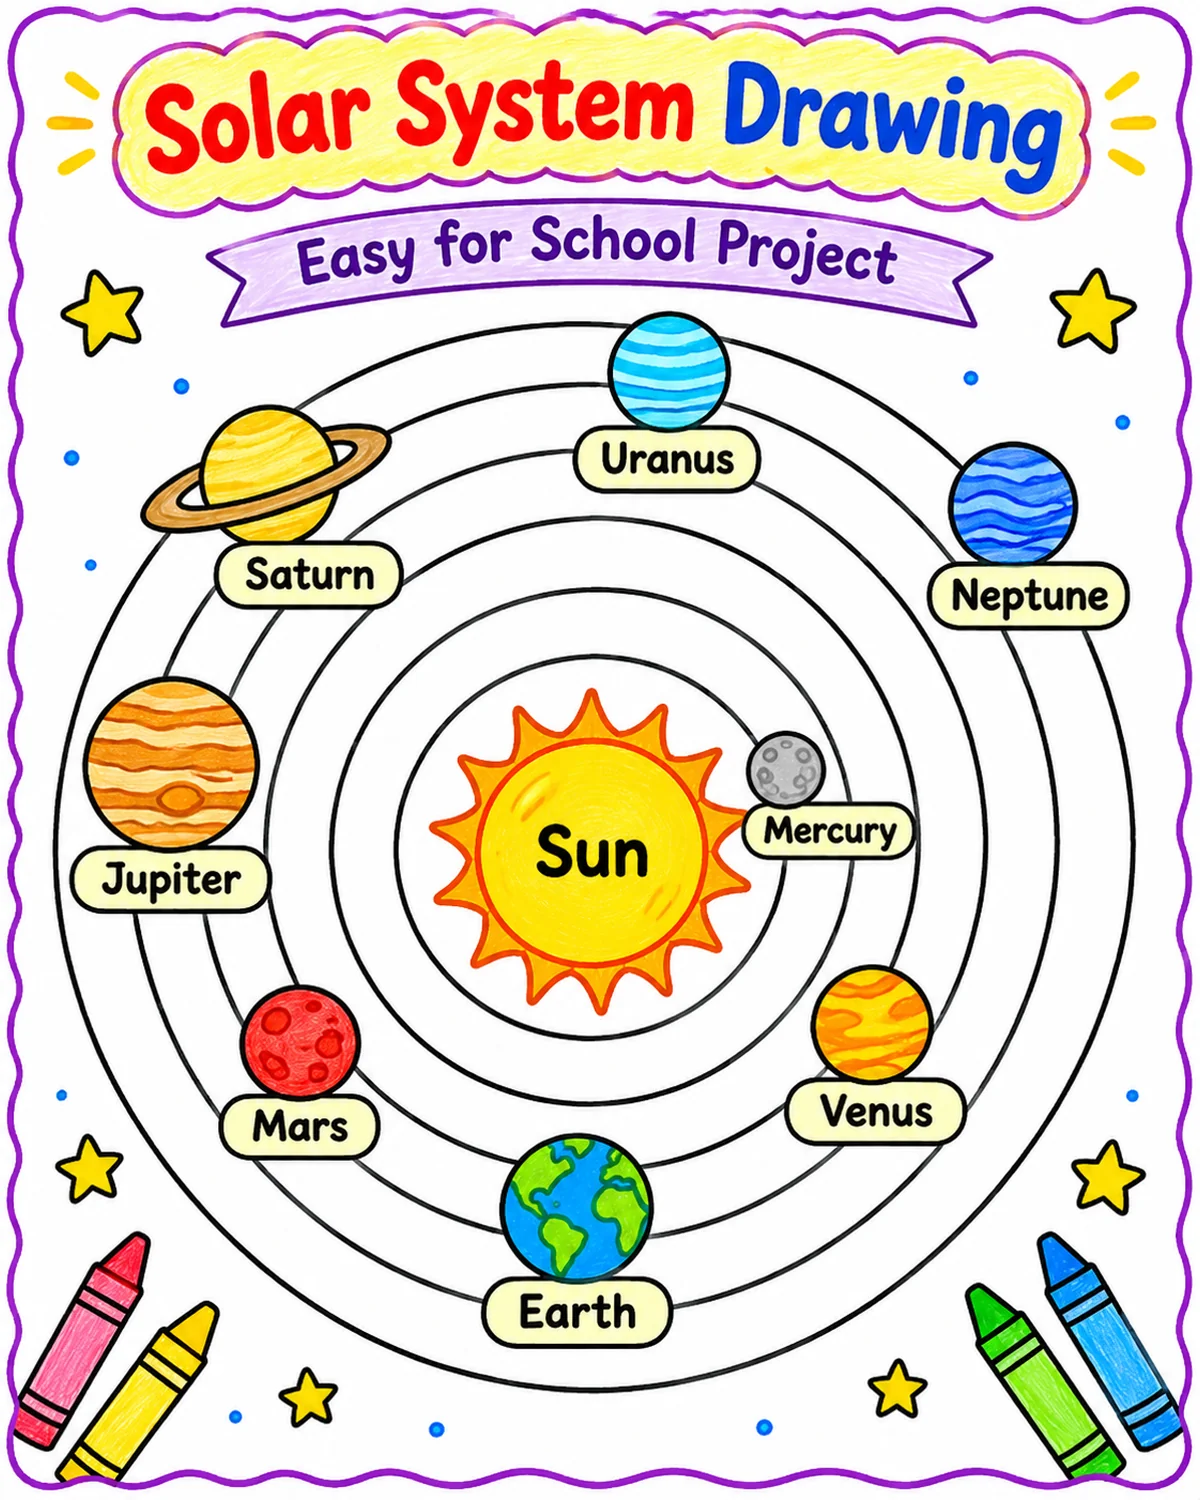
Circular paths make a dramatic classroom poster. The Sun sits toward the centre while planet illustrations appear along several curved lines.
How to draw it: Mark the centre of your sheet, draw the Sun and lightly trace several concentric curved paths. Place simple planet circles along the paths without making the drawing crowded. Use a ruler for captions and keep planet labels outside busy areas. Different-sized plates or lids can help children draw smoother circles.
Remember: Real planetary orbits are not perfectly circular and the planets do not stay in fixed positions. Use this as a visual introduction only.
3. Cute Colourful Solar System for Kids

This design uses bright planets, a friendly-looking Sun and playful classroom decorations. It suits a primary-school chart, art homework or a short presentation.
How to draw it: Create the heading space first, sketch a smiling Sun and then add the eight planetary circles in order. Use coloured pencils for Earth’s blue and green, Mars’s orange-red, Jupiter’s broad stripes and Saturn’s ring. Fill the blank edges with a few simple stars, not too many.
Remember: Cartoon faces on planets are decorative. They do not represent real planetary surfaces.
4. Black Chart Paper Solar System Model Drawing
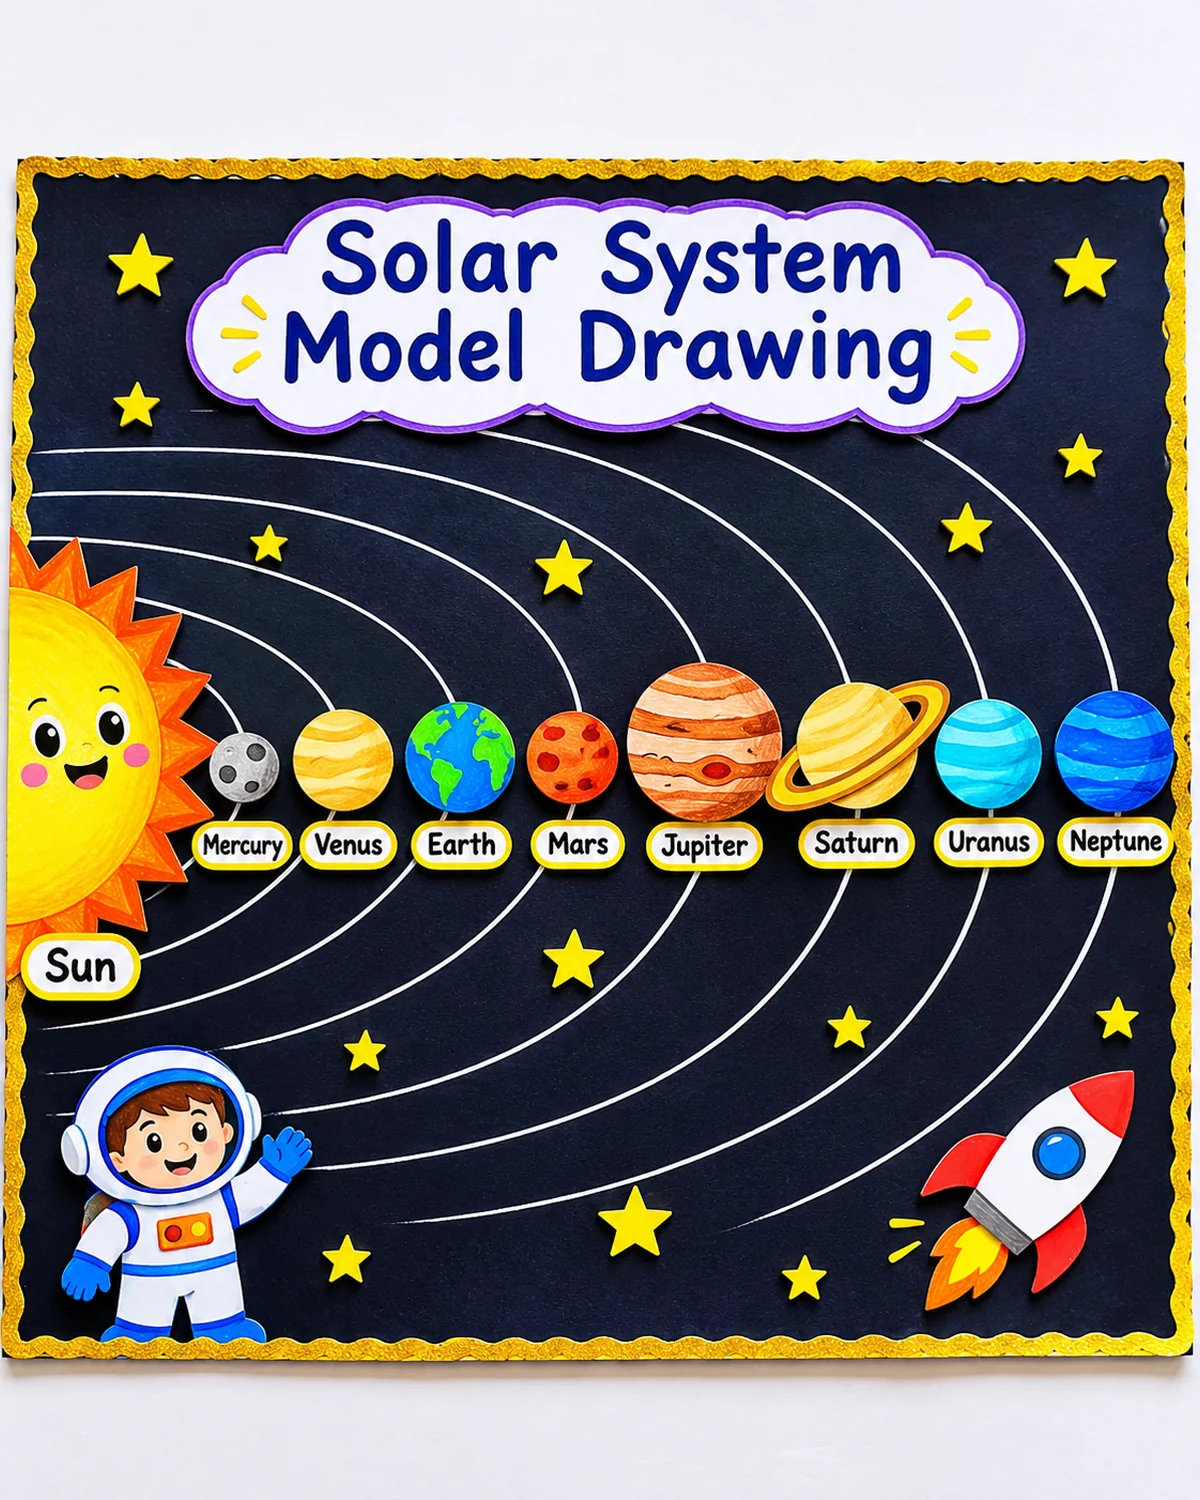
A dark background makes the colours stand out during a science fair. The chart shows a large Sun, labelled planets and orbit-like curves.
How to draw it: Choose black or dark blue chart paper. Sketch the large objects with a light pencil or white pencil. Draw or paste coloured circles, adding the names in white or another high-contrast colour. If using paper cutouts, arrange the planets before gluing so the labels remain visible.
Remember: The decorative space scene does not show true relative distances and should not be presented as a scale model.
5. Easy Crayon Solar System Drawing
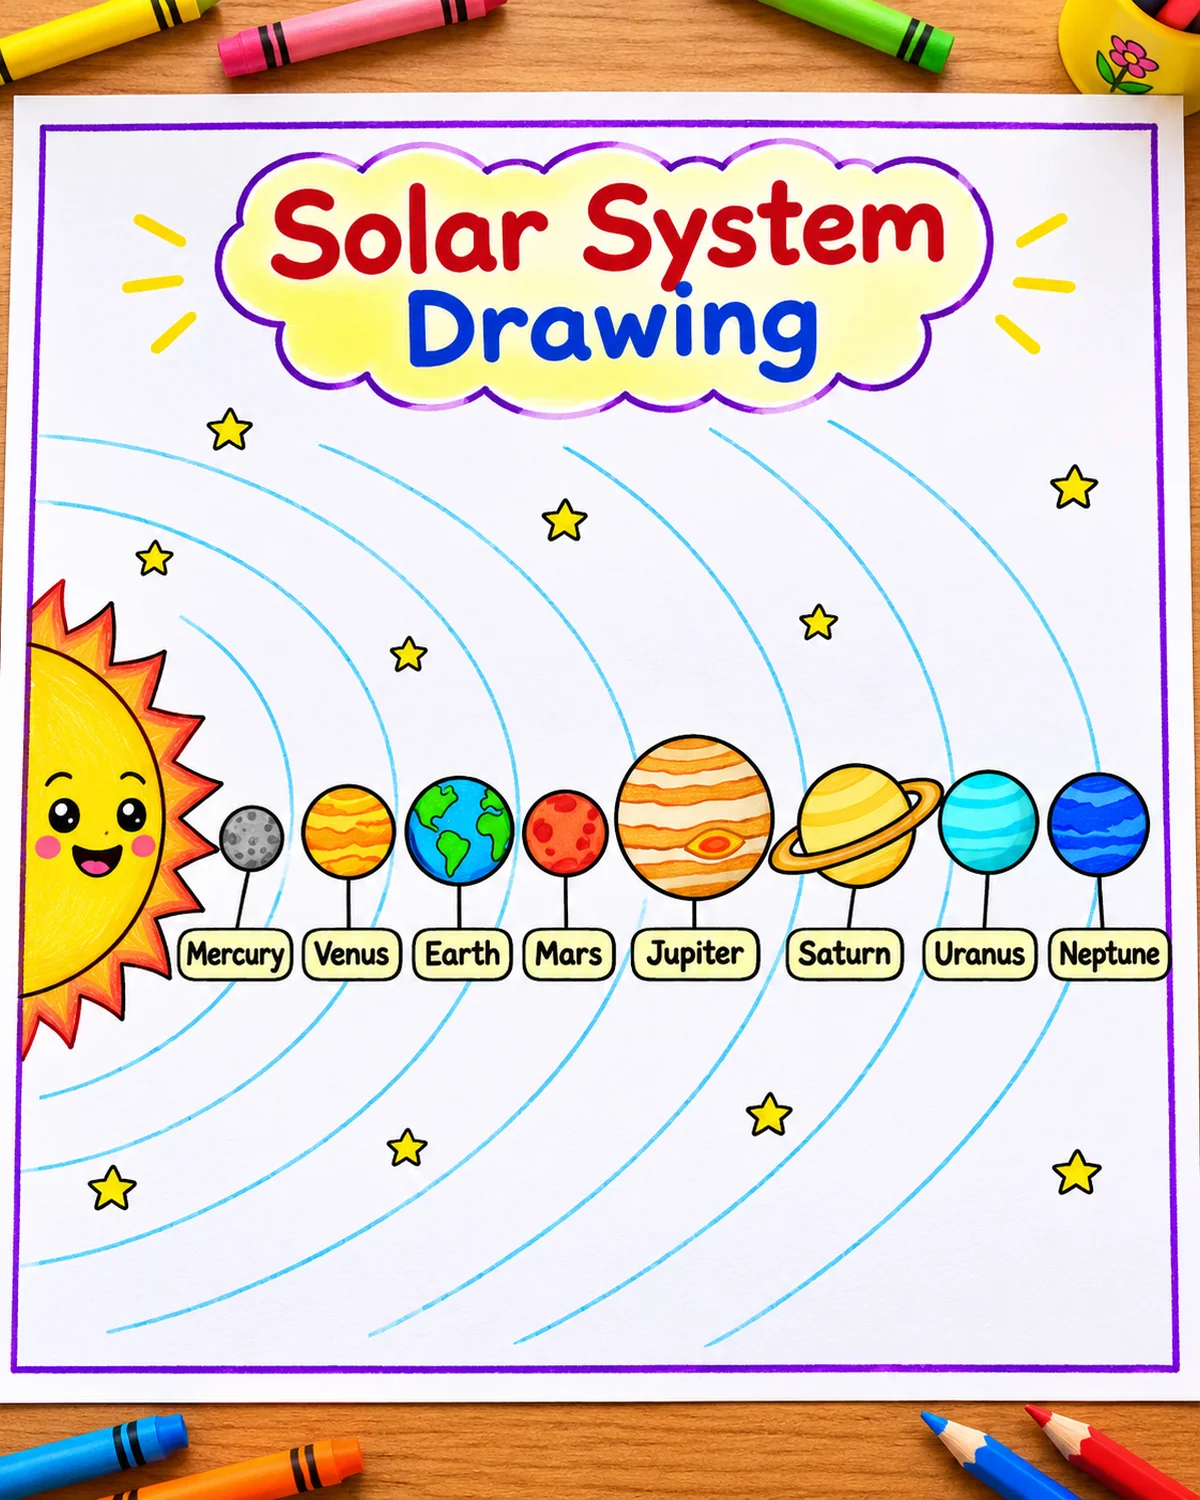
Crayons give a soft handmade appearance and are easy for young pupils to hold. This variation is useful when only basic stationery is available.
How to draw it: Lightly map the Sun and the eight planets across the sheet. Fill large colour areas with gentle crayon strokes instead of pressing hard. Use a sharp pencil for fine details such as Saturn’s rings, then add the planet names with a dark pen. Let the labels stay outside the coloured circles.
Remember: Some example colours are simplified for children’s art; labels and planet order matter most.
6. Three Solar System Layout Ideas on One Sheet
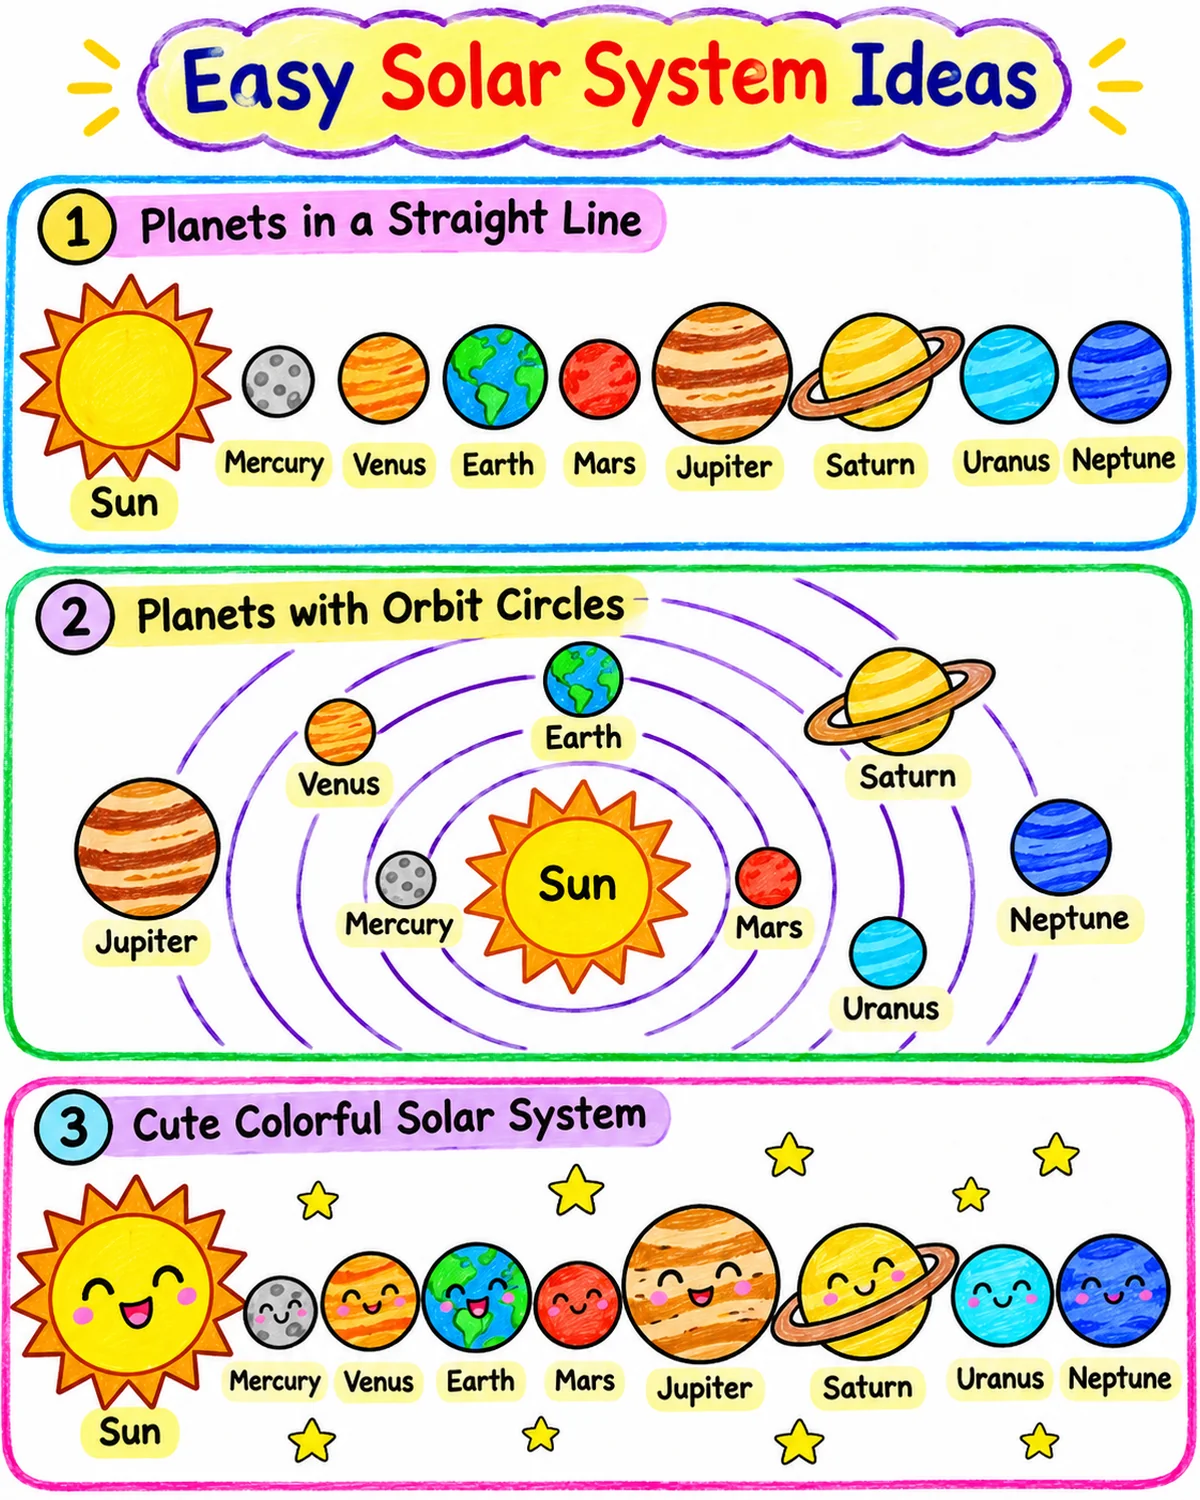
One reference compares a straight row of planets, a circular-orbit arrangement and a cheerful cartoon version. It helps you choose a layout before starting your final chart.
How to draw it: Study all three examples, then pick only one for a full-size A4 assignment. The straight row is quickest to label. The orbit layout introduces the concept of paths around the Sun. The cartoon row is a colourful option for art homework. Build your own page around the chosen idea.
Remember: The small diagram is conceptual. Always verify labels and the sequence of planets separately.
How to draw the solar system step by step
- Select a page layout. Use a row for the easiest school assignment, or orbit-style curves for a more elaborate chart.
- Sketch the Sun. Make a large yellow-orange circle. Remember that the Sun is a star, not one of the planets.
- Place the inner planets. Draw small circles for Mercury, Venus, Earth and Mars in that exact order.
- Add the outer planets. Draw Jupiter larger than the other planets in the picture, add Saturn with its rings, and make room for Uranus and Neptune.
- Colour carefully. You can use grey for Mercury, cream or yellow for Venus, blue and green for Earth, red-orange for Mars, striped brown-orange for Jupiter, pale yellow for Saturn, pale blue for Uranus and deep blue for Neptune.
- Write the labels. Keep the words horizontal, readable and clear of the planet circles. Check the spellings before making the ink permanent.
- Do a scientific check. Count eight planets, confirm their order, and make sure you have not written the Sun as a planet or Pluto as planet number nine.
These simple drawings cannot fit both accurate planet sizes and accurate solar-system distances on the same sheet. The distances between the real planets are enormous compared with the planets themselves. A classroom illustration is allowed to simplify this, provided you do not call it a scientifically accurate scale drawing. For older students who need scale calculations, use NASA JPL’s scale solar system activity as a separate lesson.
Best solar system project design by class
Classes 1–3: A straight line of eight coloured planets with a large Sun is a manageable project. Children can focus on recognising planet names instead of drawing complicated paths. Classes 4–6: Add short facts beside the labels, such as Earth’s position, Jupiter’s size and Saturn’s ring. A neat crayon or orbit drawing can work well.
Classes 7–8 and above: Separate inner rocky planets from the outer giants and explain Pluto’s dwarf-planet status. Students can also discuss why artistic charts are not drawn to scale. If the teacher asks for a working model, a drawing alone may not satisfy the assignment, so read the instructions before choosing the medium.
The image should support the educational goal. A large, beautiful chart with wrong planet names is less useful than a simple and accurate one. You can always add decoration after the main scientific content is checked.
What should a child say when explaining the drawing?
A short school presentation can begin like this: “This is our solar system. The Sun is a star, and eight planets orbit around it. Mercury is the closest planet to the Sun. Earth is the third planet, and Neptune is the farthest of the eight. Jupiter is the largest, while Saturn is famous for its rings.” This introduces key facts without asking younger children to memorise long distances or complicated astronomy terms.
A teacher might ask whether all eight planets stand in a straight line in space. The answer is no: planets move around the Sun along their own orbits, so a line drawing is a convenient way to show their order. The teacher may also ask why planets shine. They are seen because they reflect sunlight, whereas the Sun produces its own light and heat.
For a class display, point out the blue-green Earth and explain why the third planet matters to us. A clear explanation with a modest drawing is a stronger school presentation than a crowded poster that the child cannot describe.
Five common solar system drawing mistakes
1. Counting the Sun as a planet: It is the star at the centre of our solar system. 2. Drawing nine major planets: There are eight; Pluto is a dwarf planet. 3. Mixing up Uranus and Neptune: Uranus comes seventh and Neptune eighth. 4. Treating an illustration as a scale model: Most drawings exaggerate planet sizes and shorten distances dramatically. 5. Forgetting labels: Colourful circles without the right names do not help students learn the sequence.
Not every diagram needs detailed scientific colours, but it should communicate the basic structure honestly. Avoid claiming that all planetary orbits are perfectly circular or that the planets stay at fixed positions around the Sun. A labelled reference picture and a source-backed fact box are valuable companions to the art.
Frequently asked questions
How many planets are in the solar system?
There are eight recognised planets: Mercury, Venus, Earth, Mars, Jupiter, Saturn, Uranus and Neptune.
What is the easiest solar system drawing for Class 3?
Draw a Sun and eight coloured planets in a row, then write the planet names below them. This keeps the focus on order.
Which planet is the biggest?
Jupiter is the largest planet in our solar system.
How do I draw Saturn’s rings?
Draw a circle, then add a tilted oval passing behind and in front of the circle to show the ring visually.
Can I include Pluto in a solar system project?
Yes, if you clearly label it a dwarf planet rather than the ninth major planet.
Do these school drawings show exact sizes and distances?
No. They simplify distances and sizes for clarity. A true scale model needs separate measurements and planning.
Conclusion and science references
The best solar system drawing for a school project is one that a child can draw, label and explain confidently. Choose from the six visual ideas, put all eight planets in the correct order, keep the writing easy to read and remember that a classroom poster is usually not to scale. Simple artwork can still teach real astronomy when the facts are right.
References: NASA — About the Planets, NASA — Solar System Exploration and NASA JPL — Scale Solar System. Image note: the gallery contains children’s educational illustrations, not official spacecraft photographs.













Share Your Opinion
Comments are closed on this post.