 Vista
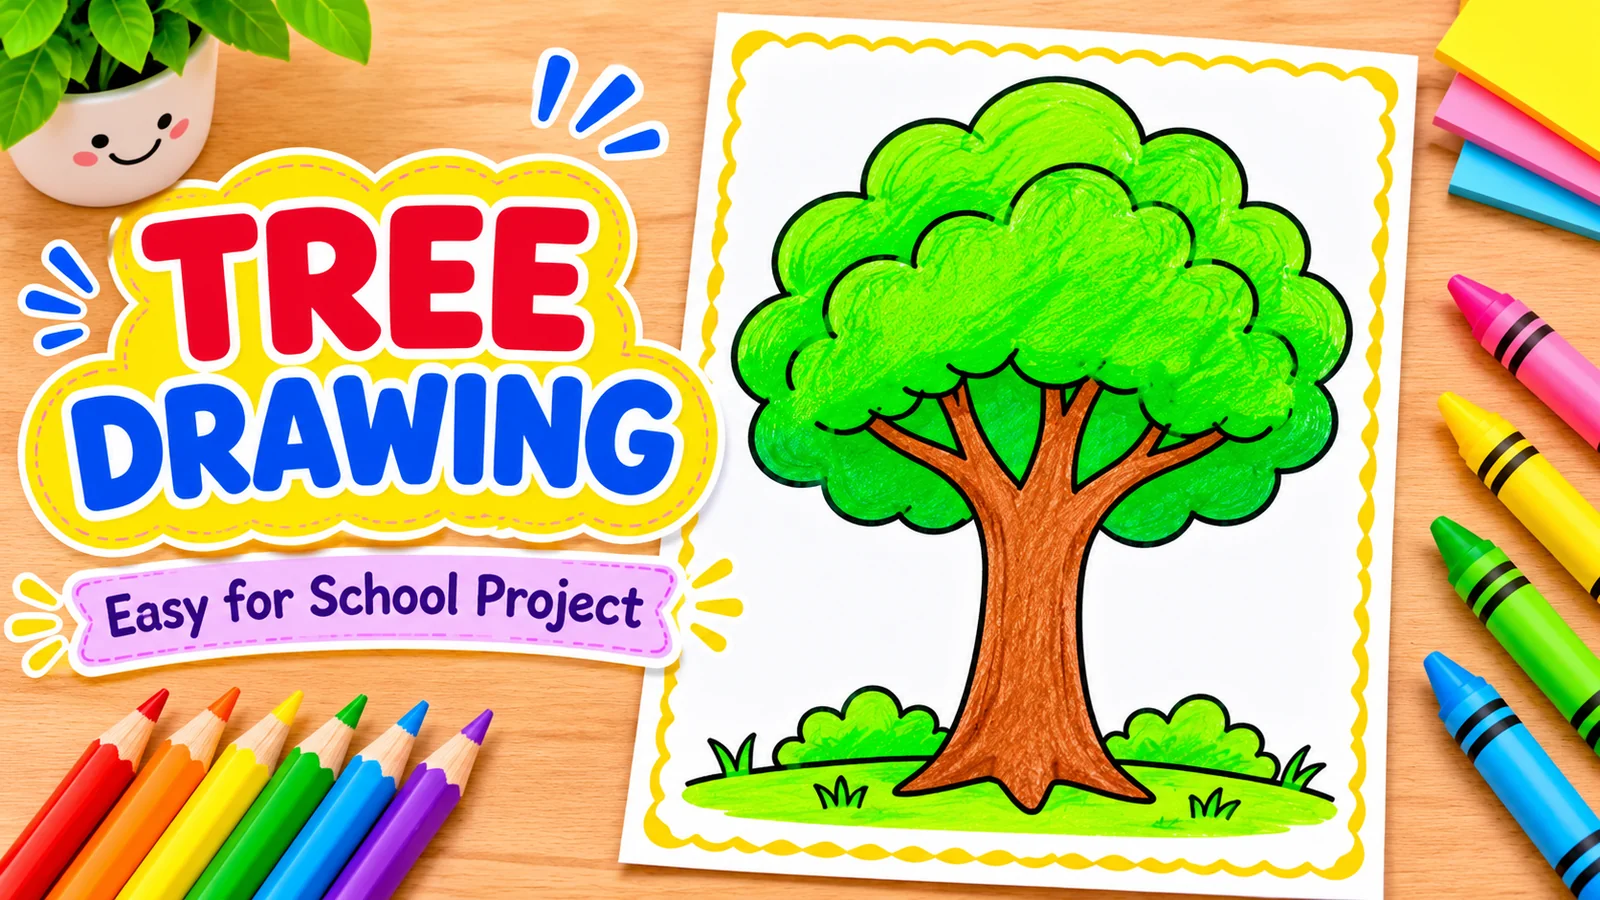
How to draw a tree for school project? Start with a trunk, split it into branches, add a green crown of leaves, and colour the shapes. Here are six easy tree drawing pictures for school: a basic tree, mango tree, coconut palm, pine tree, four seasons and a Save Trees poster. Each image can be opened at full size and used as a reference for A4 paper or a drawing notebook.
These pictures are designed to be easy for children to copy, but they also show how different trees have different shapes. The goal is to observe the tree, practise drawing, and make a picture a student can explain in class.
What materials do children need?
Use an A4 sheet, pencil, eraser and brown and green coloured pencils. A black fine-tip pen is optional. For the four-season design, use a ruler to divide the paper evenly. Add yellow, orange or blue crayons if you want autumn leaves, fruit, sky or sunlight. Avoid pressing hard with the pencil before the main outlines are correct.
Look at a tree nearby before drawing. See how the trunk connects to branches and how leaves gather around the ends. You do not need to copy every leaf. Younger students can use cloud-shaped foliage; older students can sketch small individual leaves and the texture of bark.
6 easy tree drawing images with simple steps
Tap any picture to see the large illustration. Draw the main outline lightly first, then fill the colours and details. Each design is a creative educational example rather than an exact botanical photograph.
1. Simple Tree Drawing
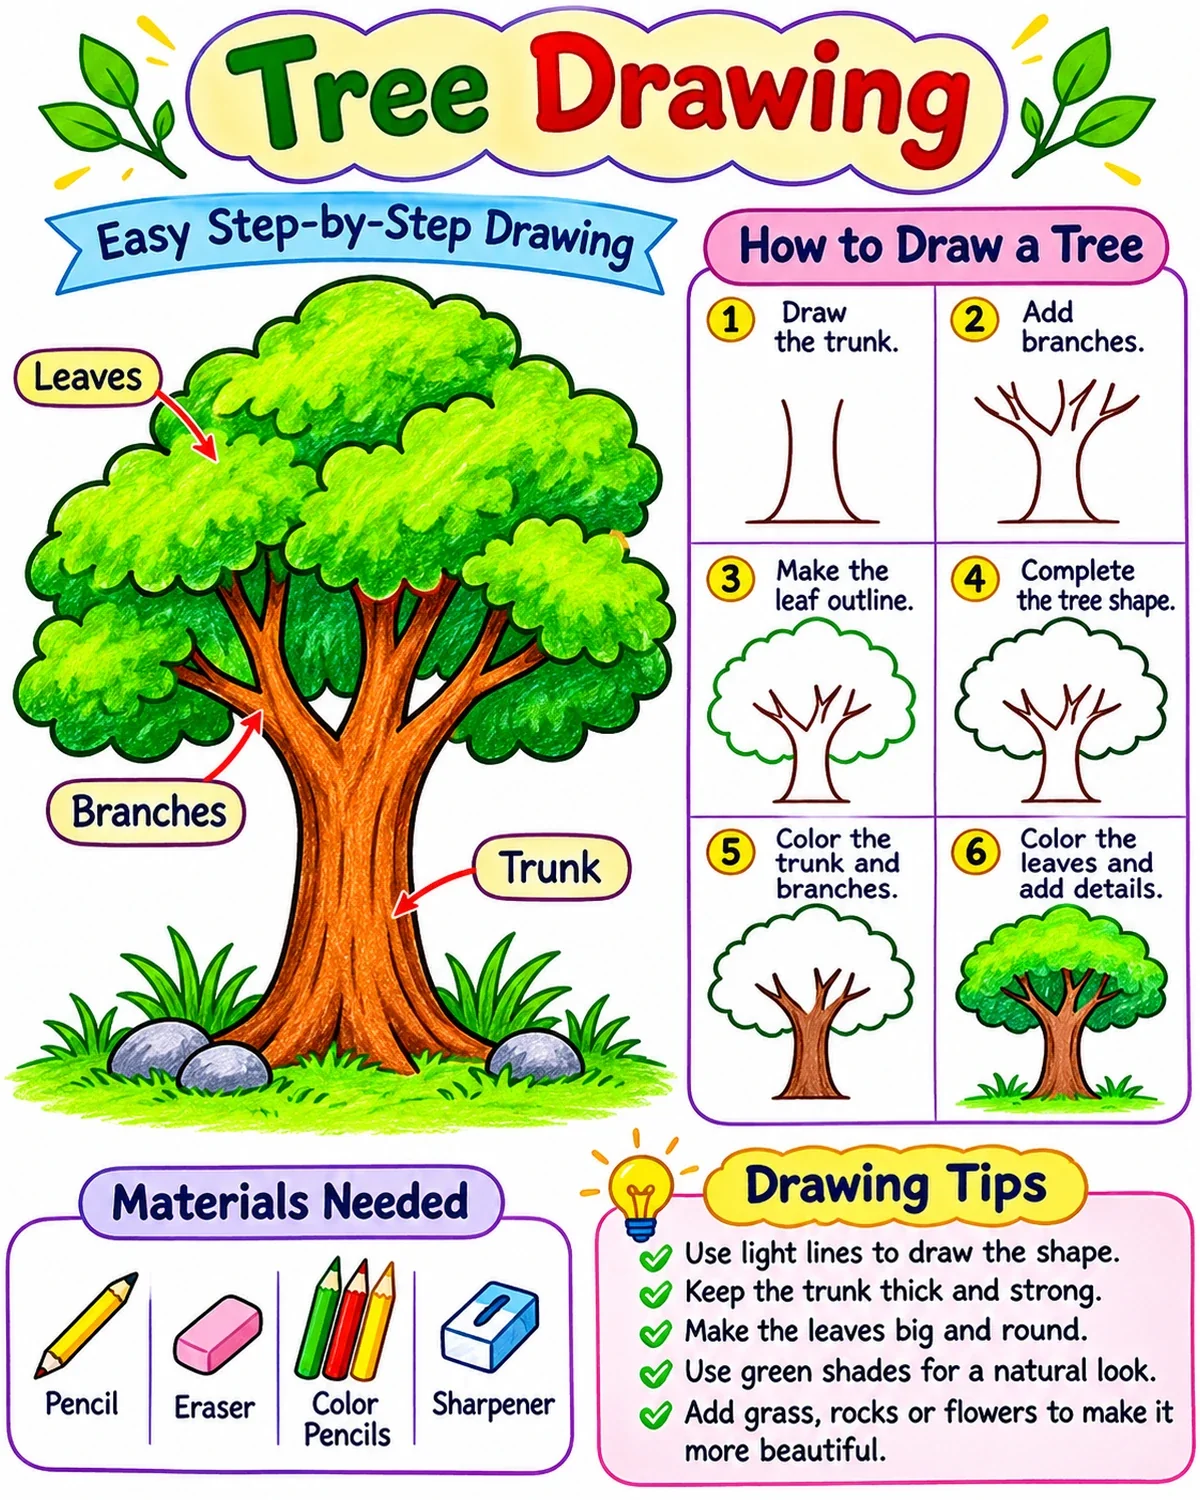
Make a trunk using two lines, branch it into a Y shape, and sketch a rounded canopy of leaves. Fill the trunk brown and use light and dark green for the leaves. This is ideal for beginners.
Practice tip: First outline the tree in pencil. Check the shape of the trunk and leaves before adding colour. Keep enough room for a readable subject title.
2. Mango Tree Drawing
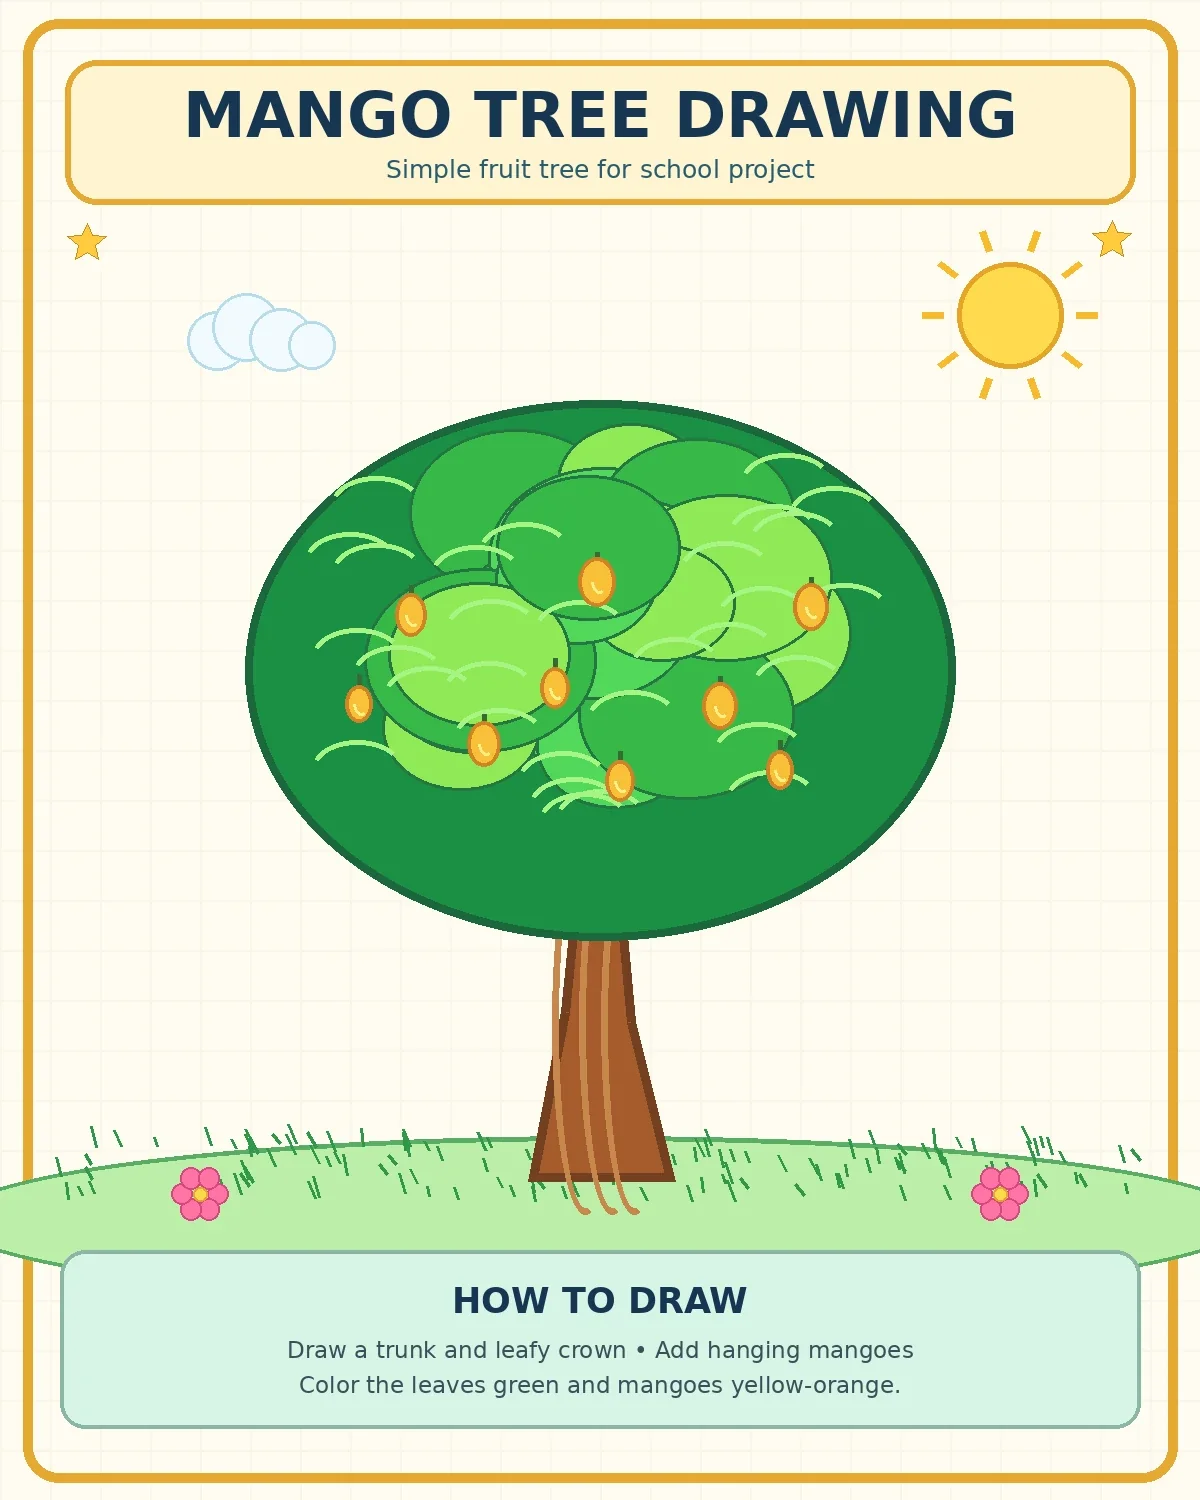
Draw a thick trunk with spreading branches, a wide canopy, long pointed leaves and a few hanging mangoes. Colour fruit green or yellow. This is a useful fruit-tree school drawing.
Practice tip: First outline the tree in pencil. Check the shape of the trunk and leaves before adding colour. Keep enough room for a readable subject title.
3. Coconut Palm Drawing
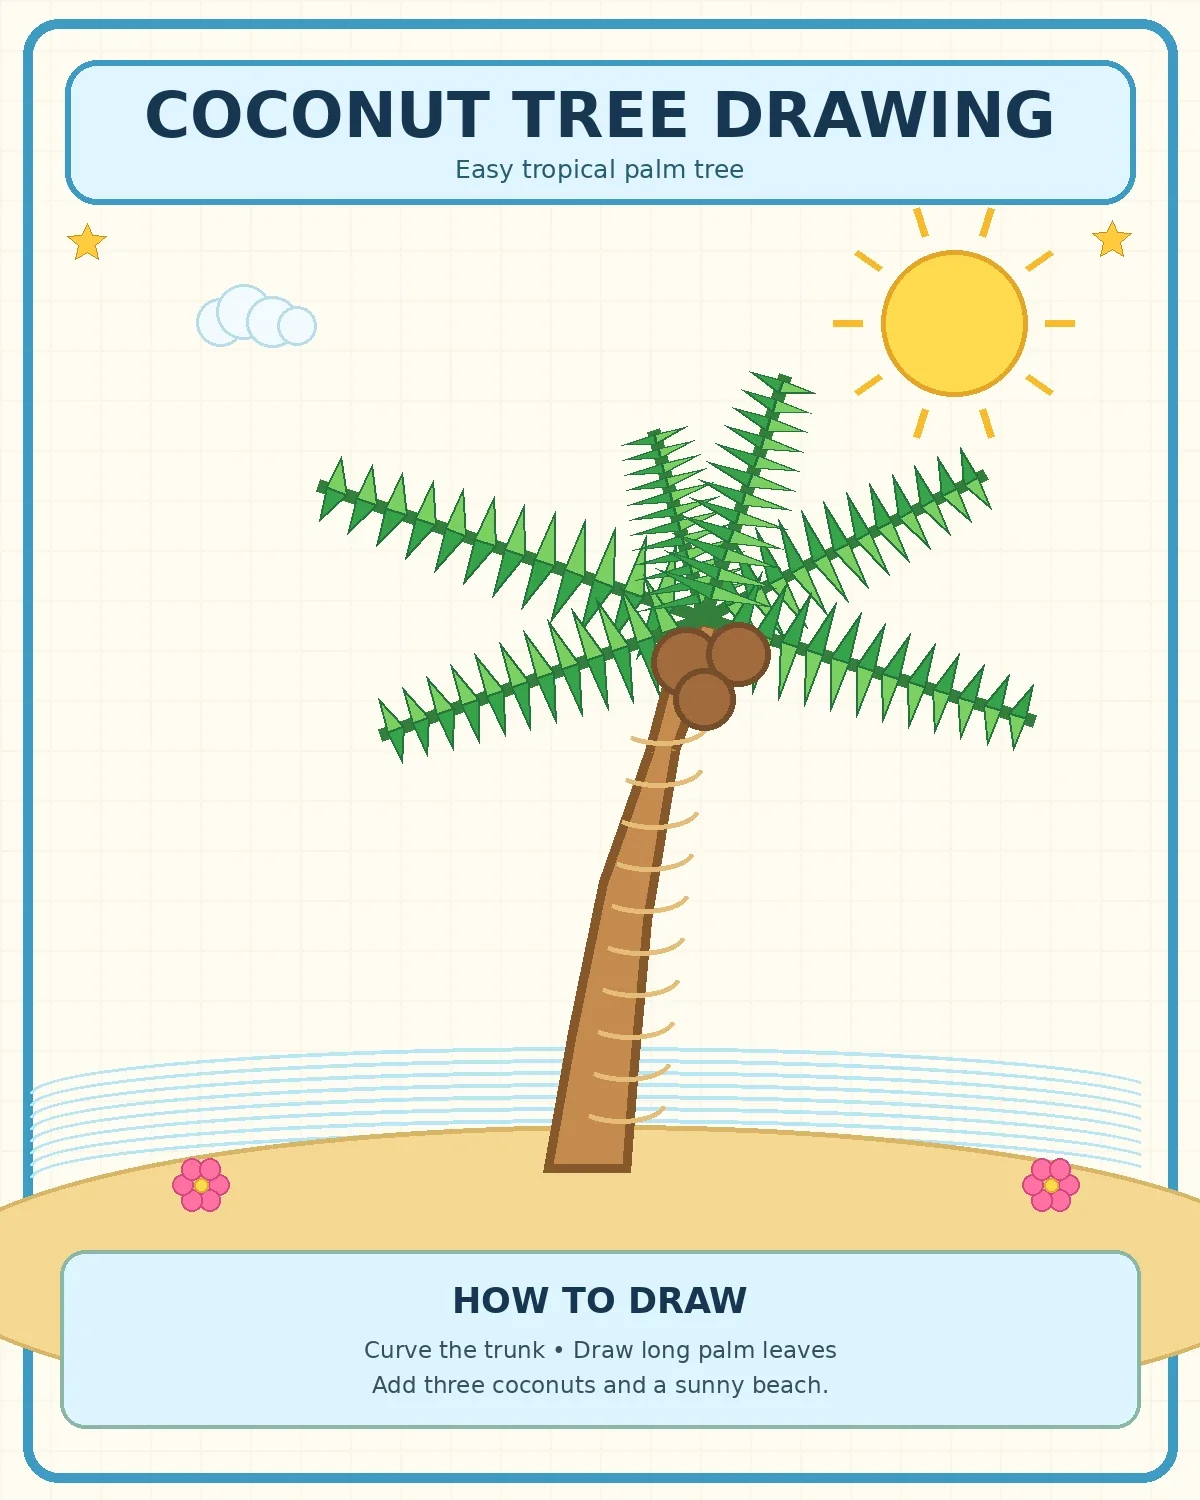
Draw a tall slightly curved trunk. Make five to seven long arching fronds at the top and add narrow leaflets. Draw a few coconuts beneath the leaf centre. A palm looks different from a mango tree.
Practice tip: First outline the tree in pencil. Check the shape of the trunk and leaves before adding colour. Keep enough room for a readable subject title.
4. Pine Tree Drawing
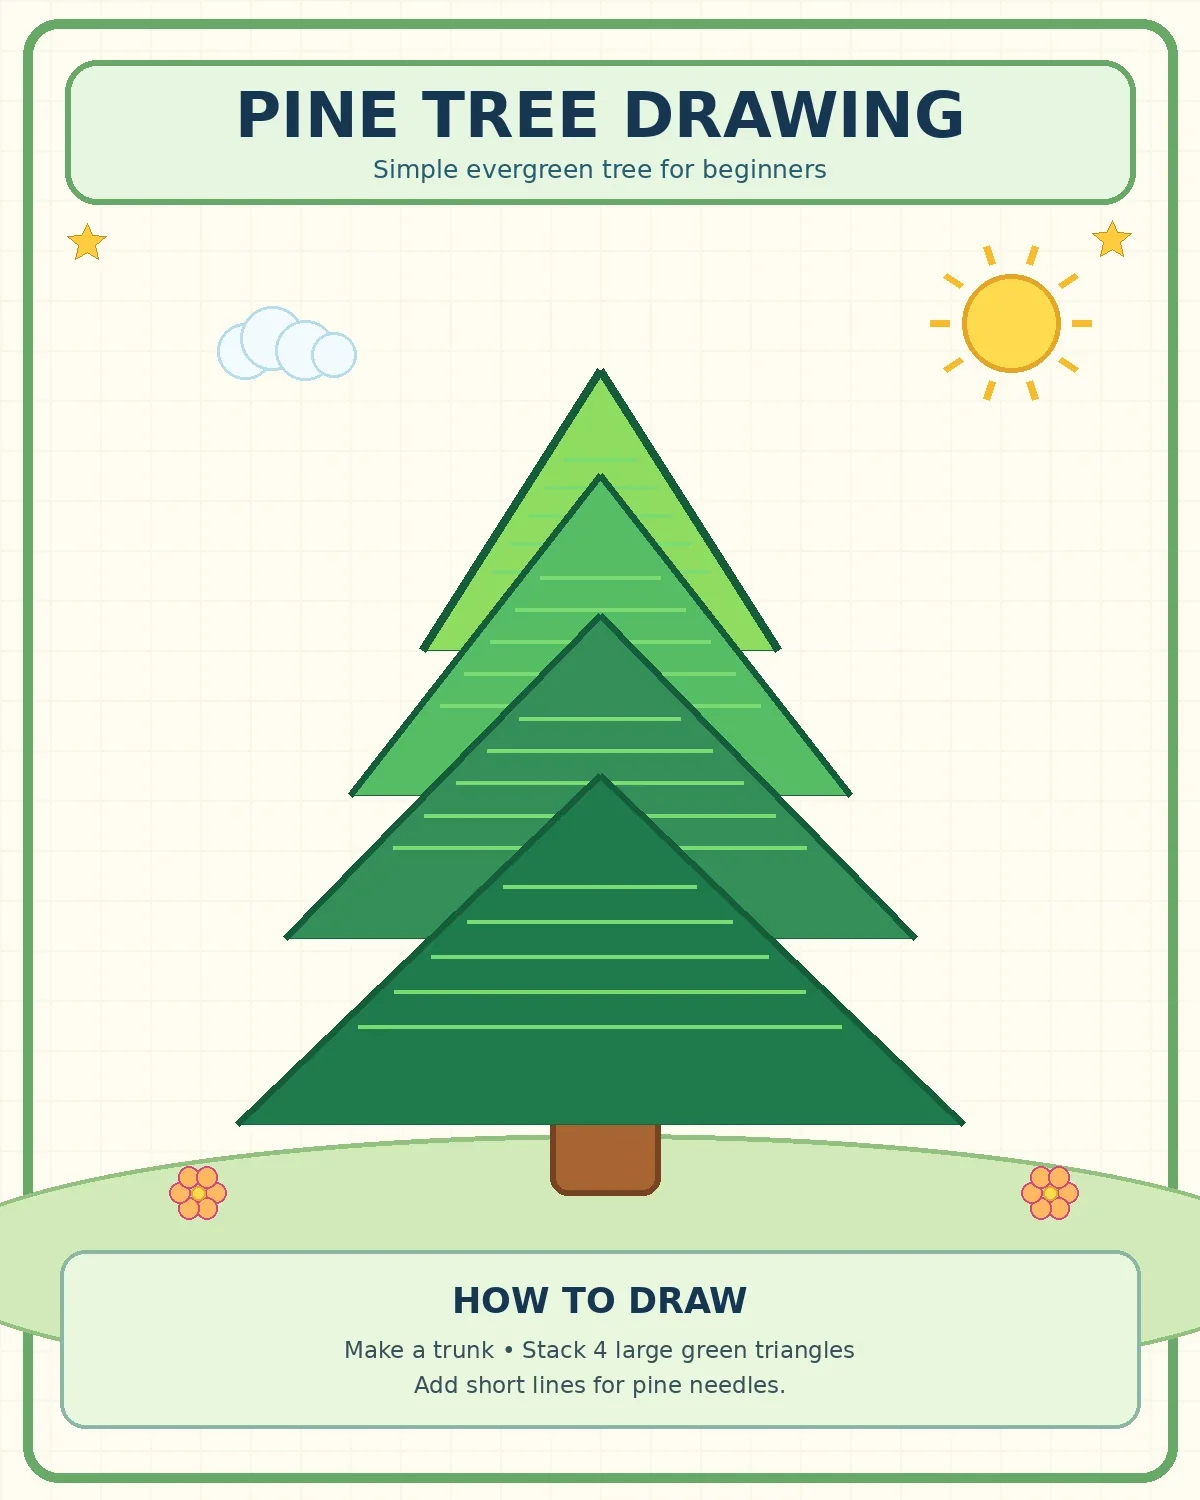
Sketch an upright trunk and branches that gradually become wider lower down. Add short angled strokes to suggest needle-shaped leaves. The triangular outline is a simple classroom drawing style.
Practice tip: First outline the tree in pencil. Check the shape of the trunk and leaves before adding colour. Keep enough room for a readable subject title.
5. Four Seasons Tree Drawing
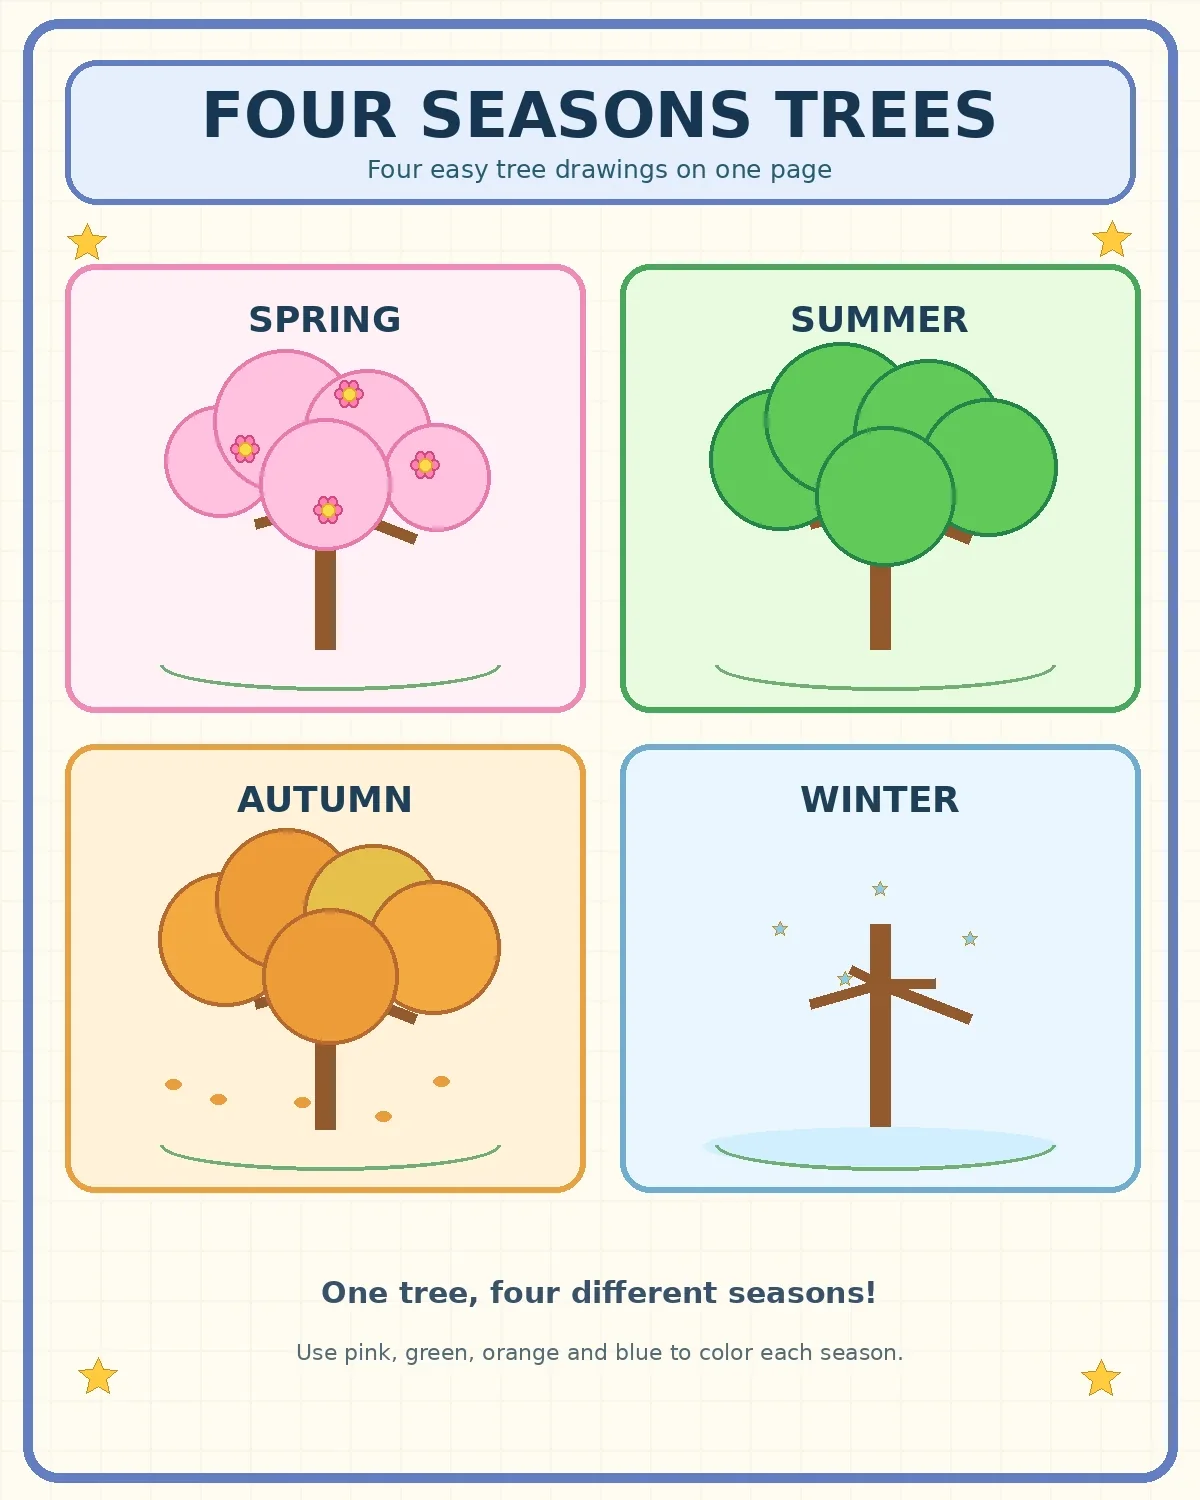
Divide the page into four panels and draw the same basic tree in each. Show spring growth, summer foliage, autumn colours and bare winter branches as an example of a temperate deciduous tree.
Practice tip: First outline the tree in pencil. Check the shape of the trunk and leaves before adding colour. Keep enough room for a readable subject title.
6. Save Trees Poster Drawing
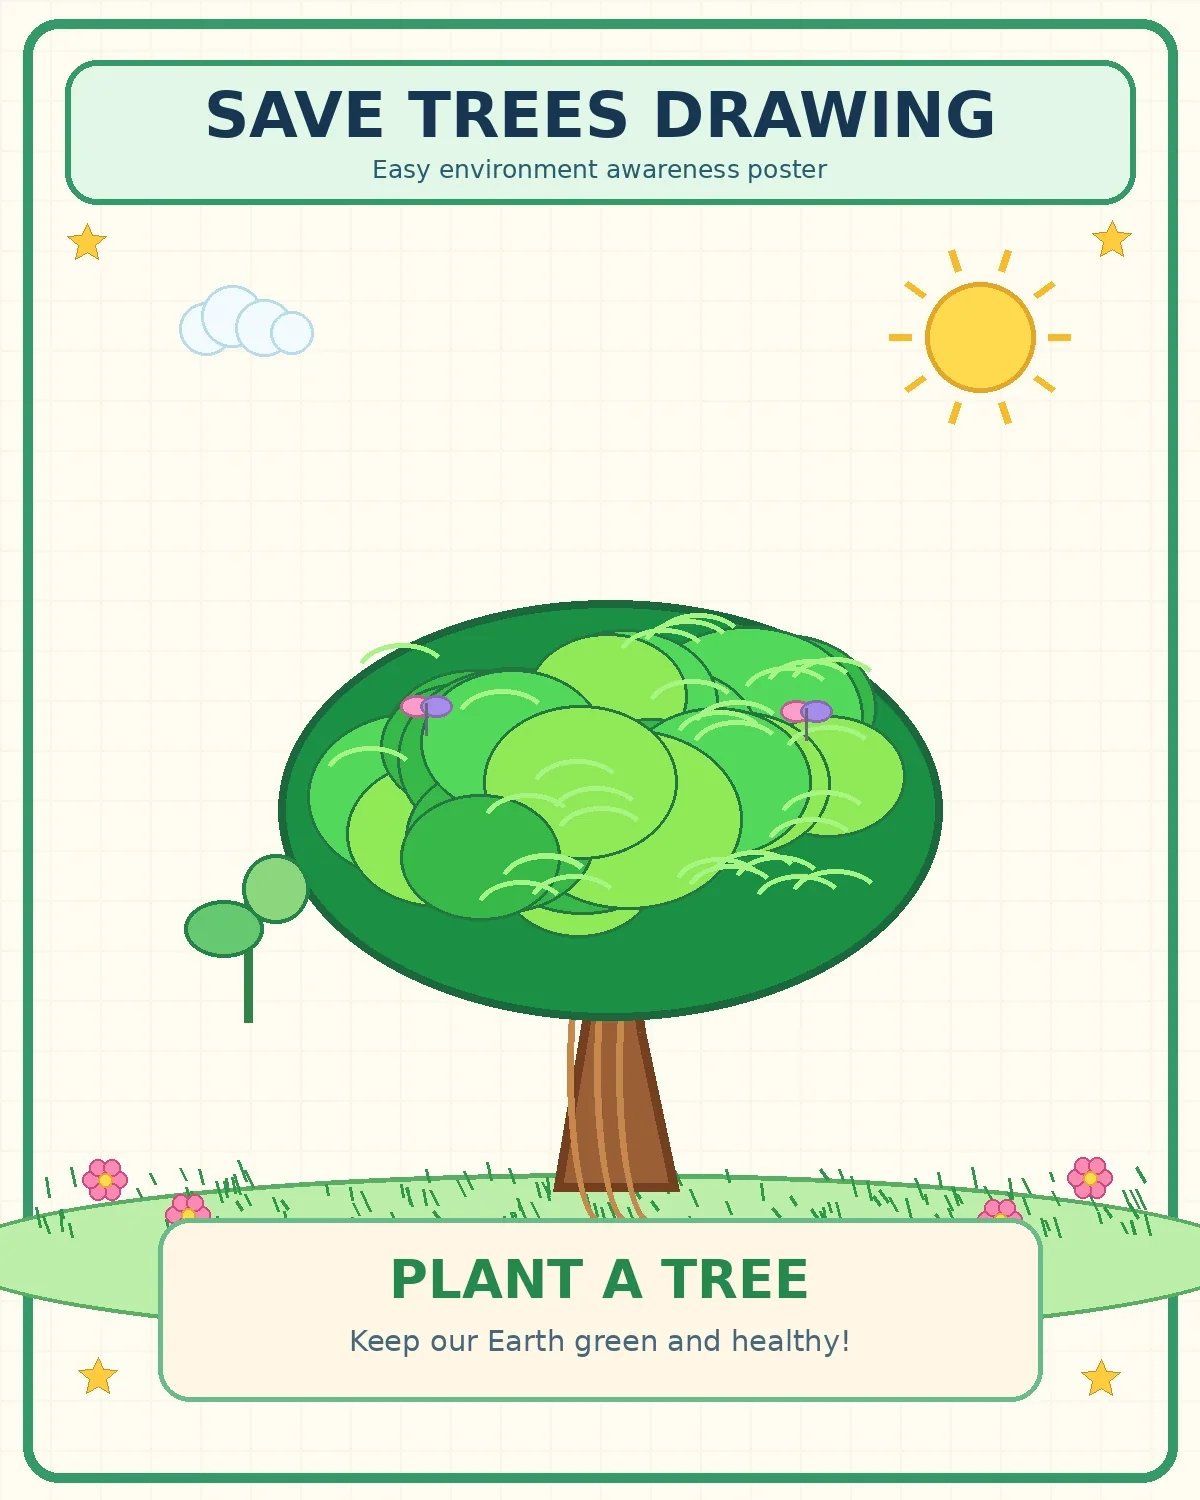
Draw a large central tree, a small sapling and one or two birds. Put SAVE TREES across the top and Plant and Care for Trees underneath. Leave enough space for the slogan to be read.
Practice tip: First outline the tree in pencil. Check the shape of the trunk and leaves before adding colour. Keep enough room for a readable subject title.
Draw a simple tree step by step
- Draw a gentle line along the bottom for the ground.
- Make a trunk using two vertical or slightly curving pencil lines.
- Divide the top of the trunk into two branches forming a wide Y.
- Draw a cloud-like outer shape around the branches for leaves.
- Add a few tiny leaf marks inside that shape.
- Colour the trunk brown and use two greens for the crown.
- Erase extra pencil guidelines and add a little grass if needed.
A tree does not need to be perfectly symmetrical. If one branch extends farther than another, it can still look natural. Students should make light practice lines before using a dark marker or thick crayon.
Recognising tree shapes: mango, coconut and pine
A good nature drawing starts by noticing how the real plant grows. A mango tree generally has a broad crown with branches spreading out from a trunk, while a coconut palm has a tall stem with long fronds at the top. A pine is often shown with branch layers and needle-like foliage. These differences are more important to recognisable drawings than filling every blank part of the paper with decoration.
Look carefully at the leaves. Mango leaves are usually long and pointed, palm fronds have many narrow leaflets, and many pine species have needles grouped along the branches. Real species vary, so a simple illustration helps young children identify a broad form, but does not replace scientific observation. The Royal Horticultural Society school guide encourages students to look at leaf shape, texture and seasonal changes when identifying trees.
For a more personal assignment, observe a tree near your school or home. Sketch the angle of its trunk, whether its crown is wide or narrow, and how the leaves are arranged. A small drawing made from observation can teach more than a highly decorated picture copied without understanding its subject.
Which tree drawing suits each school class?
Classes 1–2: Start with a rounded leafy tree. It offers a simple way to practise curved lines, colouring and a clear brown-green contrast. Classes 3–4: Try a mango tree with a few fruits or a coconut palm with visible fronds. These help children compare two easy silhouettes. Classes 5–6: Use a pine drawing to practise needle-like foliage or a four-seasons page to explore how some plants change over the year. Classes 7–8: Make an environmental awareness poster or draw and label a real local species.
Always match the teacher’s instructions. If the assignment specifically asks for a mango tree, a generic cartoon tree without fruit or recognisable leaves may not answer the question. If a science notebook requires labelled plant parts, include the trunk, branches and leaves rather than just a decorative landscape.
Four Seasons Tree: a science detail children should know
A familiar classroom four-panel drawing shows fresh spring leaves, a full green summer crown, yellow or orange autumn leaves, and bare winter branches. This is a simplified example of the seasonal cycle of some deciduous trees in temperate climates. It should not be used to claim that every tree in every country sheds its leaves in winter. Many tropical and evergreen trees keep foliage under different seasonal conditions.
Before making a seasonal poster, discuss the climate of your own area. Does a nearby tree keep most of its leaves? Does it flower during a dry season or after rain? Comparing these real observations with the textbook image makes the activity more useful. The RHS educational guide distinguishes deciduous trees from evergreens and supports noticing real seasonal variation.
Make a Save Trees poster with a useful message
A strong Save Trees poster needs one clear drawing and one message. Large letters such as SAVE TREES or PLANT AND CARE FOR TREES are easier to read than many tiny slogans. Draw a central tree and a small sapling, then leave enough white space so the main picture stays prominent. A bird or flower can suggest that trees are part of wider habitats.
Trees support wildlife, offer shade and contribute to healthy ecosystems. Planting a sapling is useful, but choosing a suitable location, protecting it and continuing to care for it also matter. Avoid unsupported figures such as a fixed number of people receiving oxygen from one tree. A real observation—perhaps noticing birds in a tree near school—can be a better addition to the poster.
Common drawing mistakes and easy fixes
Too-long trunk: Mark the space for the crown before drawing the lower trunk. All trees look identical: Change the silhouette to match a mango, pine or palm. Solid green foliage: Add a few lighter patches or gaps to show leaf clusters. Heavy pencil lines: Sketch softly, then outline after checking proportions. Overcrowded backgrounds: Keep the tree as the main focus and place the project title where it can be read.
Ask a classmate to identify the tree from its outline alone. If they can recognise it, the basic structure is working. If not, adjust the branches and leaves before adding more colour. Drawing improves through practice, and small irregularities are natural in real trees.
Conclusion and learning resources
An easy tree drawing for school project can start with just a trunk, branches and leaves. Practising a simple tree, mango, coconut palm, pine and seasonal tree helps students notice how nature varies. The Save Trees poster adds a chance to discuss local environmental care. Pick the picture that matches your assignment and draw your own version rather than trying to make every line identical.
Reference: RHS: How to Identify Trees by Their Leaves. More published ideas: Easy Drawing Ideas for School Projects. The gallery contains simplified educational illustrations, not botanical identification photographs.
Frequently asked questions
What is the easiest tree drawing for Class 2?
A simple brown trunk with rounded green leaves and a little grass is a good first project.
How do you draw a coconut tree?
Make a tall trunk and several long, arching fronds at the top, with coconuts near the crown.
What is different about drawing a mango tree?
It has spreading branches and a dense green canopy, with mango-shaped fruits hanging below the leaves.
How can I draw a pine tree quickly?
Draw an upright trunk, layers of branches and short needle-like strokes rather than broad oval leaves.
Does every tree lose leaves in winter?
No. The four-seasons poster is an example of some deciduous trees; many evergreen and tropical trees follow different patterns.
What can I write on a Save Trees poster?
Try a short message such as “Plant and Care for Trees” and write it clearly.






















Share Your Opinion
Comments are closed on this post.