 Vista
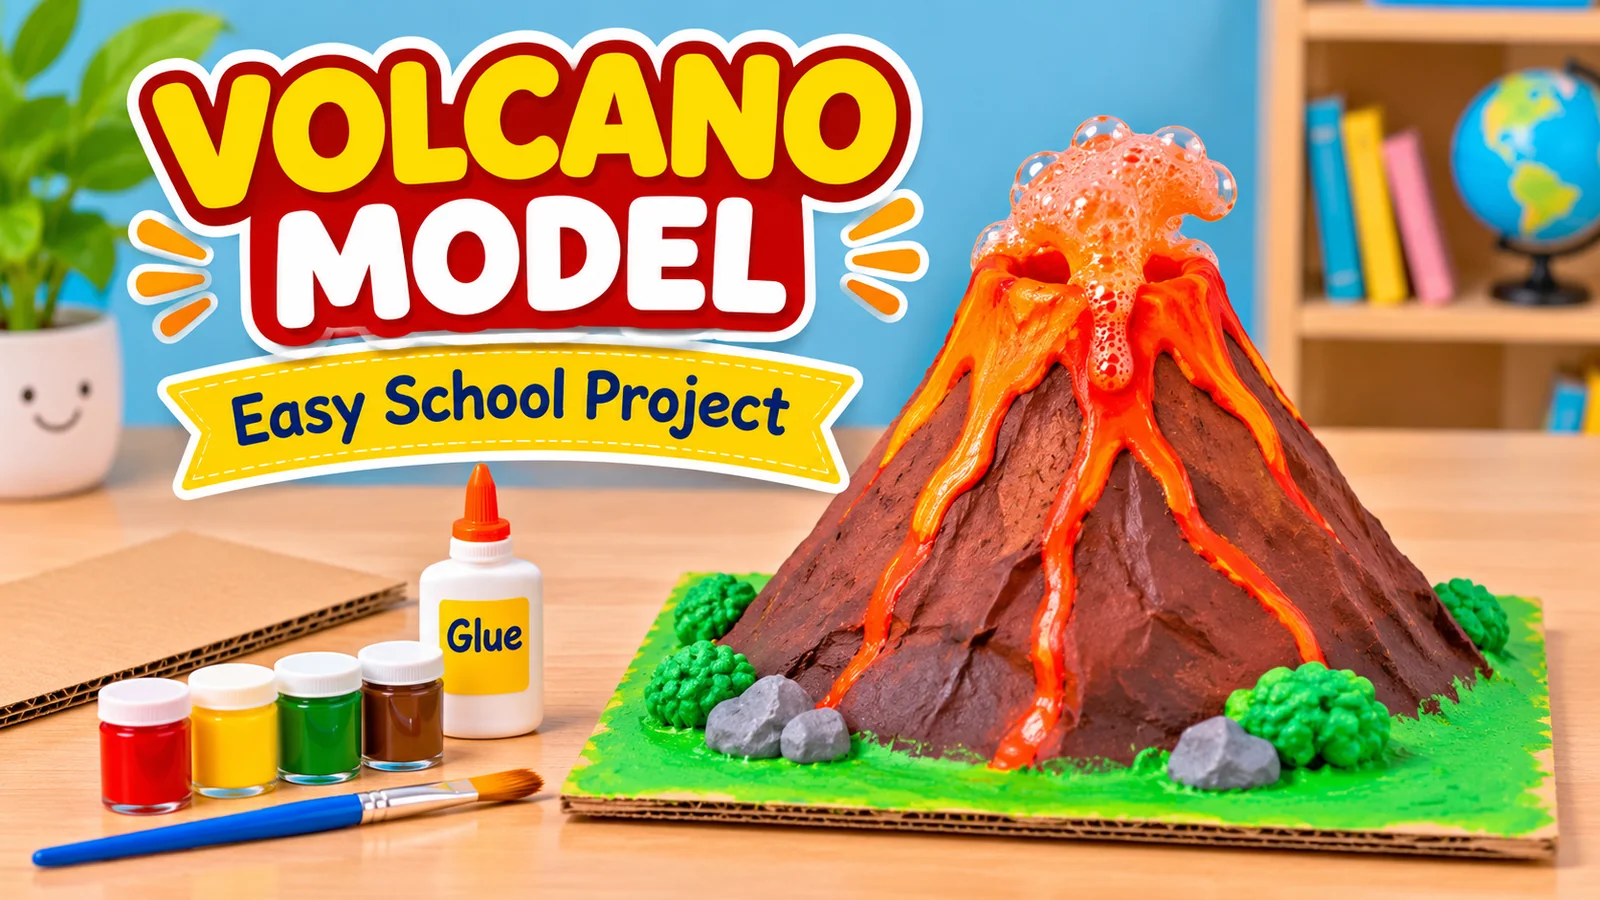
How do you make a volcano model for a school project? Secure a small plastic bottle on a cardboard base, build a cone-shaped mountain around it, then paint the outside brown and orange. For an optional working display, a carefully supervised baking soda and vinegar reaction can create foam that flows from the open crater. Below you will find six full-size model pictures, a materials checklist, step-by-step instructions, a simple science explanation and safety rules.
This is a child-friendly craft and chemistry demonstration, not an actual volcanic eruption. Real volcanoes involve molten rock and geological gases, whereas the classroom bottle produces carbon dioxide bubbles. Explaining that difference makes your project more accurate and gives you a good answer when a teacher asks how the model works.
What is a volcano? Magma, lava and the crater
A volcano is a place where molten rock, gases and sometimes fragments of rock emerge from Earth’s interior. Molten rock below the ground is called magma. Once molten rock erupts onto the surface, it is called lava. Some volcanic activity creates flowing lava, while other eruptions release ash, rock fragments and gas. The exact behaviour depends on the magma and the circumstances of the eruption.
Our cardboard project simplifies the appearance of a volcano into a mountain, a crater at the top and decorative lava-like stripes. It does not show the full underground structure of a real volcanic system. The U.S. Geological Survey’s explanation of volcanoes is a useful source for the distinction between magma and lava.
Why make the outer mountain around a bottle? The bottle acts as a safe open container for a separate chemistry experiment. Foam can rise from the mouth and spread across the artificial slopes. The bottle is not a magma chamber, and the foam is not lava. Distinguishing a physical display from a scientific process is one of the most important lessons in this project.
Materials needed for an easy volcano school project
For the model, gather a small empty plastic bottle, thick cardboard for the base, several pieces of paper or light cardboard for the cone, masking tape or craft glue, a paintbrush and brown, red, orange and green paint or colouring pencils. You will also need a large plastic tray, preferably one with raised edges, to catch any foam. A small plastic bottle is easier to handle than a glass container.
For the optional foam activity, use ordinary baking soda (sodium bicarbonate), household vinegar, a separate mixing cup, a measuring spoon and possibly a single drop of dishwashing liquid. Have well-fitting safety goggles ready for the people doing the demonstration. An adult should supervise. Gloves may also be appropriate while handling vinegar. No electricity, fire, strong acids, bleach or special laboratory reagents are required.
You can reuse clean packaging and scrap cardboard. This keeps costs down and adds a recycling lesson to the project. The price and preparation time will depend on your materials, the size of the mountain and the drying time of paint or glue. Build the model well before the school event rather than trying to paint and perform the reaction immediately one after the other.
Six volcano model pictures: craft steps, foam and science
These six educational images show the finished craft, supplies, construction, decoration, foam demonstration and explanation. Open each picture for a larger view. Do not rely only on the illustrations: read the instructions and safety notes before carrying out the activity.
1. Finished Volcano Model for School
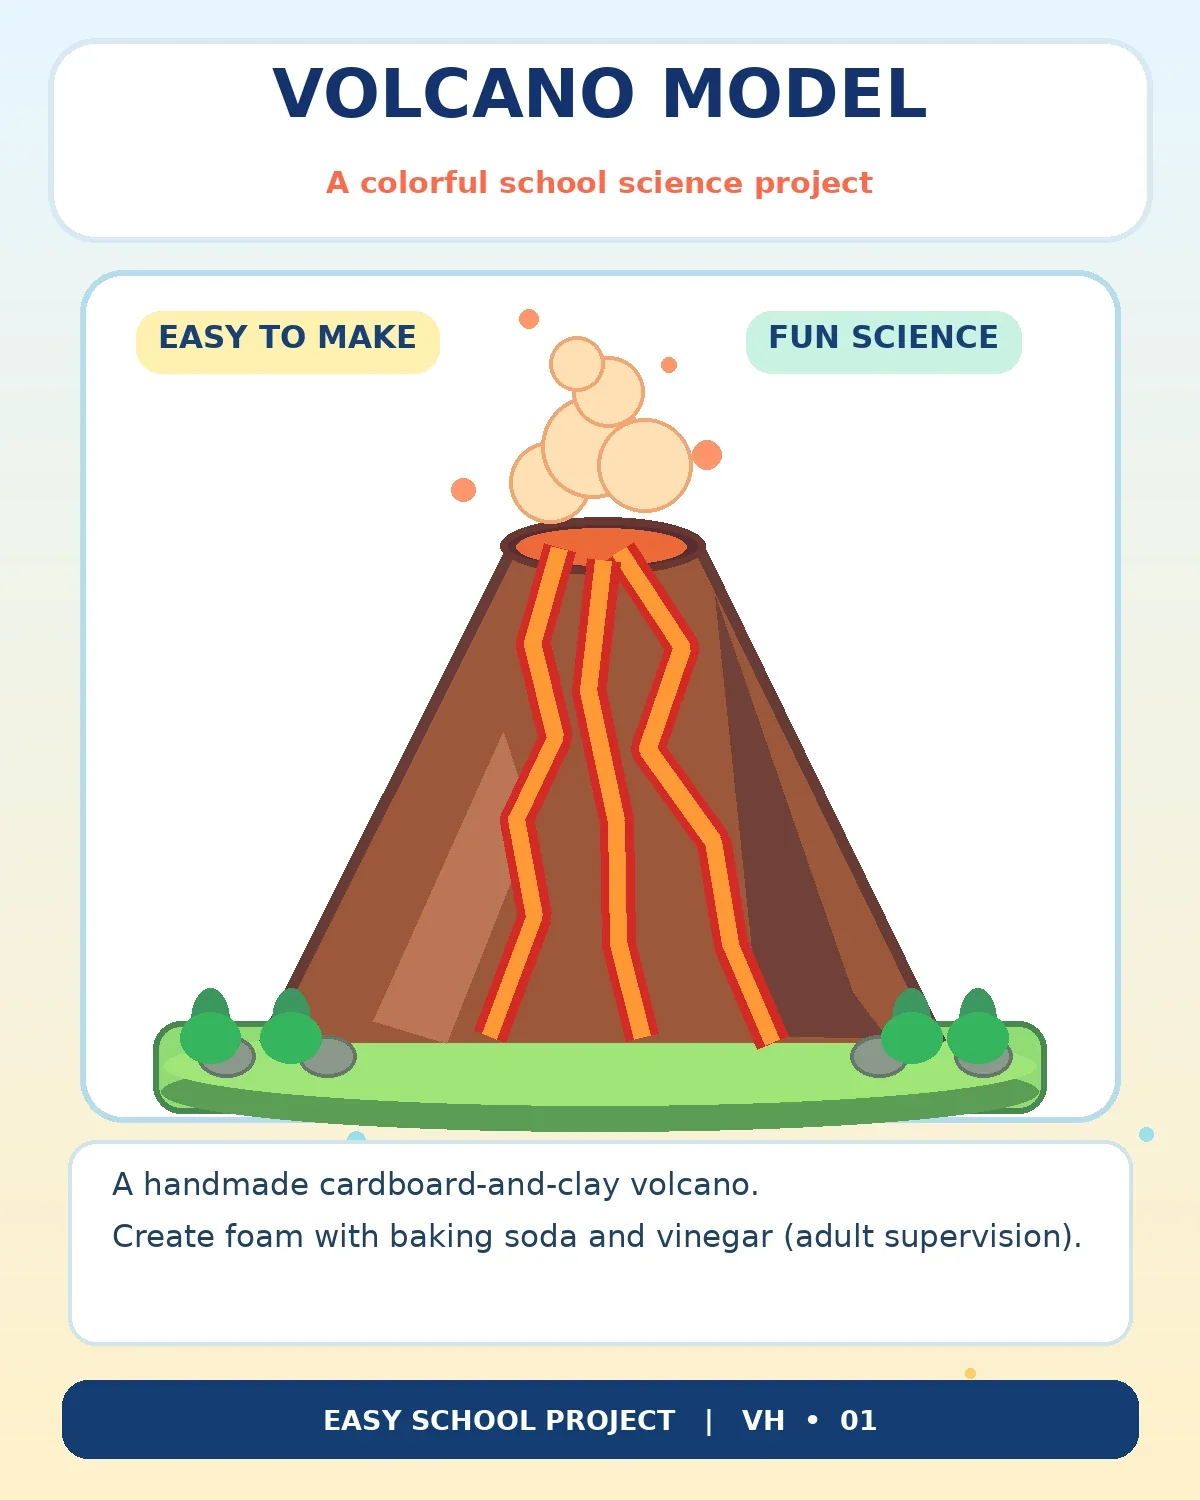
The completed example shows a wide cardboard base, a cone-shaped volcano and an open crater. Children can picture the result before starting and choose how large the base should be.
What to do: Set a small empty plastic bottle upright in the centre of a broad tray. Build a mountain-shaped cover around it with folded cardboard or layers of paper. Keep the bottle opening uncovered. Paint the mountain brown and draw a few red and orange decorative channels on the outside. These coloured lines are a visual cue, not a literal scientific cross-section.
2. Materials Needed for a DIY Volcano
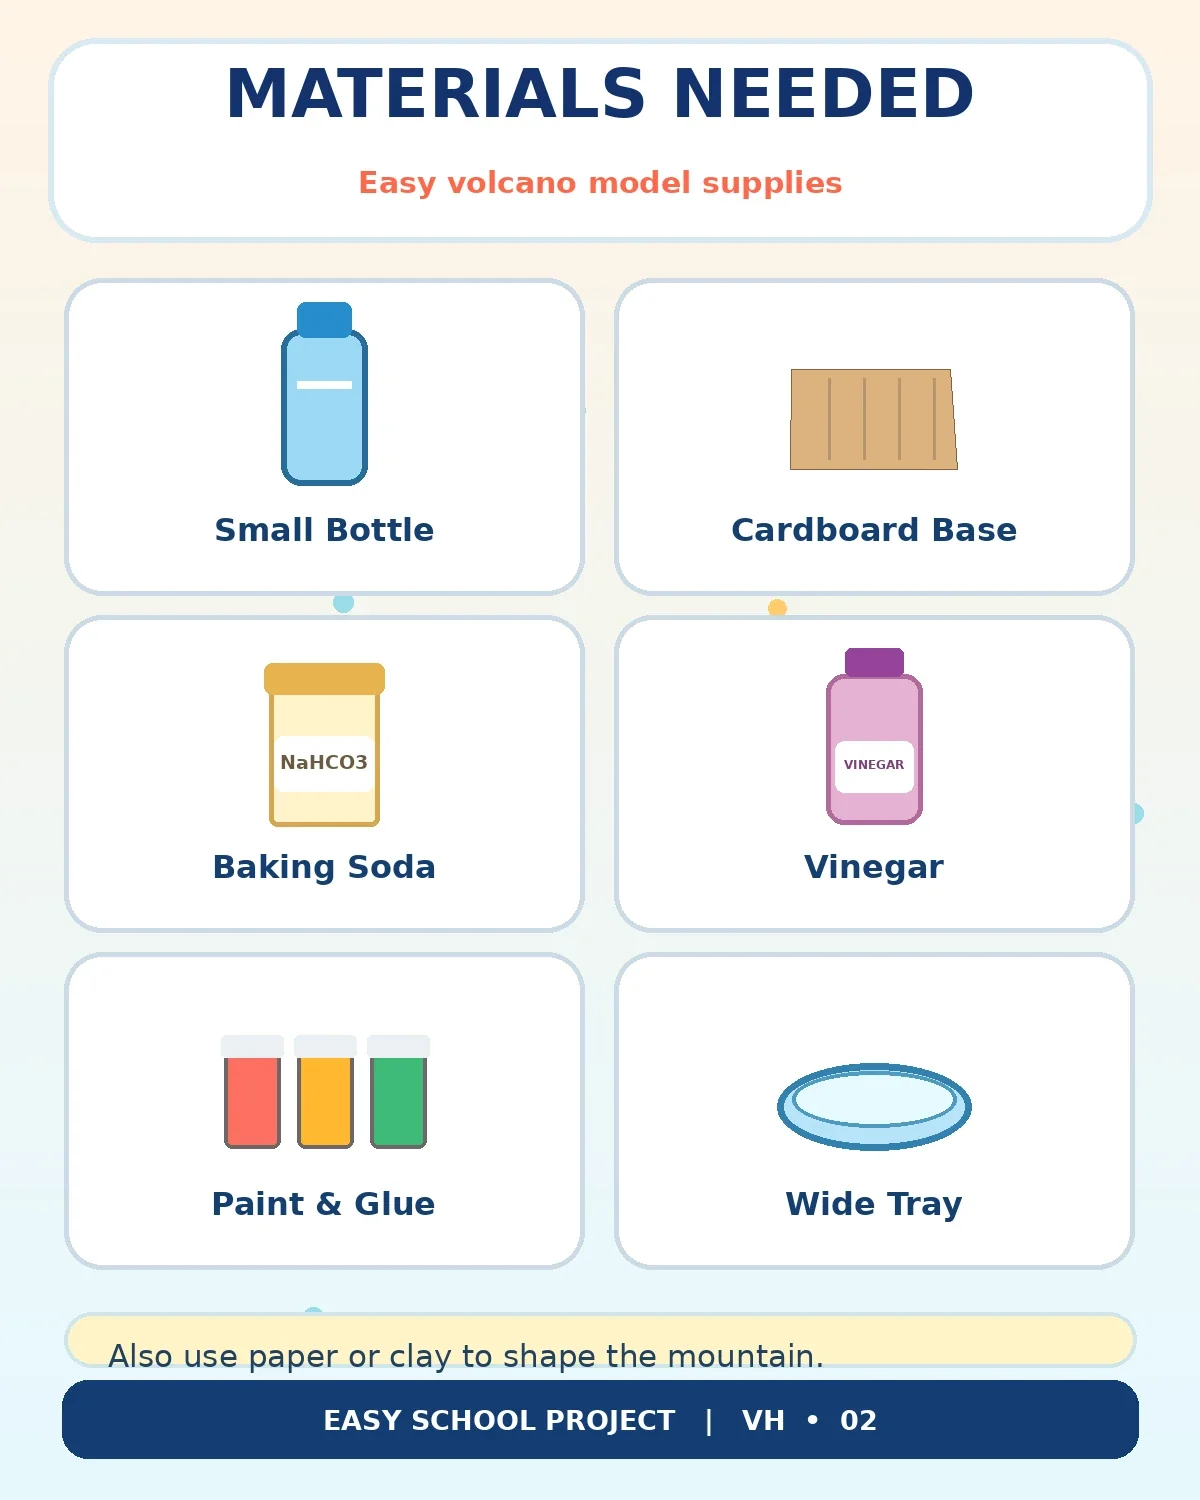
A small bottle, cardboard, baking soda, vinegar, glue and paints are the main supplies. A catch tray and basic protective equipment are essential for a liquid demonstration.
What to do: Collect everything before decorating. Separate craft materials from the experiment ingredients and place the bottle where any overflowing foam can be caught. Use common household vinegar rather than strong cleaning chemicals. Keep the model light enough to carry to school without it tipping over.
3. Build the Mountain in Three Easy Steps
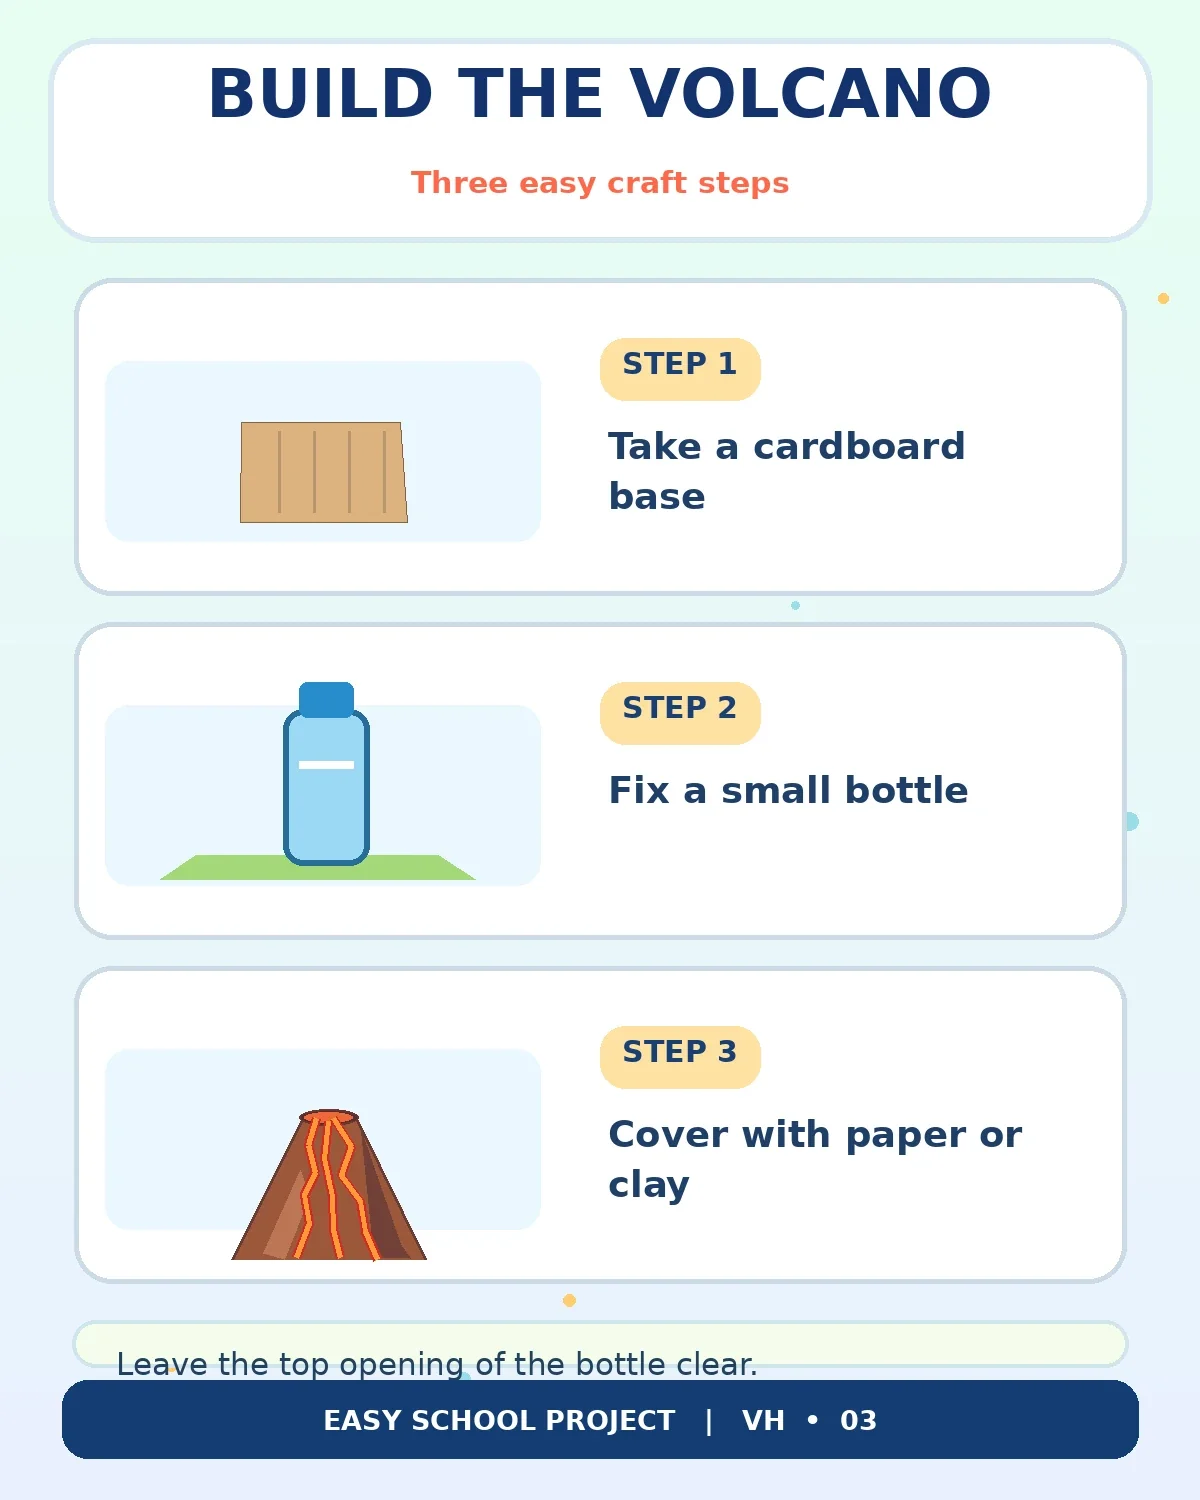
The three-stage illustration shows how a base, bottle and outer shell fit together to form a simple model volcano.
What to do: First make a broad cardboard base. Next secure a small plastic bottle in the middle, with its mouth facing up. Finally wrap or fold paper and cardboard into a cone around the bottle. Tape or glue the shape in place and leave the top fully open. Let any glue dry before adding water or other liquids.
4. Paint and Decorate Your Volcano
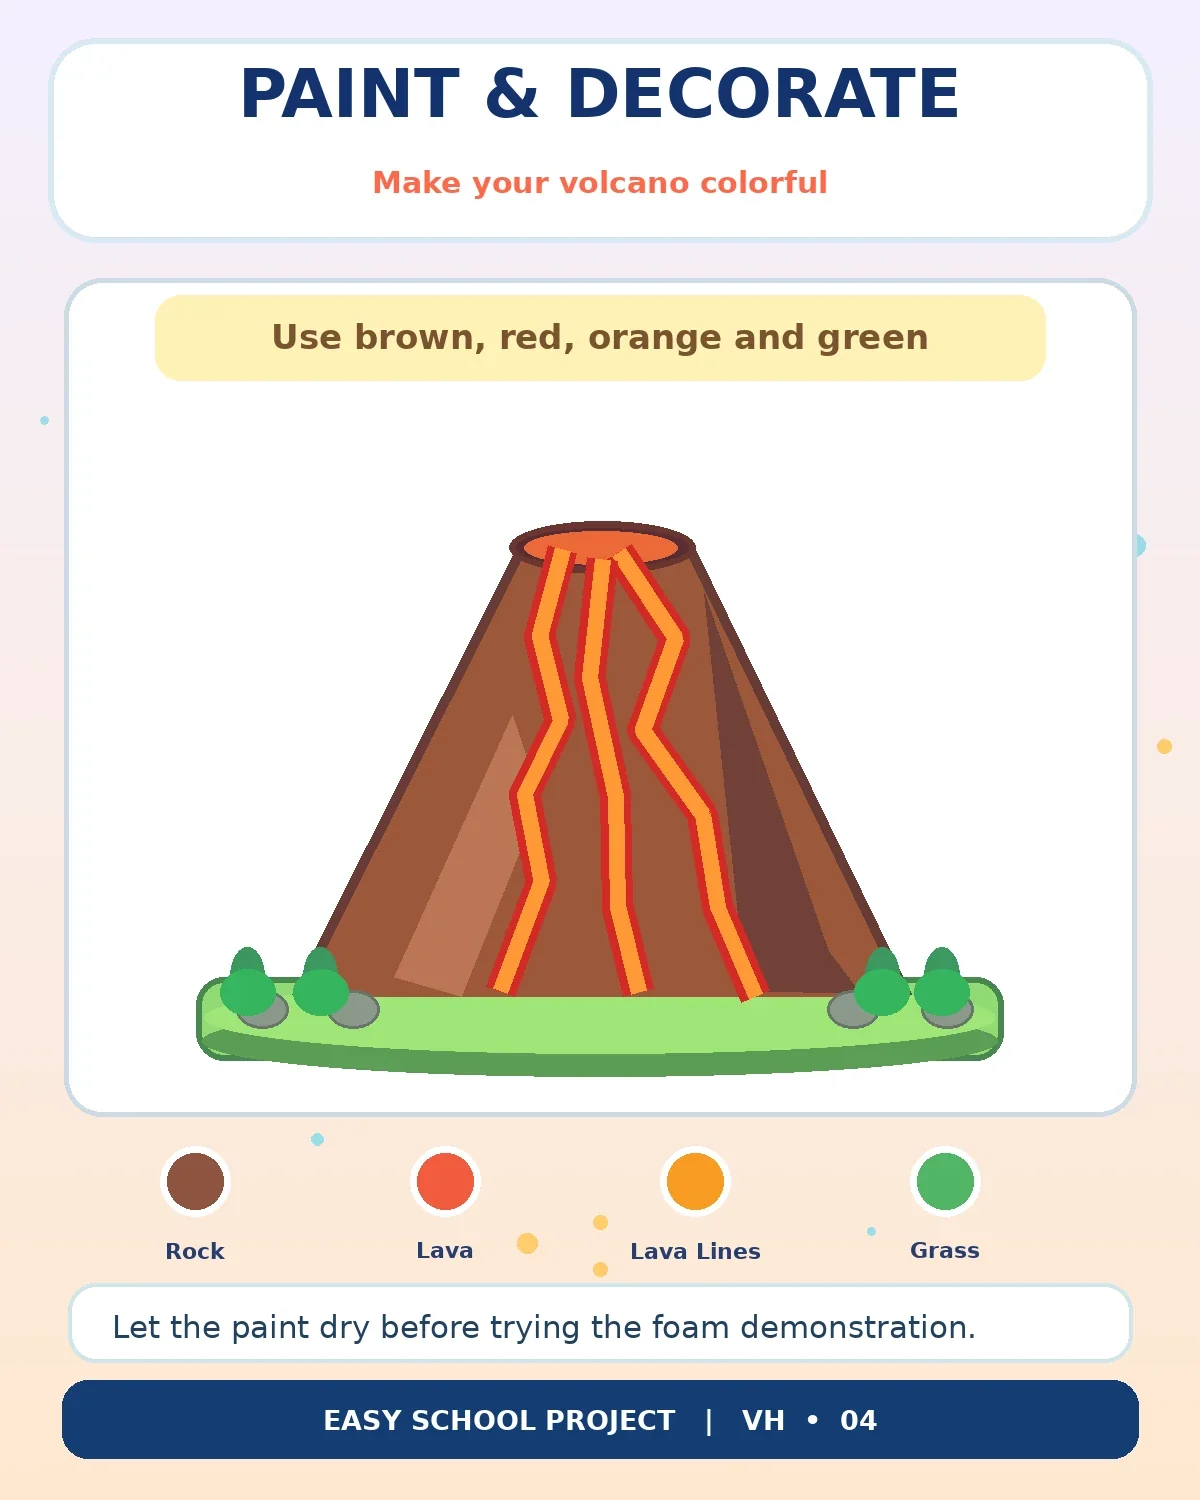
Brown slopes, orange lines and a few green details make the craft recognisable in a classroom exhibition. Children can keep the decoration simple.
What to do: Colour the cone brown, using lighter and darker areas to suggest rock. Paint a few red-orange lines running down the sides, and add tiny grass patches at the base if desired. Avoid applying paint inside the bottle or blocking the mouth. When the paint is dry, place the mountain back in its tray.
5. Baking Soda and Vinegar Foam Demonstration
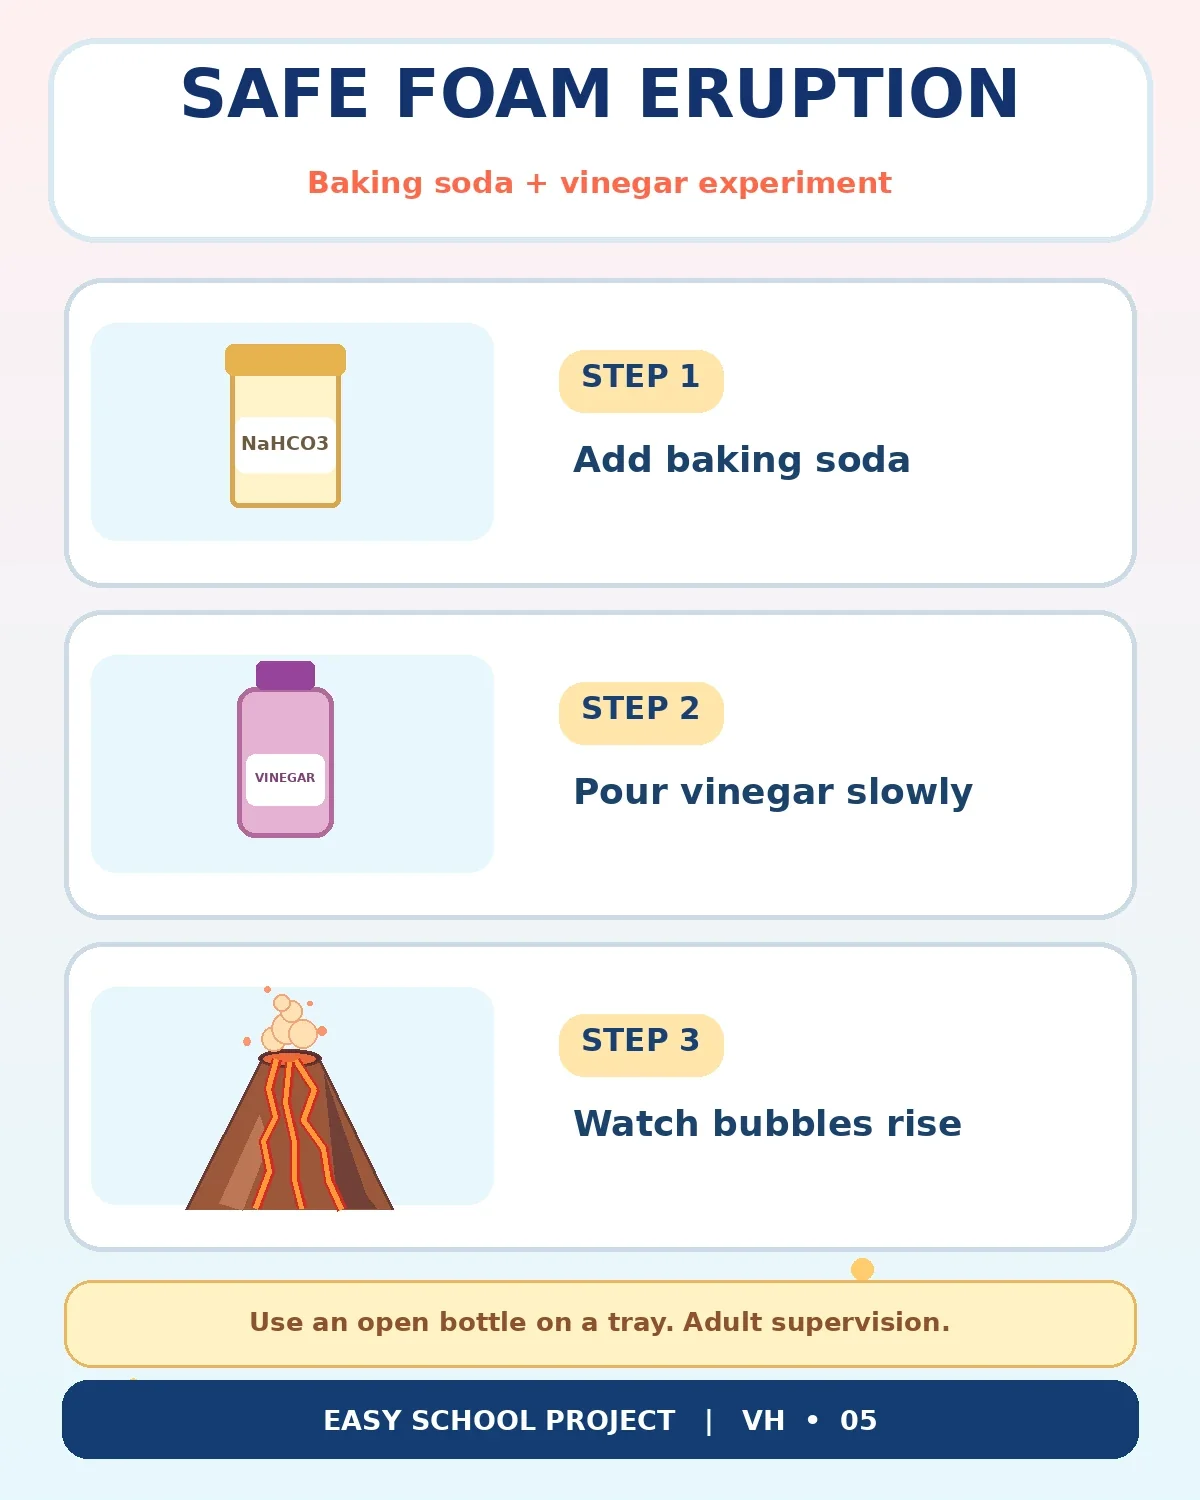
The poster shows a controlled, small-scale foam activity. A reaction between baking soda and vinegar creates carbon dioxide bubbles that can spill over the open bottle.
What to do: With an adult supervising and everyone wearing safety goggles, put about two teaspoons of baking soda into the open bottle. In a separate cup, combine roughly two tablespoons of household vinegar with an optional single drop of dishwashing liquid. Slowly add the vinegar mixture to the bottle and watch the bubbles rise. Never cap the bottle or point it towards someone’s face.
6. Why Does the Volcano Foam?
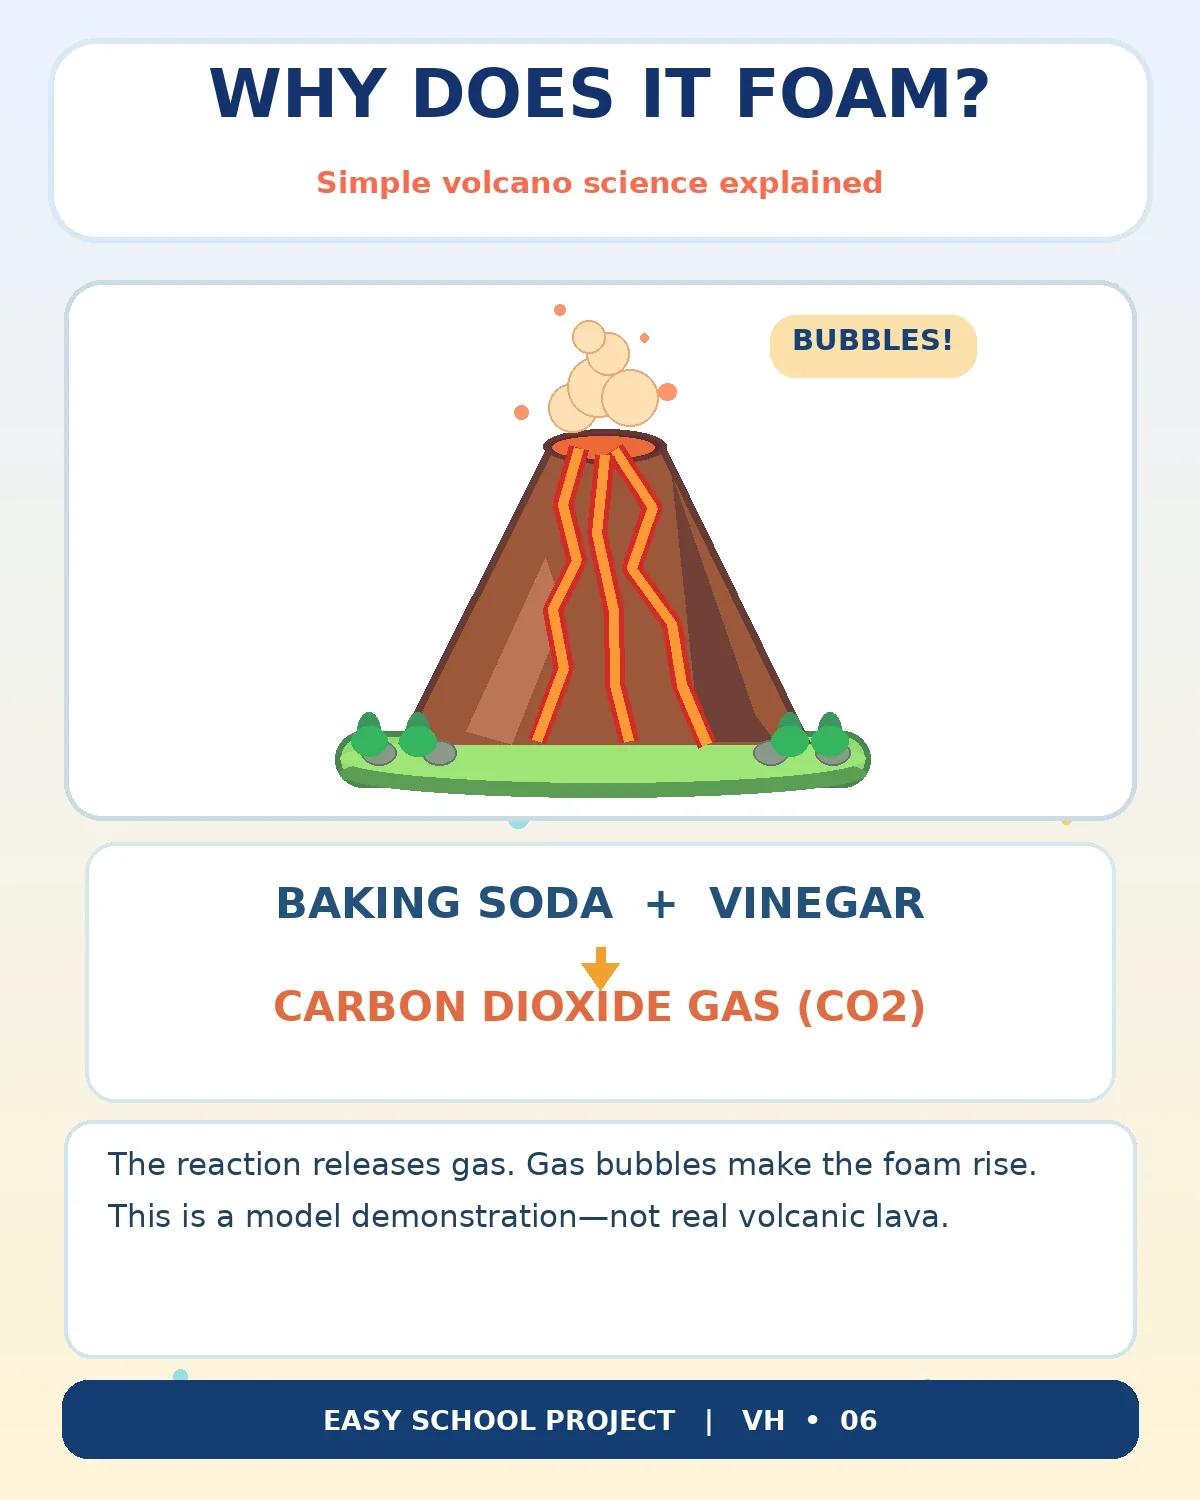
This science poster explains the visible bubbles. The reaction makes carbon dioxide gas; detergent, when used, helps bubbles remain visible as foam.
What to do: Ask children what the ingredients looked like before mixing. Have them observe the bubbles and explain that a new gas has formed. Discuss how the foam moves down the outer cone like a visual stand-in for an eruption. Be clear that this is not molten rock and does not reproduce real geological conditions.
How to make a volcano model step by step
- Prepare the base. Cut a sturdy square or rectangle of cardboard. Place it inside a wide, leak-resistant tray so the finished model will remain steady.
- Attach a plastic bottle. Position the clean, empty bottle vertically in the centre. Do not use a glass bottle and do not cover the mouth.
- Build the volcano shape. Fold paper or light cardboard into sloping sections that surround the bottle. Tape or glue them to the base and to each other. Leave the bottle opening accessible at the top.
- Strengthen the structure. Add a few strips of tape where the sides feel weak. There is no need for a heavy clay mountain if paper or cardboard is available.
- Paint the outside. Cover the cone brown, add a few red or orange decorative streaks and make small ground details near the bottom. Do not paint the inside of the bottle.
- Allow everything to dry. Let the glue and paint set properly so the project does not fall apart when moved to the demonstration table.
- Set up the optional reaction. On the tray, put about two teaspoons of baking soda into the open bottle. With an adult, prepare about two tablespoons of ordinary vinegar and one optional drop of dishwashing liquid in a cup.
- Watch the foam. Wearing goggles, gently add the vinegar mixture to the bottle. Stand clear and observe the bubbles. Never place a cap on the bottle.
- Clean up. Once bubbling has ended, ask an adult to help empty and rinse the container, clean the tray, and wash hands thoroughly.
A small, controlled reaction is usually easier to explain than an overflowing mess. If your school does not permit wet demonstrations, bring only the finished model and the science posters. Always ask the teacher before taking liquids into the classroom.
Why does baking soda and vinegar create bubbles?
Baking soda is sodium bicarbonate, and ordinary vinegar contains dilute acetic acid. When they react, one of the new products is carbon dioxide gas (CO₂). The rising gas creates visible bubbles. When you add a very small amount of dishwashing liquid, it can help trap the bubbles for longer, producing a thicker foam. A similar kid-friendly activity is explained by the American Chemical Society.
The foam runs down the cardboard mountain because it forms inside the bottle and may overflow its open top. This movement is visually similar to the way material can move down the slopes of an erupting volcano, but the causes are different. Real lava is molten rock. The classroom liquid is a cool mixture of ordinary household ingredients and gas bubbles.
Ask children to record simple observations: Did the bubbling begin before or after the liquids mixed? Did adding a drop of detergent change the way the bubbles looked? Was the reaction still active after a short pause? Observation and explanation matter more than the height of the foam. Never try to collect reaction gas in a sealed, rigid bottle: pressure can build up and cause harm.
Volcano project safety: essential rules for children
Adult supervision comes first. The ingredients are familiar household products, but they can still irritate eyes or skin. Wear properly fitting safety goggles, keep the reaction on a tray and avoid leaning directly over the bottle. Do not taste ingredients, and wash hands after the experiment. A clean work surface and a separate mixing cup will make the demonstration easier to manage.
Never close the reacting bottle. Carbon dioxide gas is produced and must be free to escape. Do not add bleach, household cleaners, strong acids, flames, fireworks, aerosols or electrical equipment in an attempt to make the activity more spectacular. These additions are unnecessary and potentially hazardous. Do not perform the experiment near phones, laptops, electrical sockets or other equipment that could be damaged by splashing.
For the youngest students, an unpowered, non-foaming cardboard model with labels can be a safer classroom choice. If a child gets a splash in the eyes, rinse with clean running water and seek appropriate medical assistance if symptoms persist. Follow the school laboratory rules and the adult supervisor’s instructions throughout.
How to explain your volcano model in a school presentation
Children can introduce the model in a few simple sentences: “This is a model of a volcano. Molten rock below Earth’s surface is called magma. After it erupts onto the surface, it is called lava. The volcano I made uses a plastic bottle, cardboard and paint. For the optional experiment, baking soda reacts with vinegar to produce carbon dioxide bubbles. The foam is not real lava; it only helps us imagine material emerging from a crater.”
For Classes 3–5, this explanation and a clearly labelled model may be enough. Students in Classes 6–8 can add why gas forms, how the reaction differs from a natural eruption and why the ingredients must remain in an open container. Older students can discuss magma viscosity and the different ways volcanoes erupt, while keeping the craft demonstration separate from geological facts.
If your teacher asks what you learned, say that scientific models have limits. A model can show shape, movement or a chemical reaction without copying all the processes of the real world. That answer demonstrates understanding beyond simply making something colourful.
Myth vs fact: what this volcano model really shows
Myth: The red foam is lava. Fact: The foam is liquid mixed with carbon dioxide bubbles. Myth: All volcanoes erupt in one identical way. Fact: Real volcanoes differ in their structure, materials and behaviour. Myth: More vinegar always makes the project more educational. Fact: A small, measurable reaction is enough to observe and explain the chemistry.
Myth: You need flames or heat for a realistic effect. Fact: Fire is unnecessary, and adding it creates avoidable risk. Myth: A static volcano model has no learning value. Fact: A carefully labelled non-working model can teach what magma, lava and a crater are, especially in younger classes.
Frequently asked questions about school volcano models
Can I make a working volcano without electricity?
Yes. A supervised baking soda and vinegar reaction creates bubbles without needing electrical power.
Is baking powder the same as baking soda?
No. They are different products. The activity described here uses baking soda, which reacts with household vinegar to make carbon dioxide gas.
Do I need to add red food colouring?
No. Colour is optional and used only to make the foam look decorative. White foam still demonstrates the reaction.
Is this real lava?
No. Lava is molten rock, while this model produces cool foam containing carbon dioxide bubbles.
Can Class 4 students make this volcano?
They can help with painting and simple assembly, but cutting cardboard and handling the reaction should be supervised by an adult.
Can I take a dry volcano model to school?
Yes, if the teacher permits it. A dry model with clear labels and an explanation can be a useful alternative to a live foam activity.
Conclusion and reliable references
An easy volcano model for a school project starts with a stable cardboard mountain and an open bottle. Use the six pictures to plan the materials and steps, and add the optional foam demonstration only when an adult can supervise it safely. The best result is not the biggest eruption; it is a child who can explain the craft, the chemistry and the difference between foam and genuine volcanic lava.
References: USGS — About Volcanoes; USGS — How Volcanoes Erupt; and American Chemical Society — Gas Sudsation. Safety note: this is an educational craft activity, not a simulation of the temperature or chemistry of a true volcano.

















Share Your Opinion
Comments are closed on this post.