 Vista
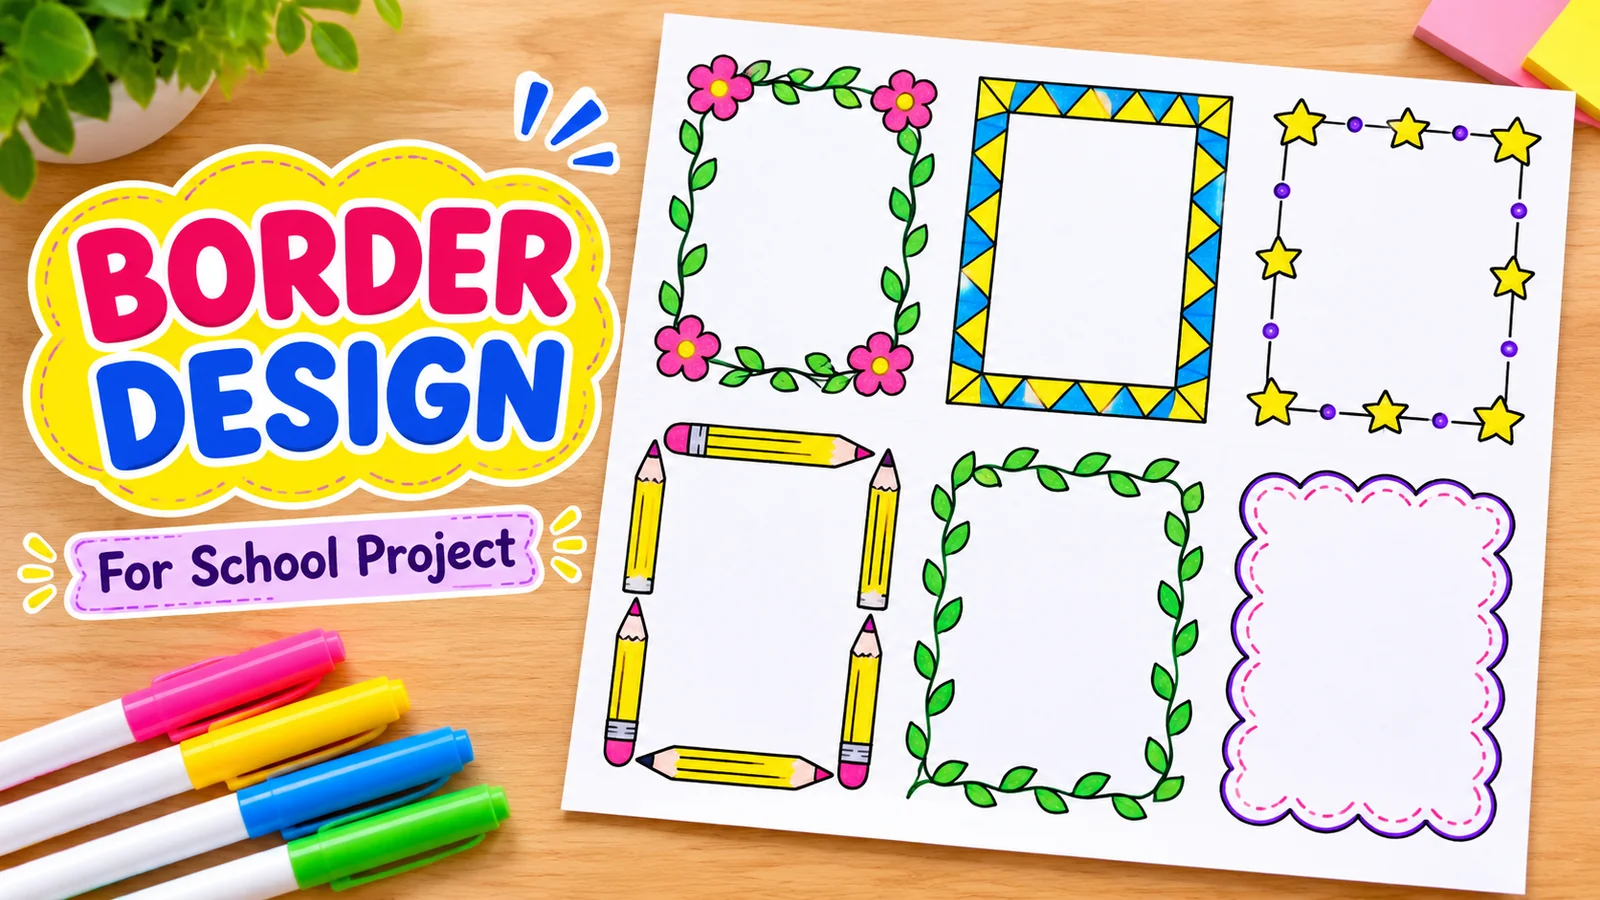
Need an easy border design for a school project? Here are six clear, colourful designs you can copy onto an A4 page or project-file cover: floral, geometric, rainbow, stars, leaves and pencils. Each school project border design has a full-size picture, a short drawing guide and a practical tip for beginners. The goal is to decorate the margins without hiding your project title, diagrams or written answers.
These are creative examples rather than compulsory school templates. You can draw fewer shapes, change the colours or decorate only the four corners. A border is most useful when it makes the page look tidy and still leaves enough room for the homework.
Simple materials for a school project page border
You only need a clean A4 paper or project file, HB pencil, eraser, ruler and a few coloured pencils or crayons. A black fine-tip marker can help with the final outline, but it is optional. If you want a flower or leaf design, green and pink are useful. For geometric shapes, a ruler and three bright colours will do. A rainbow can be drawn with curved lines and coloured carefully without any special art equipment.
Use a separate practice sheet when you are unsure about stars or repeated shapes. Test markers before using them on a thin notebook page, since some inks may show through. You do not need scissors, sharp cutting tools, hot glue or glitter to complete these simple border drawings. If your school requires specific page margins, follow those instructions before starting the decoration.
Six colourful border design images for A4 sheets
Open any picture to see the pattern more clearly. Copy its general shape in light pencil, and then choose your favourite colours. Start with the simplest style if you are new to drawing borders; a consistent pattern is more attractive than many unrelated decorations.
1. Floral Border Design for School Project
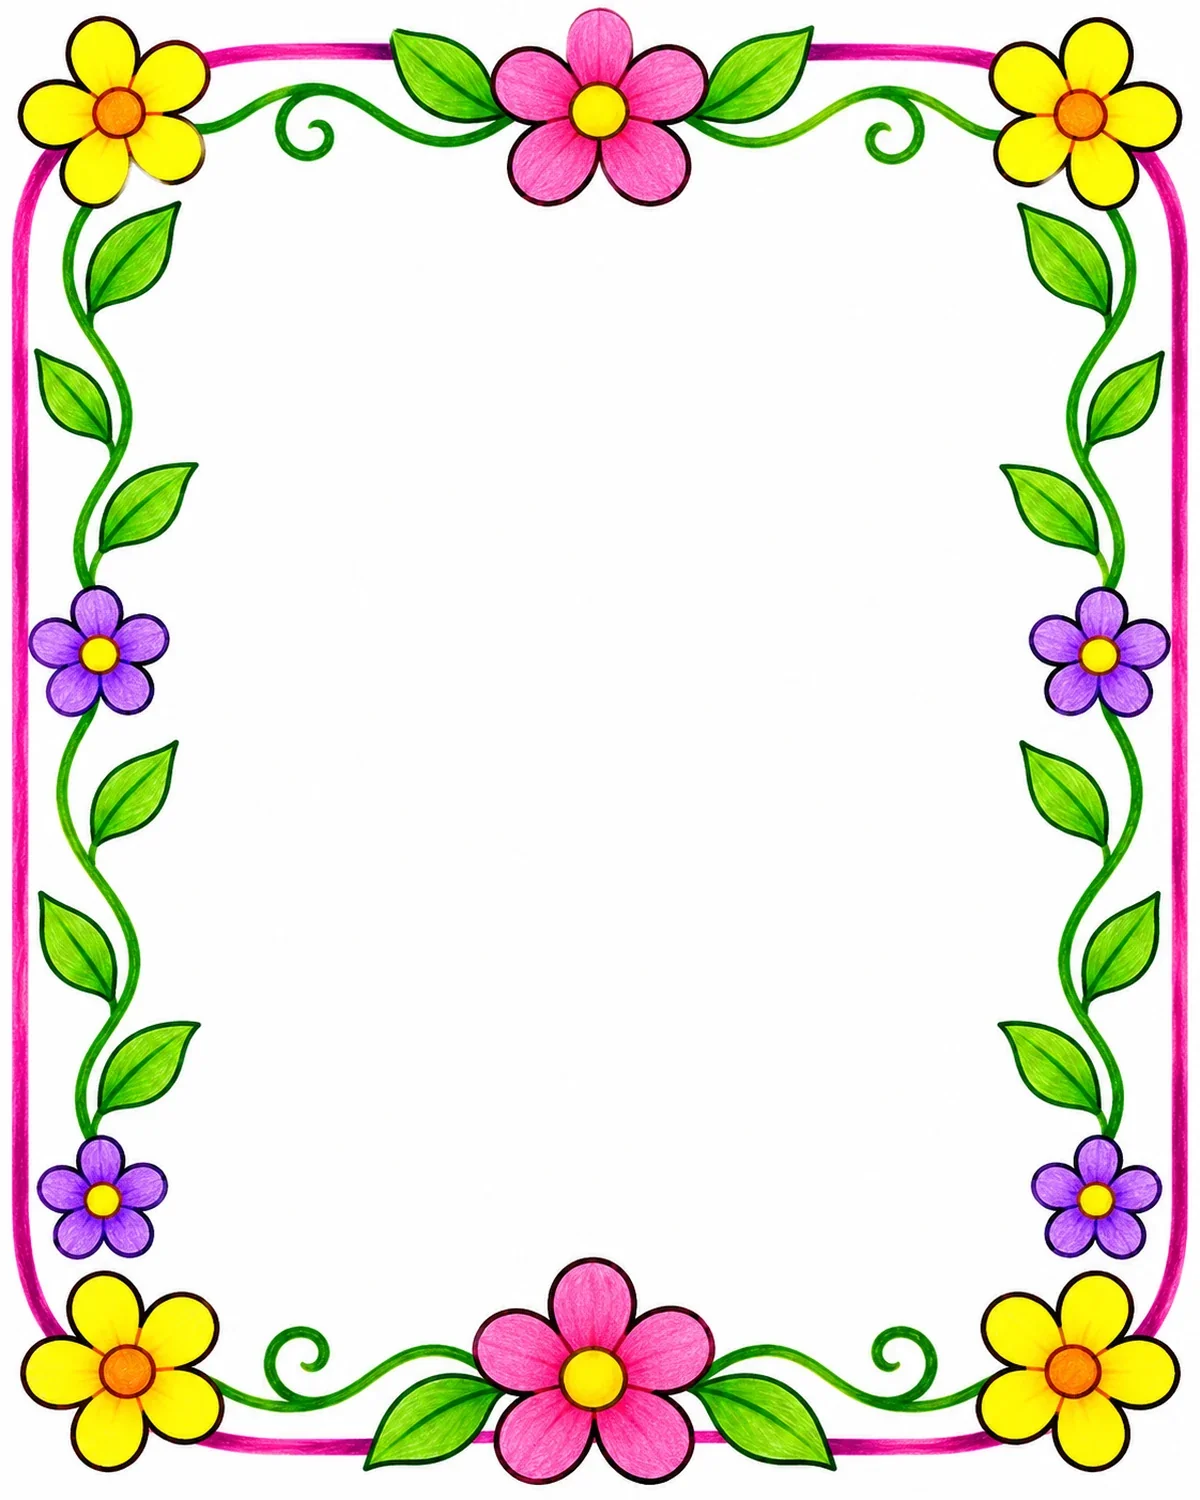
A flower-and-vine border is useful for art files, English and Hindi worksheets, and general assignment sheets. The flowers sit at the corners, leaving a large blank centre.
How to draw: Use a pencil to draw a light rectangular guide. Place a small five-petal flower at each corner and connect the flowers with soft curling stems. Add oval leaves at short intervals. You can include larger flowers at the middle of the top and bottom edges. Colour the petals pink or yellow, shade the leaves green and erase the extra pencil guidelines.
Tip: Make the flowers a similar size to give your sheet an organised appearance.
2. Geometric Border Design for School Project
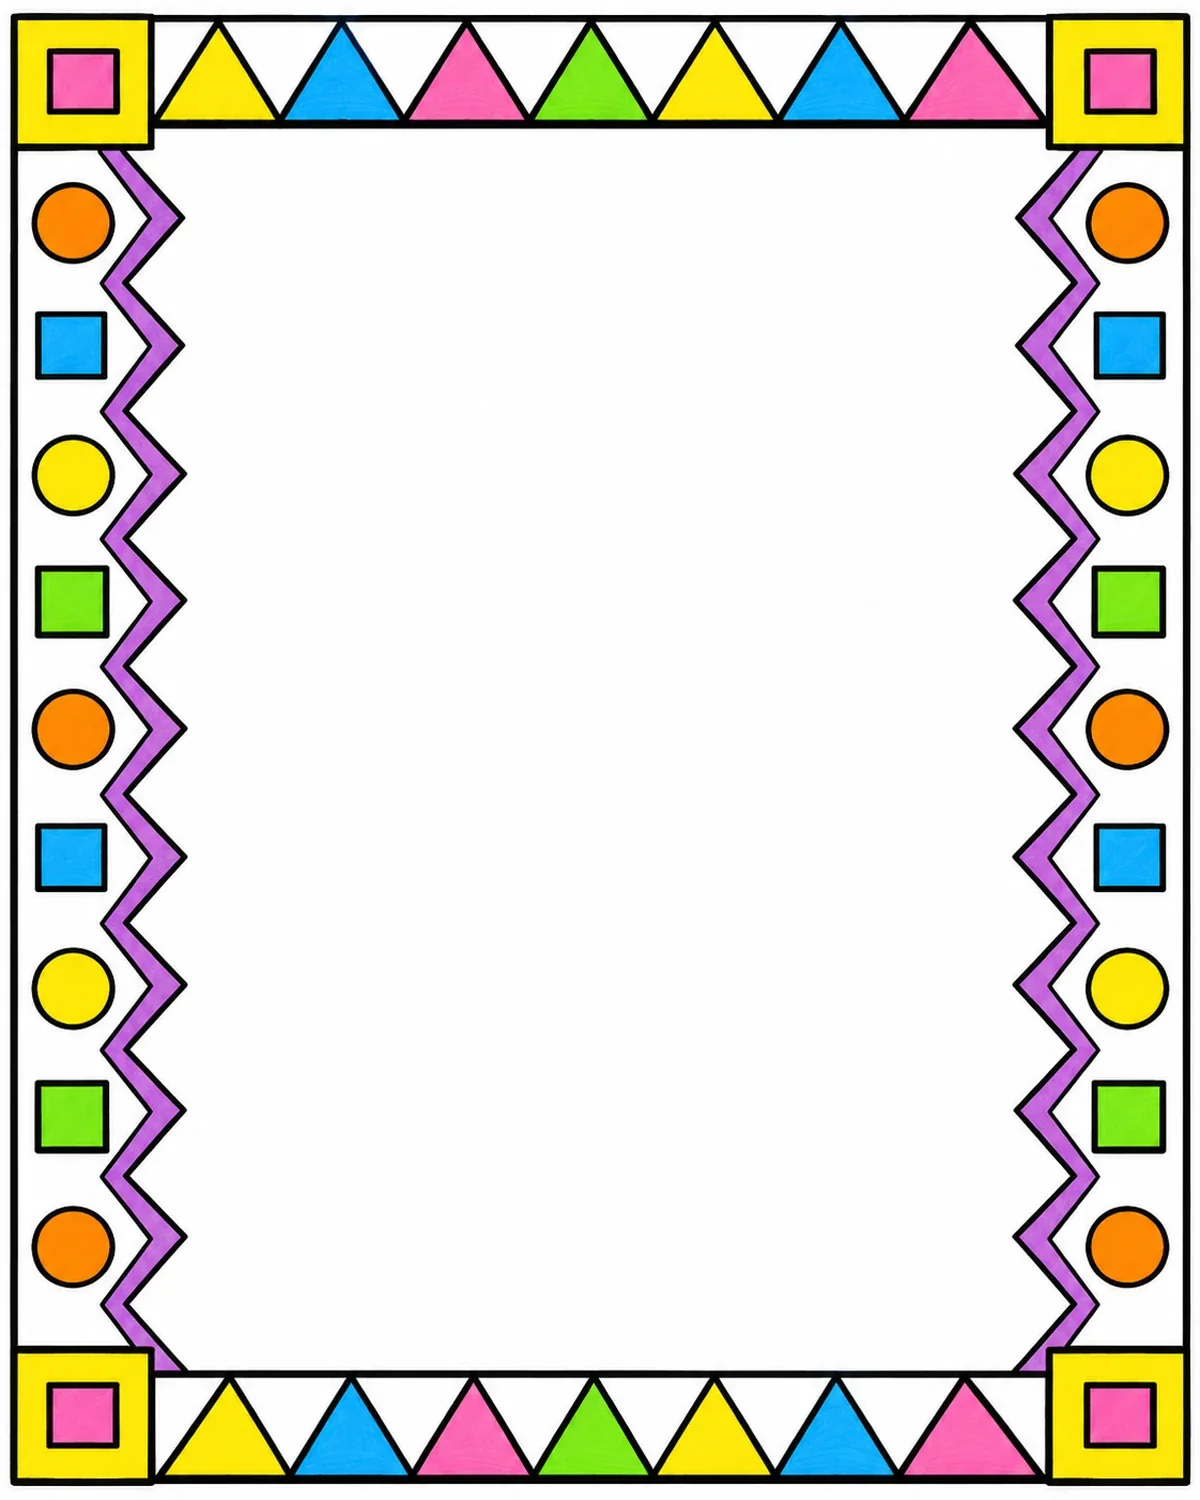
Triangles, circles and squares create a strong modern look for maths and technology projects. This is easy to reproduce with a ruler.
How to draw: Mark equal intervals along the top and bottom with a ruler. Connect the marks into triangles or small zigzags, then alternate circles and squares down the two side margins. Repeat the same colour sequence instead of using every shade in the box. Keep the outlines thin around the central writing space.
Tip: Measure the spacing before colouring; straight edges make the whole border look neat.
3. Rainbow Border Design for School Project
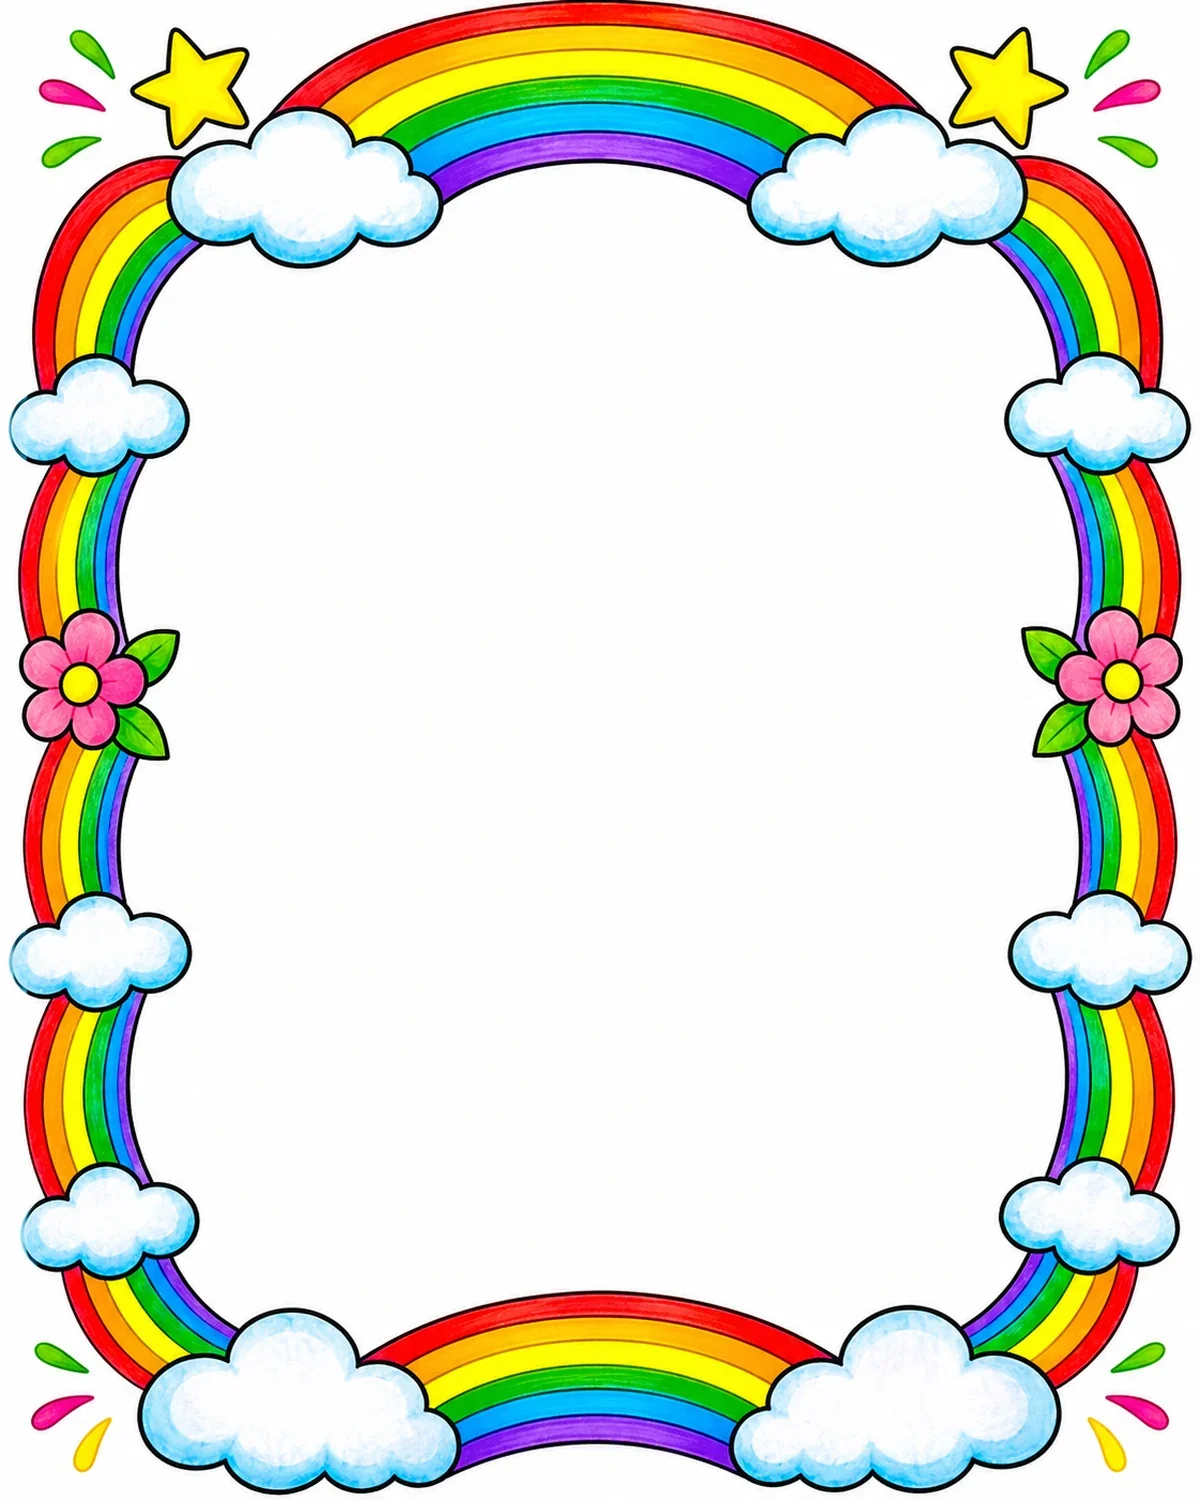
A rainbow-and-cloud border feels cheerful on holiday homework, colouring sheets and junior class projects. It works best when you keep the centre white.
How to draw: Draw a large curved arc at the top and a matching arc at the bottom. Make four or five parallel arcs inside each rainbow. Add puffy cloud shapes at the ends using connected semicircles. Colour the rainbow bands carefully and place one or two small flowers near the sides if space permits.
Tip: Children can draw four broad rainbow bands instead of seven narrow ones.
4. Stars Border Design for School Project
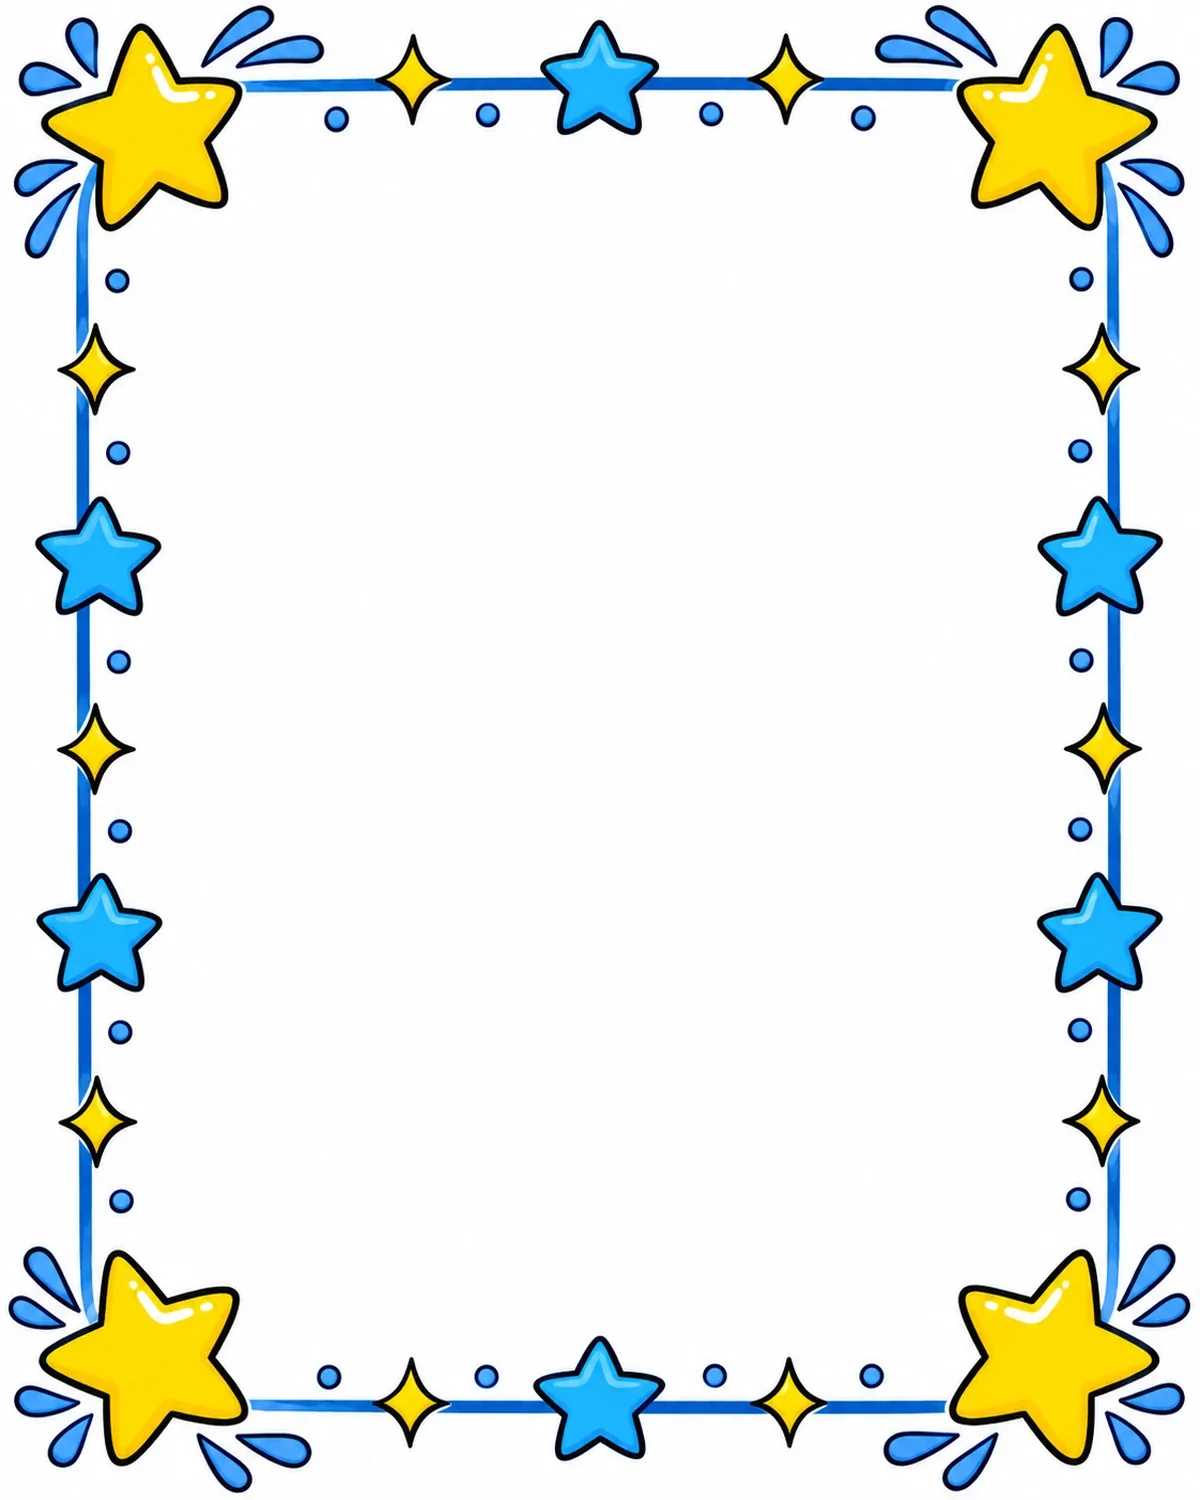
Blue and yellow stars are an easy choice for space, science and general school charts. The design feels playful without covering much of the page.
How to draw: Sketch one big star near each corner, then add smaller stars and dots along the sides at even gaps. Draw thin blue lines along the top and bottom to connect the pattern. Colour large stars yellow and a few small ones blue. If you cannot draw a regular star immediately, practise on scrap paper before using the final sheet.
Tip: Keep star sizes consistent; avoid filling the middle of the worksheet with stars.
5. Leaves Border Design for School Project
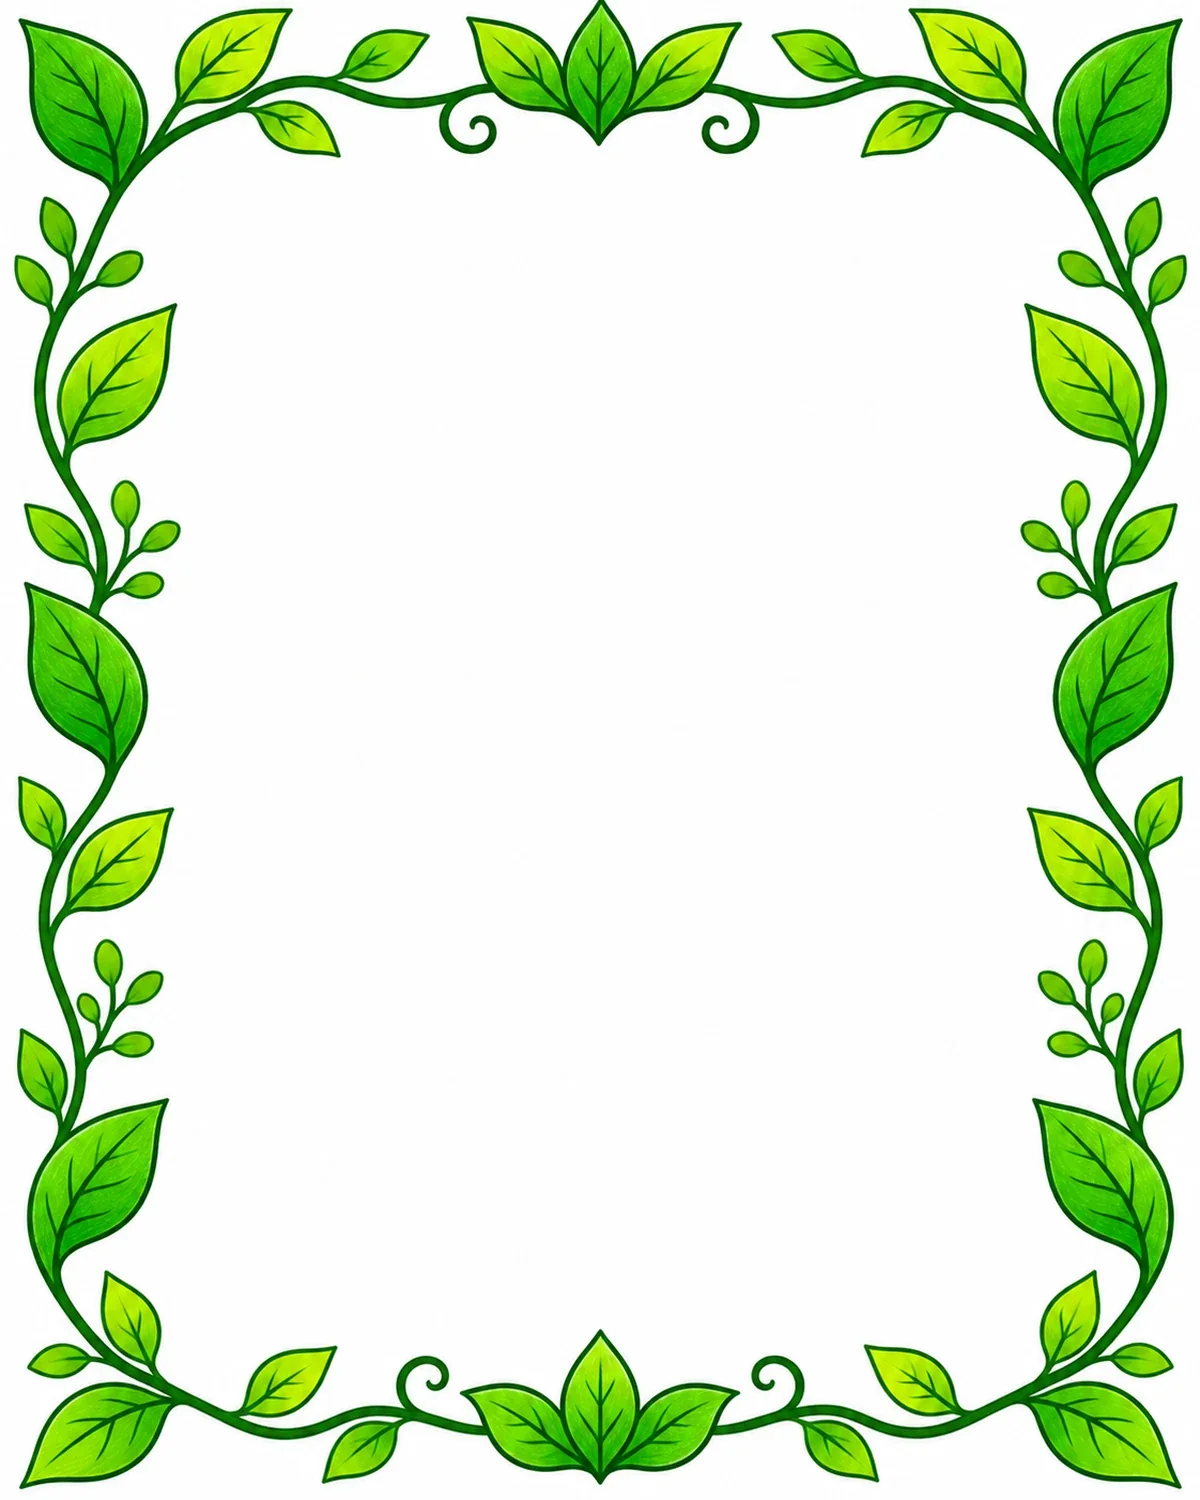
A clean green leaf border is a natural fit for environmental studies, plants, trees, water and ecology assignments.
How to draw: Draw one gently curved vine along each edge. Make pointed oval leaves grow from the vine, alternating their direction. Add a small central vein to each leaf. Use lighter and darker greens for depth, but do not draw too close to the text area. On a writing-heavy project, reduce the number of leaves.
Tip: One repeated leaf shape is enough. You do not need a detailed botanical drawing.
6. Pencils Border Design for School Project
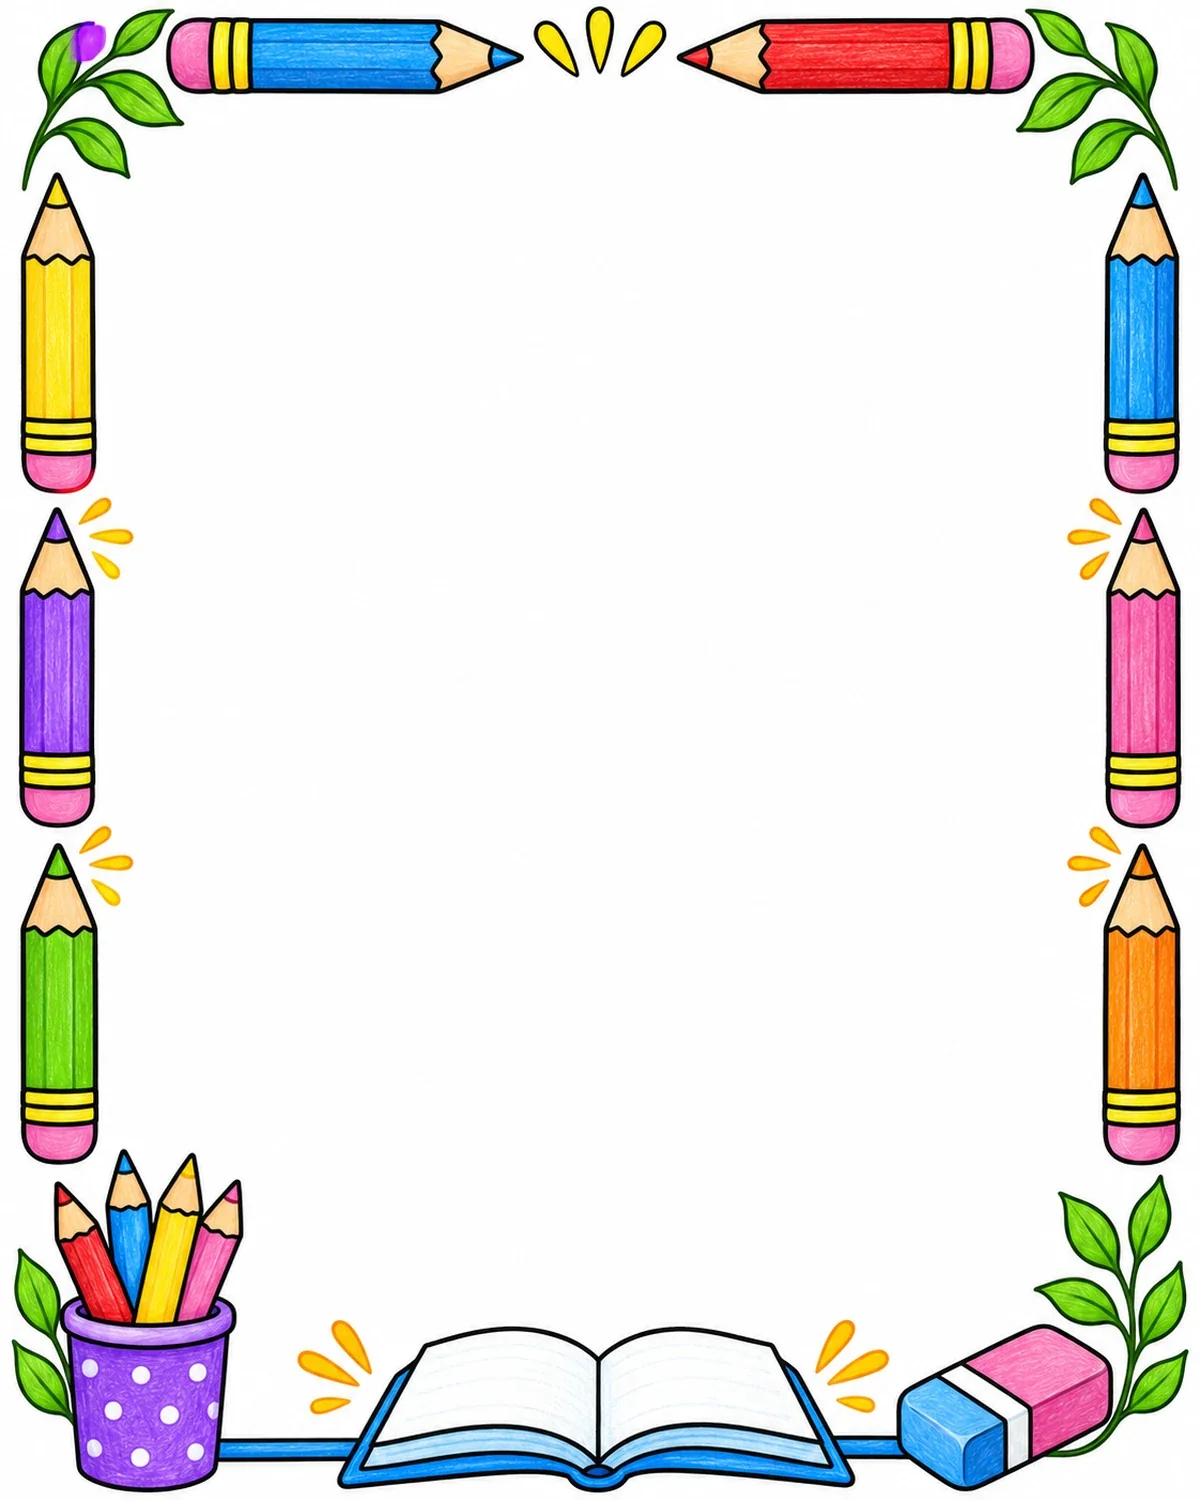
The colourful school-supply border suits reading assignments, study files, back-to-school posters and junior projects.
How to draw: Start with two small horizontal pencils across the top corners and put shorter pencil shapes down both sides. Each pencil can be drawn as a narrow rectangle with a triangular tip. Add a small open book near the bottom and a few coloured pencil icons if you have room. Colour the pencils red, yellow, blue and green while leaving space for the student’s name.
Tip: Keep the open book near the bottom so the main project heading remains readable.
How to make an easy border on A4 paper in seven steps
- Place the sheet on a flat surface and check which edge will be punched or stapled.
- Use a ruler to leave a narrow blank margin on each side; make the binding side slightly wider if required.
- Choose one repeating shape—flowers, leaves, triangles, stars, clouds or pencils.
- Sketch the four corners first, keeping their sizes and distances similar.
- Repeat smaller versions of the shape along the sides without crowding the writing area.
- Use two or three main colours, then add a thin dark outline where needed.
- Erase leftover pencil guides and make sure the heading, page number and diagram spaces are still clear.
If the repeated pattern is hard to fit on one side, make fewer shapes instead of squeezing them closer together. The border does not need to look exactly like the sample to be attractive. Small handmade differences are natural.
Best border styles by class and school subject
For Class 1–3, bigger, simpler shapes such as rainbows, stars and pencils are easier to copy. Children in Class 4–6 may enjoy flowers, leaf vines and repeated geometric shapes. In higher classes, a thin geometric or leaves border often suits a more formal project report. Your teacher’s format matters more than any general age suggestion.
Try leaves for environmental studies, plants or ecology; geometric shapes for mathematics or computer work; stars for a space project; and floral designs for language or art activities. A pencil border can work for almost any junior project. If you are writing many paragraphs or drawing labelled diagrams, use only small corner decorations and a thin line around the page.
Keep the design beautiful and the project easy to read
A project with ten pages does not need ten different heavy borders. Choose one style and make a small matching variation inside the file. Reserve the bigger flowers or rainbows for the cover and chapter-opening pages. Use thin lines on written pages so your teacher can focus on the actual work.
Plan the space for the title, paragraphs, page number and diagrams before colouring. Avoid putting dark shapes immediately beside handwriting. When you decorate a Hindi project, the same border pictures work perfectly well; simply write the heading and answers in Hindi. Border illustrations are not dependent on the language of the text.
Common mistakes children can avoid
A very thick border leaves too little room for writing. Dark ink used before pencil sketching makes small errors hard to fix. Too many colours may hide the pattern rather than improve it. Uneven spacing makes one side look crowded while another side looks empty. Finally, wet marker ink can stain the next page if you close the project file before it dries.
Start lightly, repeat a small number of shapes, and check the layout before finishing. If a corner decoration goes wrong, you can simplify it or adjust the other corners while the lines are still in pencil. The purpose of a project border is to make the page inviting—not to make the homework harder.
Frequently asked questions
What is the easiest border design for a school project?
A double-line rectangle with two flowers or stars in the corners is an easy starting point. You can draw it with just a pencil and ruler.
Can I draw a project border without sketch pens?
Yes. Coloured pencils or crayons work well, and even a clean pencil-only border can look attractive.
Which border is good for an A4 science project?
Use a thin geometric or pencil border for a general science file. A leaves border works nicely for plants or environmental topics.
How much space should a border take?
Leave enough room for the main subject and the school-required margins. There is no universal width for every project.
Can I use these border pictures for a Hindi assignment?
Yes. Draw the decorative pattern and write your project information in Hindi. The shapes do not depend on language.
Should I make a different border on every page?
No. Repeating a neat, simple border often makes a multi-page file look more consistent and easier to read.
Final thoughts
These six school project border design images offer easy ideas for children who want a colourful but readable A4 page. Choose a pattern you can draw confidently, sketch it lightly, colour it carefully and leave plenty of room for your schoolwork. For the finished file, follow your teacher’s page format and keep the decoration consistent throughout.






















Share Your Opinion
Comments are closed on this post.