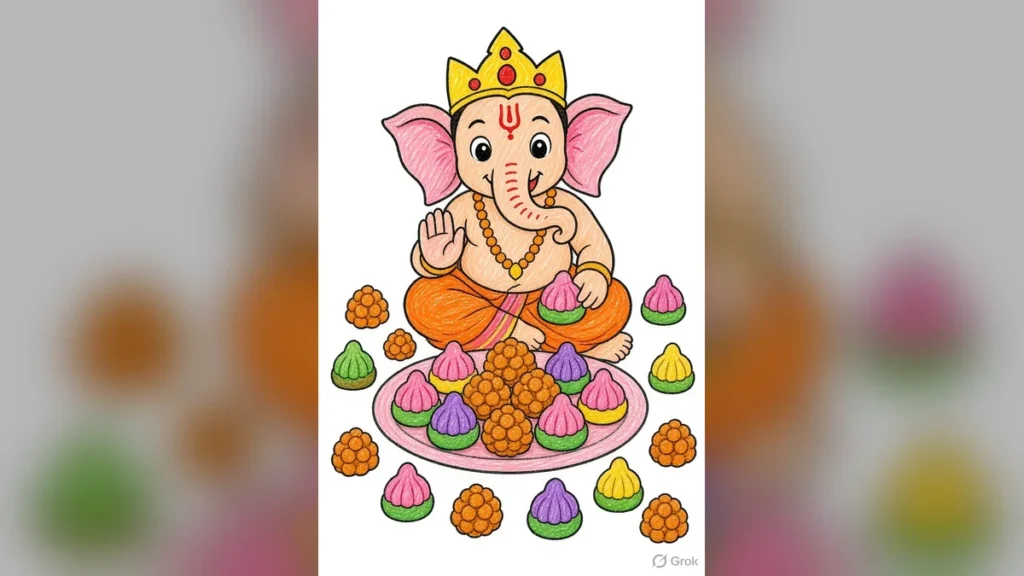
What is an Easy Ganesh Drawing?
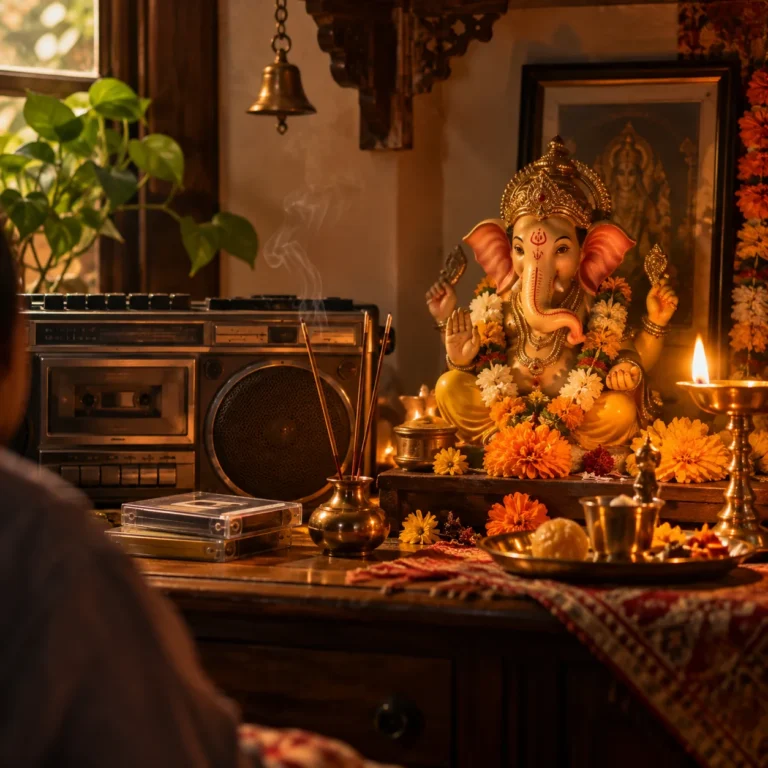
Creating an easy Ganesh drawing for school projects, homework, or drawing competitions is a common task for students. The key to a successful and beautiful drawing lies in simplifying the shapes and using bright, appealing colours. This guide focuses on creating a ‘Bal Ganesh’ (child Ganesha) drawing that is simple enough for young children (Class 1-5) to follow, yet attractive enough to stand out.
A good easy Ganesh drawing typically involves:
- Large, basic shapes (circles, ovals) for the head and body.
- A clear, bold outline, usually in black.
- Bright and festive colours like orange, yellow, and pink.
- Adding elements like a mouse (mooshak) and sweets (modak/laddoo) to make the drawing more engaging for competitions.
This tutorial will guide you through the process, from basic pencil outlines to adding vibrant colours, ensuring your drawing is both easy to create and visually appealing.
Materials Needed for Your Ganesh Drawing
Gathering the right materials before you start will make the drawing process smoother:
- A4 size paper or chart paper
- Pencil and eraser
- Black sketch pen or marker for outlining
- Crayons or colour pencils
- Optional: Ruler for borders or slogans
Colouring Guide for Bal Ganesh
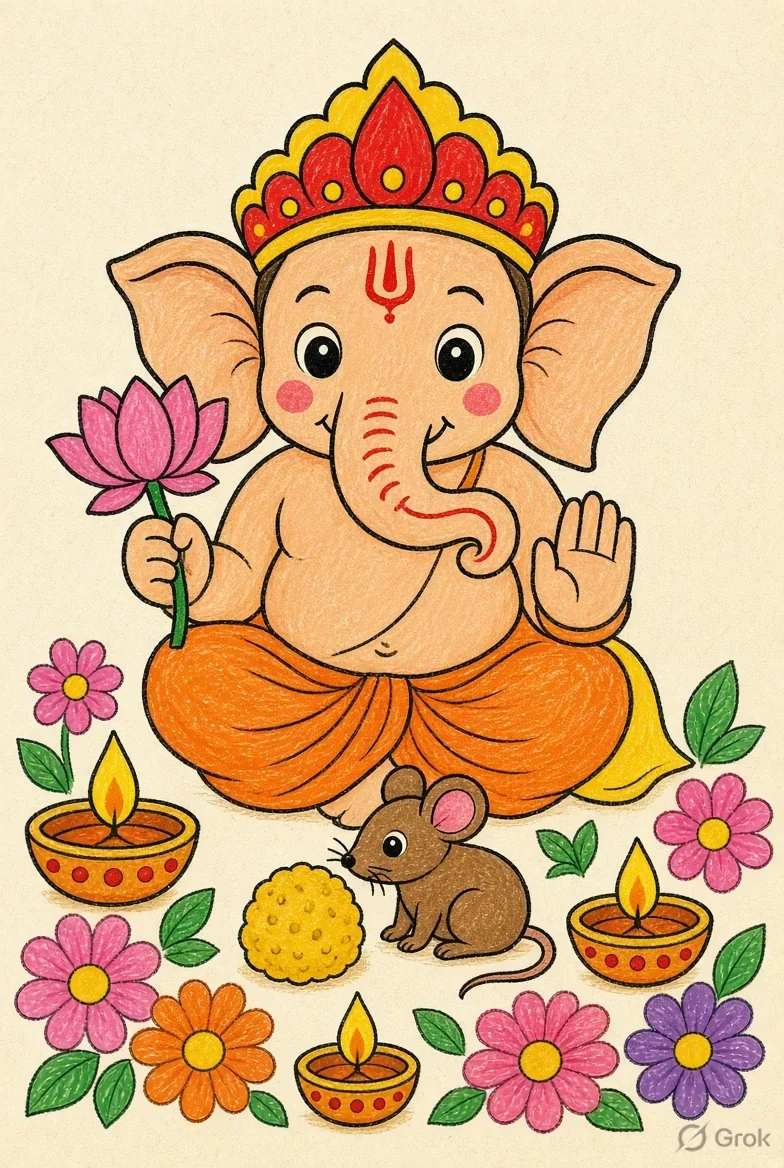
Choosing the right colours can bring your Bal Ganesh drawing to life. Here’s a suggested colour palette:
- Face and Body: Light peach or light orange.
- Inside of Ears and Cheeks: Pink.
- Dhoti (lower garment): Bright orange, with slightly darker shades on folds.
- Crown and Jewellery: Golden yellow with hints of red for decorative elements.
- Tilak (forehead mark): Red (often a ‘U’ shape or three horizontal lines).
- Lotus Flower: Pink petals with a green stem.
- Laddoo/Modak: Yellow, orange, or light purple.
- Mouse (Mooshak): Grey with pink ears and nose.
- Outlines: Always use black for a clean, defined look.
Tips for Colouring:
- Apply crayons with light, even layers. Avoid pressing too hard, which can tear the paper.
- When using colour pencils, draw strokes in one direction for a smooth texture.
- For a dimensional effect on the dhoti, you can use a lighter yellow on top and a darker orange at the bottom folds.
Step-by-Step: Basic Bal Ganesh Drawing (Approx. 10 Minutes)
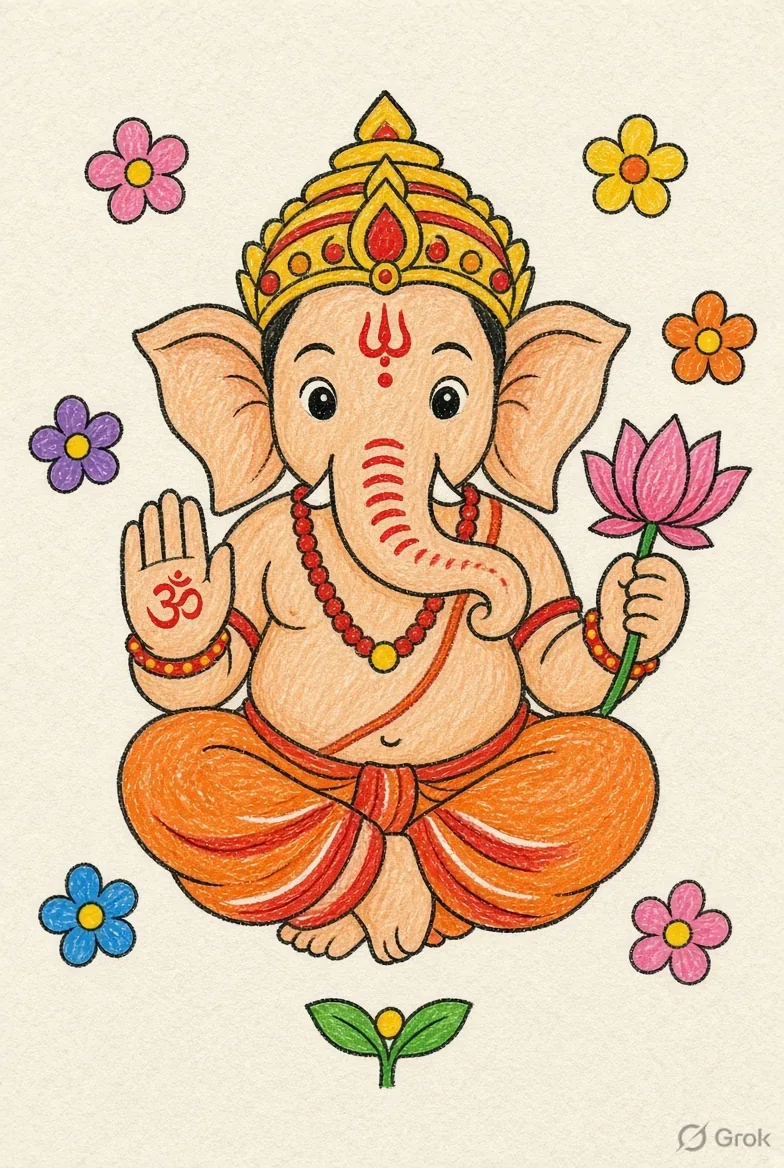
Follow these simple steps to draw a basic Bal Ganesh:
- Head: Draw a large oval or circle for the head.
- Trunk: Draw the trunk curving from the centre of the face to one side.
- Ears: Add large, fan-like ears on both sides of the head. Leave space inside the ears for a pink colour.
- Eyes and Tilak: Draw big, round eyes and a small smile. Add the red tilak on the forehead.
- Crown: Draw a simple crown or mukut on top of the head. You can add a circular jewel.
- Body: Draw a stout, round body, with legs folded in a sitting position.
- Hands: One hand can be raised in a blessing gesture, and the other can hold a modak or laddoo.
- Outline: Once the pencil drawing is complete, erase any stray pencil marks and go over the lines with a black sketch pen or marker.
- Colouring: Fill in the colours using the guide provided above, starting with lighter shades and adding darker tones for depth.
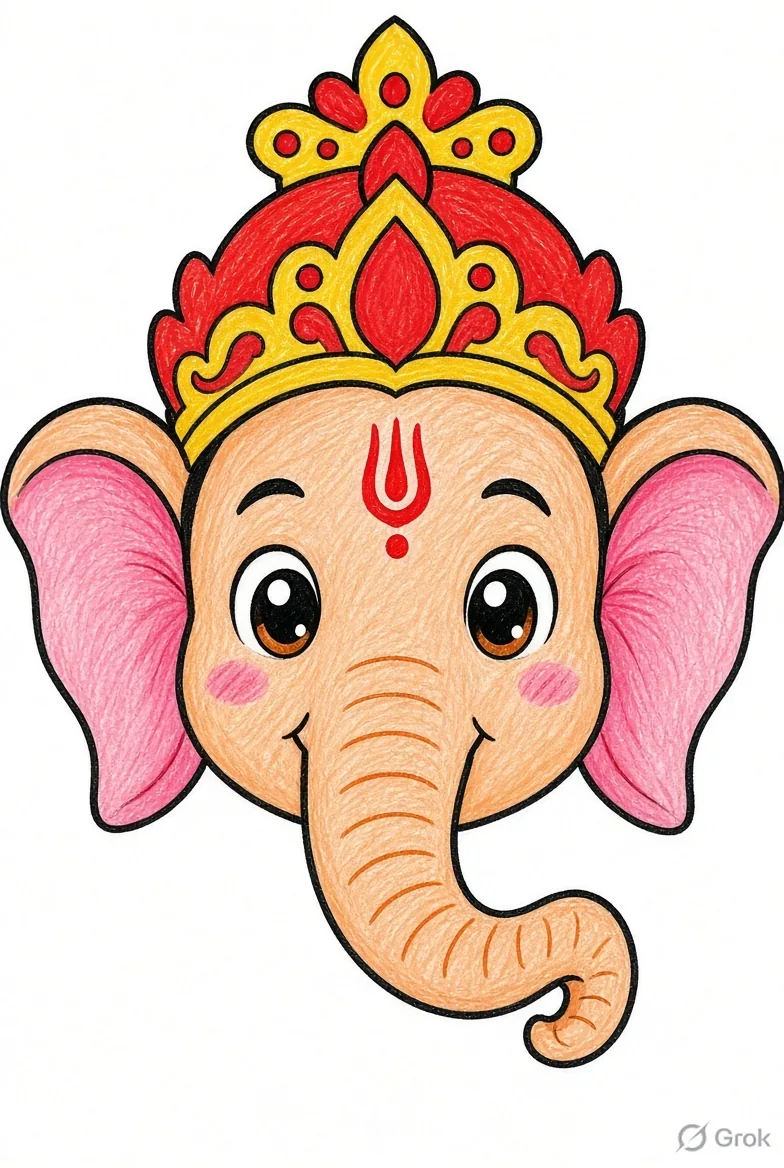
This basic face drawing is perfect for younger children (Class 1-2) or when you need a quick homework submission.
Adding the Mooshak (Mouse) and Laddoo
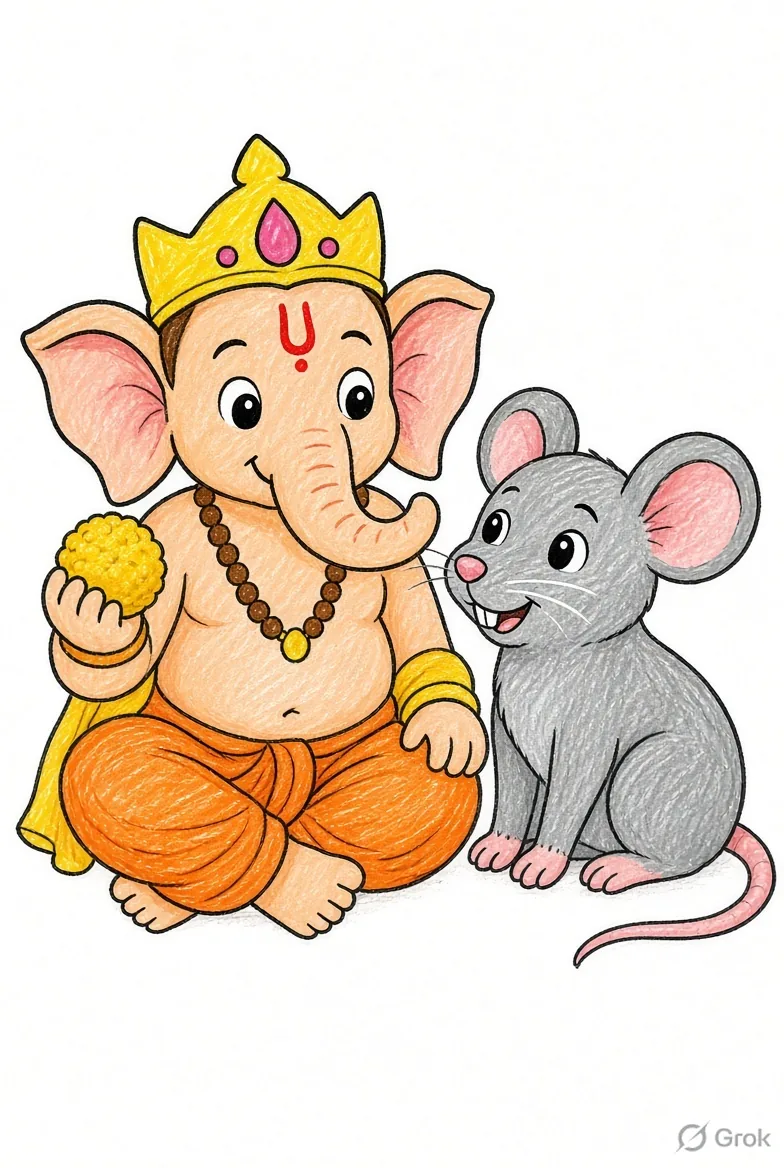
To make your drawing more festive and suitable for competitions, add a small mooshak and a laddoo or modak next to Ganesha. The mooshak can be drawn with two ovals for the head and body, large round ears, and a smiling face. This addition gives the drawing a more complete and traditional look.
Creating a Chart with Modak/Laddoo Plate
If you are creating a chart for Ganesh Chaturthi, you can draw a plate filled with modaks and laddus in front of Ganesha. Laddus are simple round shapes, while modaks have a slightly pointed, teardrop-like form. You can take inspiration from the shape of traditional sweets.
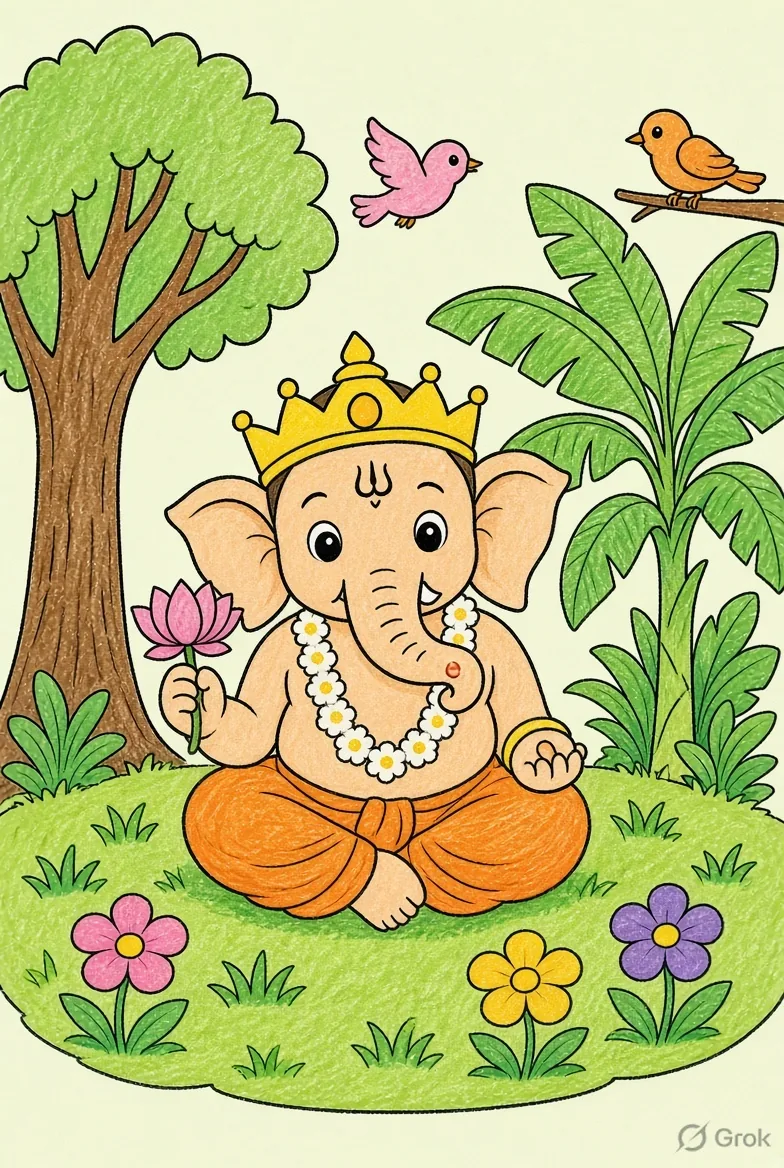
Nature Background for a Beautiful Drawing
For a more artistic touch, especially for ‘beautiful coloured drawing’ marks, add a simple nature background. This can include elements like trees, grass, and flowers, all drawn using basic shapes. This approach is excellent for decorating borders or creating a visually rich composition.
Poster and Slogan Ideas for School Projects
Enhance your drawing with a relevant slogan. Some ideas include:
- “Shubh Ganesh Chaturthi”
- “Ganpati Bappa Morya”
- “Knowledge + Wisdom = Lord Ganesha”
- “Easy Bal Ganesh – Class Project”
Write the slogan in large letters at the bottom or top border of your chart. Repeating small motifs like flowers or diyas in the corners can create a balanced look.
Tips for Scoring High in Drawing Competitions
To impress judges in a drawing competition:
- Clarity and Placement: Ensure the border is neat and Ganesha is placed centrally on the page. Avoid overcrowding the corners.
- Colour Harmony: Use colours that complement each other. For instance, an orange dhoti with a yellow crown and red tilak creates a festive feel.
- Clean Outlines: Make sure the black outline is continuous and neat. If you make a mistake, try to correct it gently.
- Originality: If the teacher asks for an original drawing, try to draw freehand by observing the shapes, rather than tracing. Practice drawing difficult parts like the trunk and ears multiple times on a rough sheet.
- Neatness: Ensure your name, class, and roll number are clearly written, usually on the back of the sheet.
- Carefulness: Be mindful of spills from water bottles or paints. Keep your workspace clean.
- Colour Blending: Don’t hesitate to mix colours to create new shades or add dimension.
- Eraser Use: Keep your eraser clean to avoid smudging the drawing.
- Final Review: Step back and look at your drawing from a distance to spot any errors in proportion or alignment.
Parental Guidance: Parents can assist by holding the paper steady or offering encouragement, but children should ideally do the colouring themselves.
Vivek Bhai’s Advice for School Drawings
Judges often look for three things: clean outlines, neat colouring, and a simple narrative (like the presence of a mooshak or modak). Focus on getting the basic shapes right, ensuring the trunk is not crooked and colours stay within the lines. For time constraints, a simple face with a crown is acceptable. For charts, a single large Ganesha is usually better than multiple small ones.
Tip: Draw the entire figure in pencil first. Get it checked by a teacher or parent before outlining with a black pen and colouring. This prevents smudging if you need to erase.
Frequently Asked Questions (FAQ)
- Which drawing is best for Class 1-2?
The simple face with a crown is ideal. - Pencil or Crayons?
Use a pen or pencil for outlines and crayons or colour pencils for filling, as permitted by your school. - What extra elements can be added for competitions?
A mooshak, modak/laddoo, and a small slogan can enhance the drawing. - How long does it take?
A basic drawing takes about 10 minutes, while a fully coloured chart might take 20-30 minutes. - Will it fit on A4 paper?
Yes, by keeping Ganesha central and adding decorative elements lightly around the edges.
Disclaimer: These ideas and steps are for educational practice and homework help. Always follow your school’s specific rules regarding tracing, materials, and submission guidelines.